CLOUD Setting up screens
Step-by-Step Guide
Extend default screen with custom fields
The Jira screens have to be extended by the custom fields. Therefore the fields should be added to the default screens.
Further information → Atlassian documentation: Defining a screen
| Step | Procedure | Example |
|---|---|---|
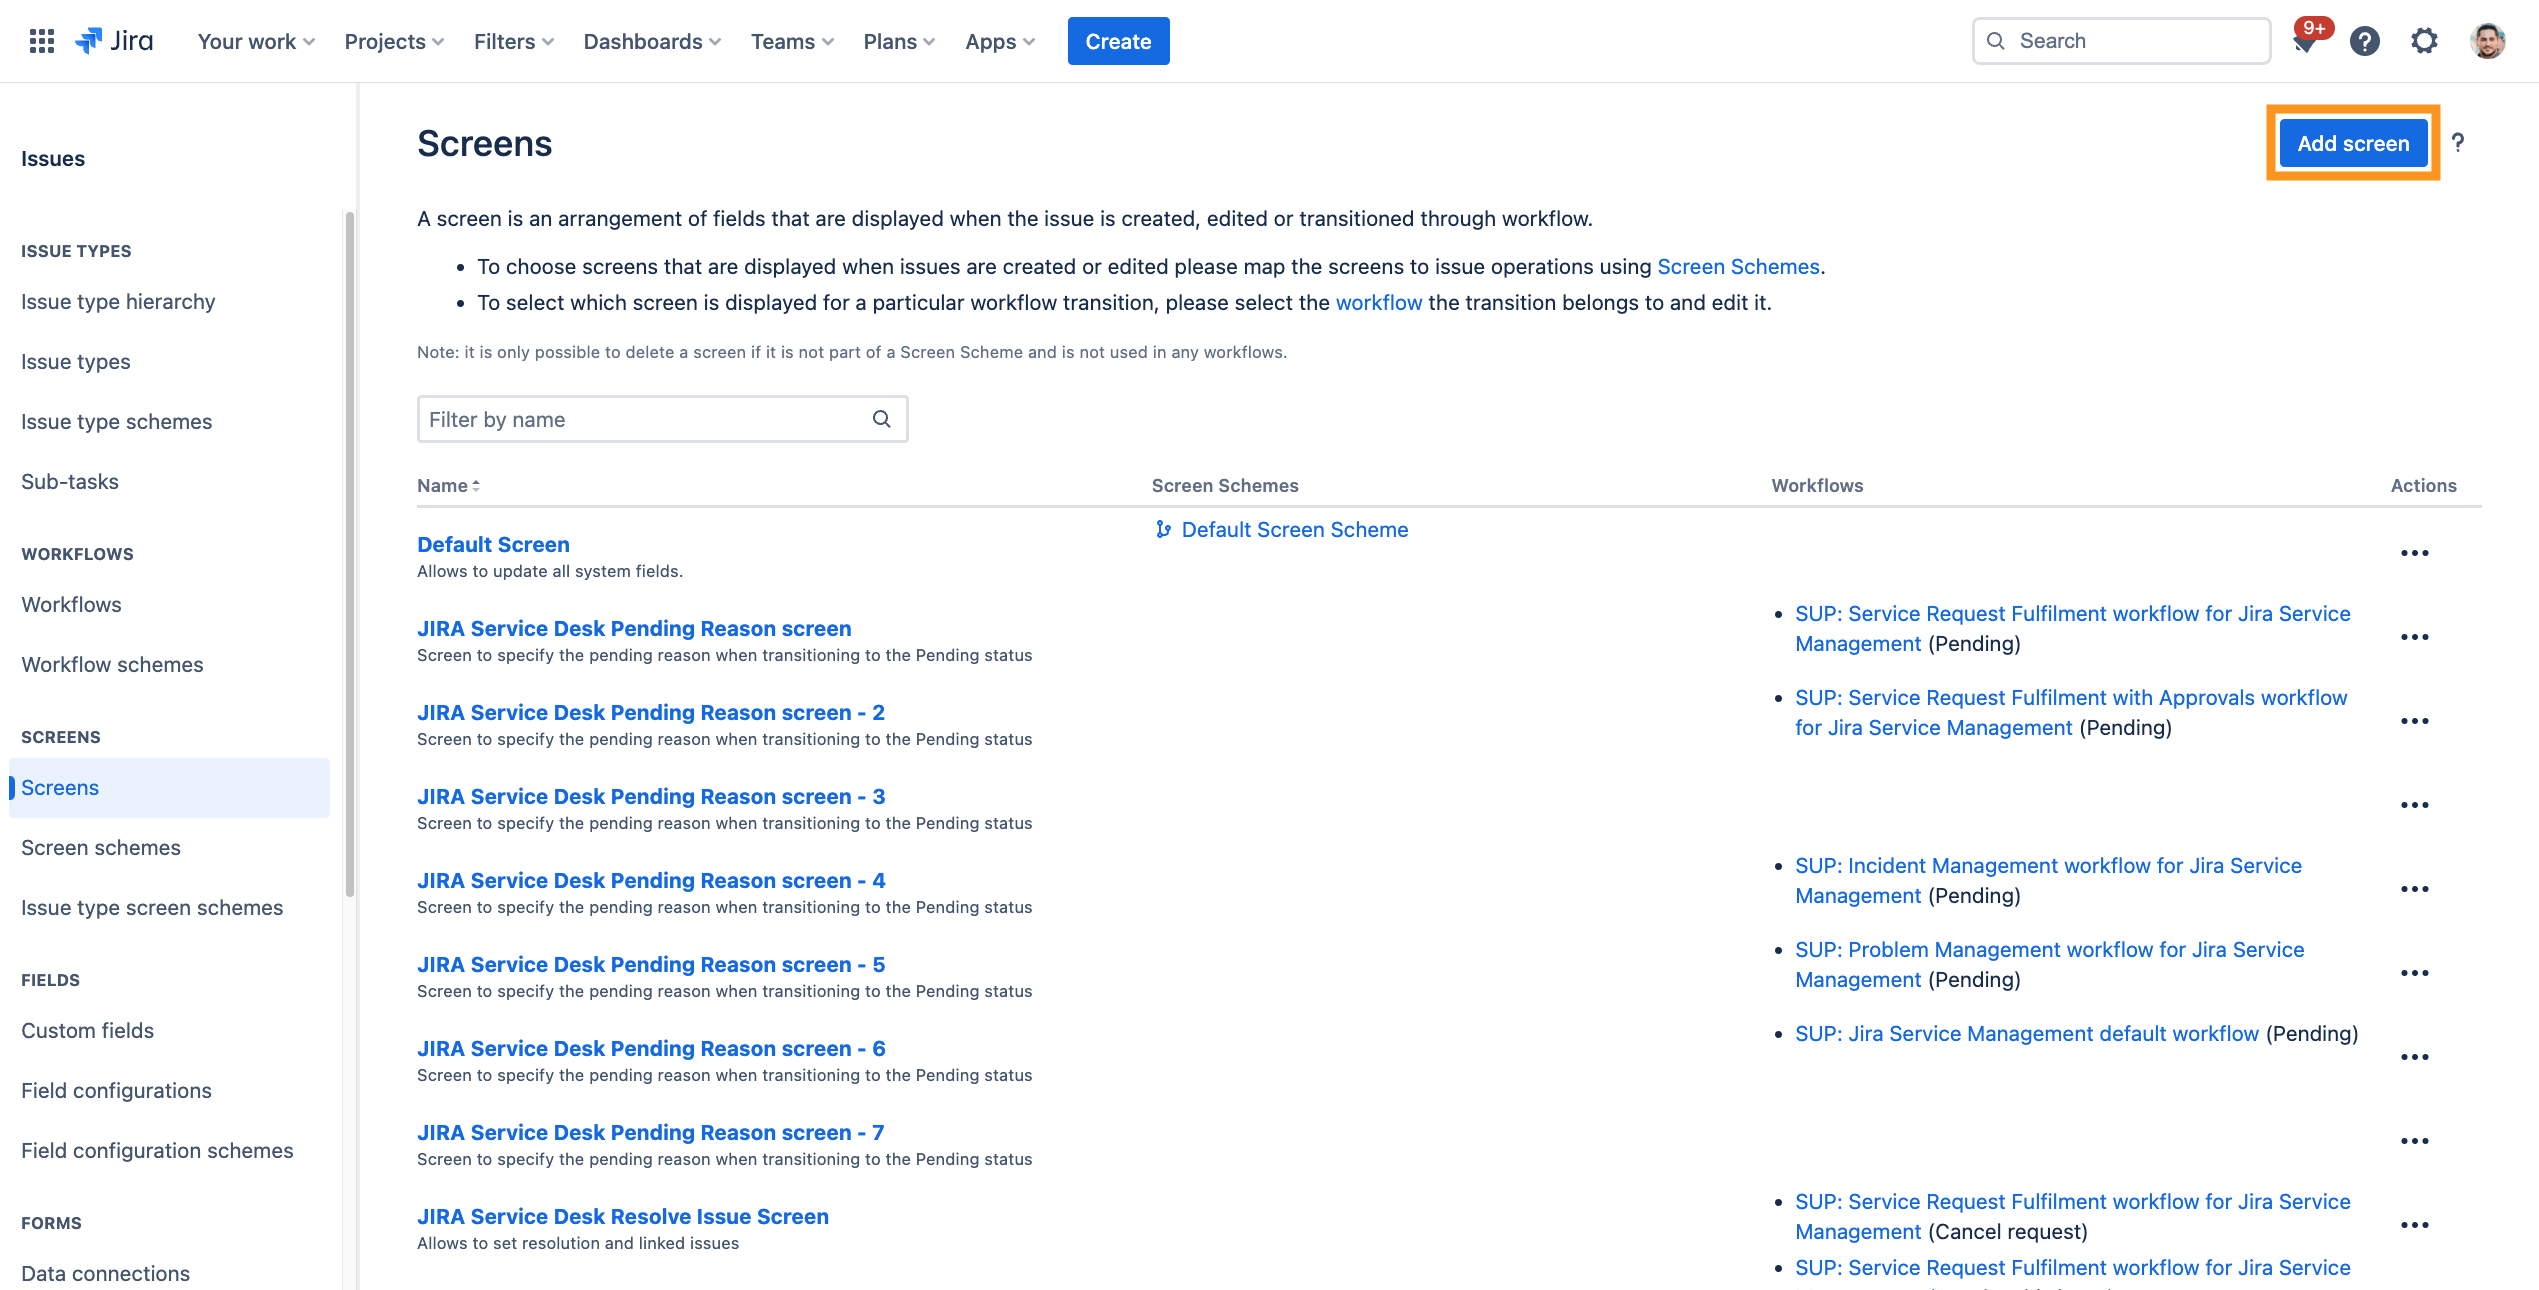
| 1 | In Jira, navigate to Admin Menu (cog wheel) → Issues → Screens(sidebar) | |
| 2 | Create a new screen
|
|
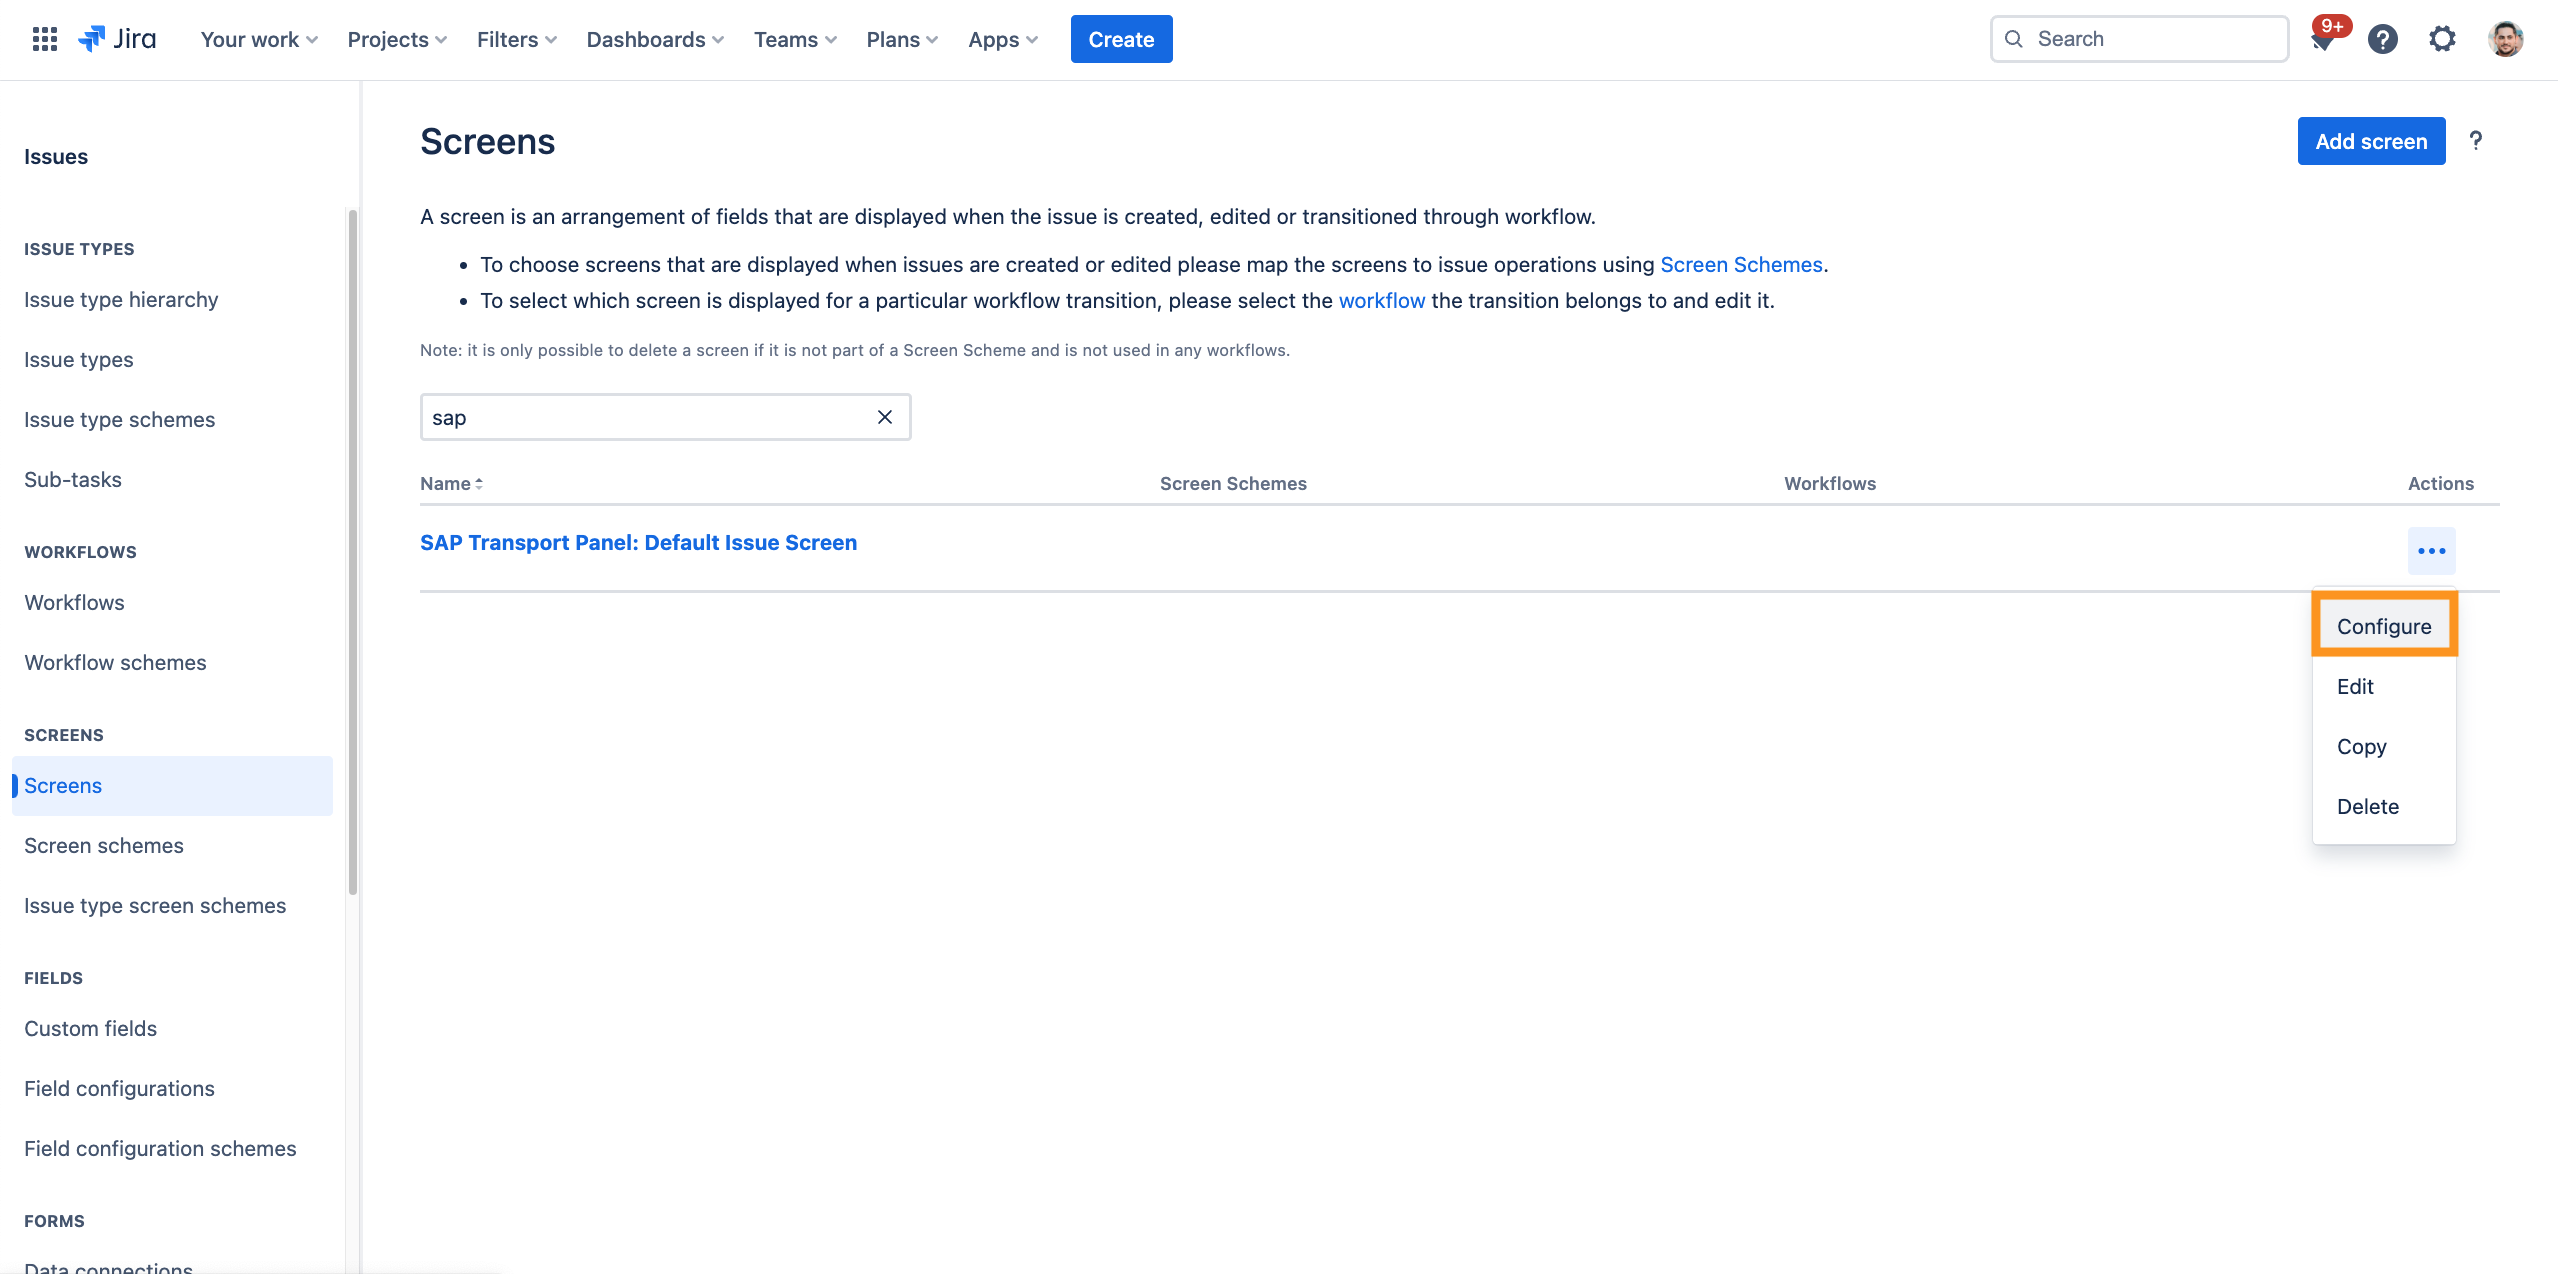
| 3 | Search the created screen → Click on Configure |
|
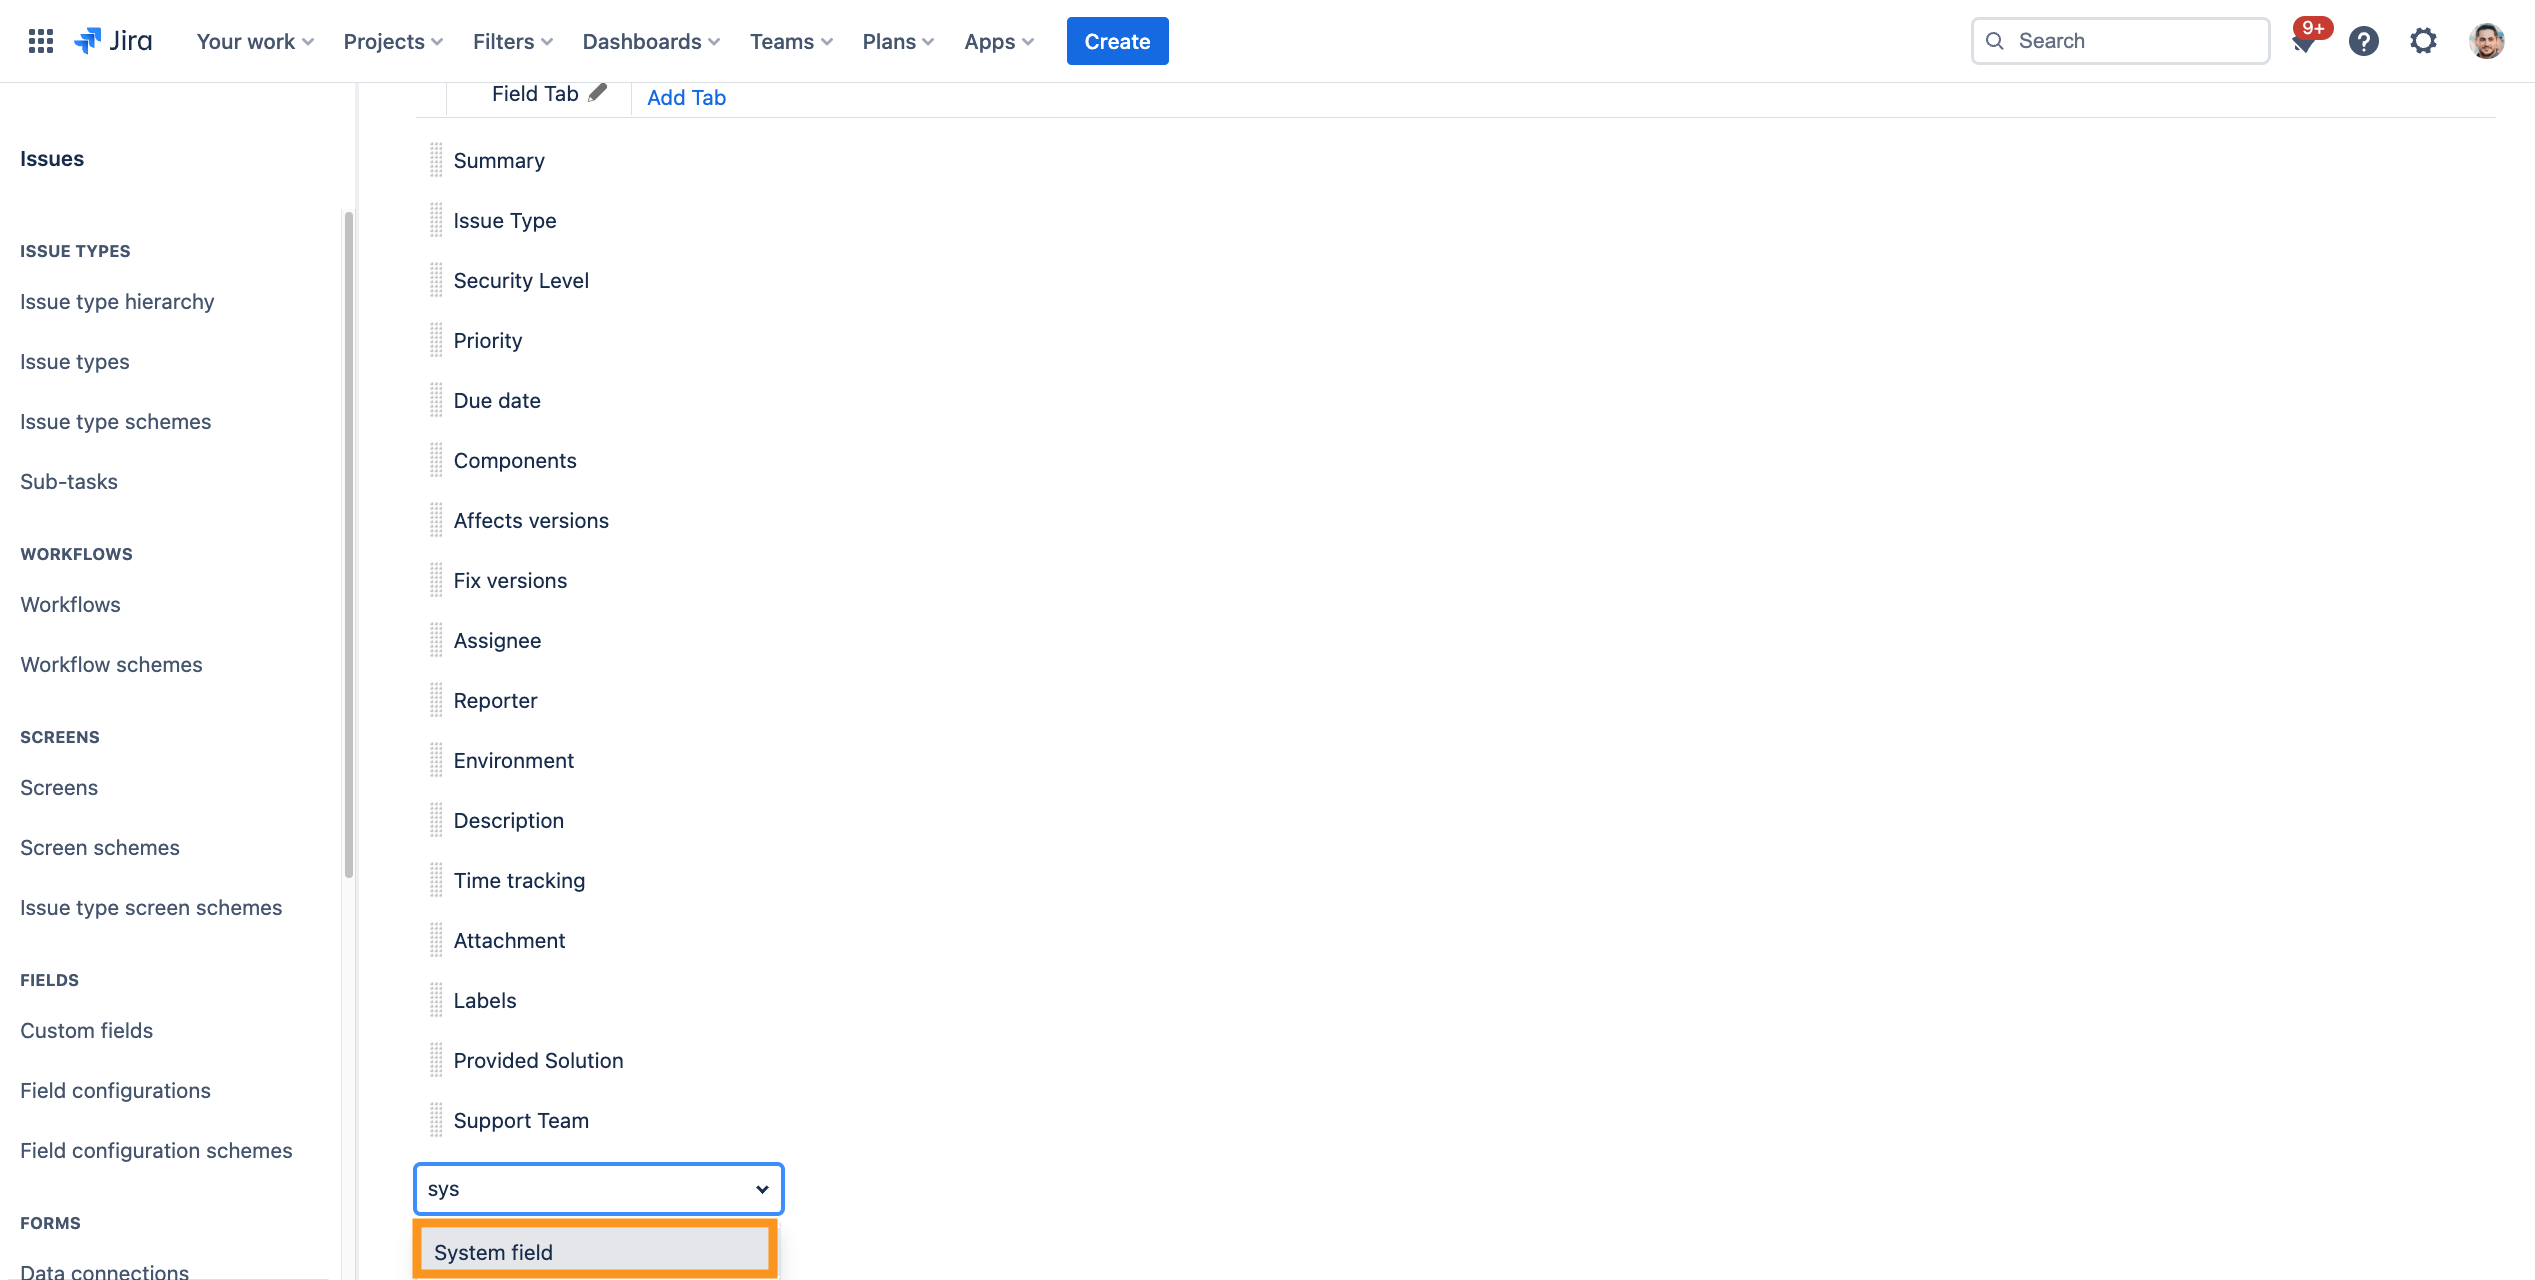
| 4 | Scroll down to add fields using the selection box:
|
|
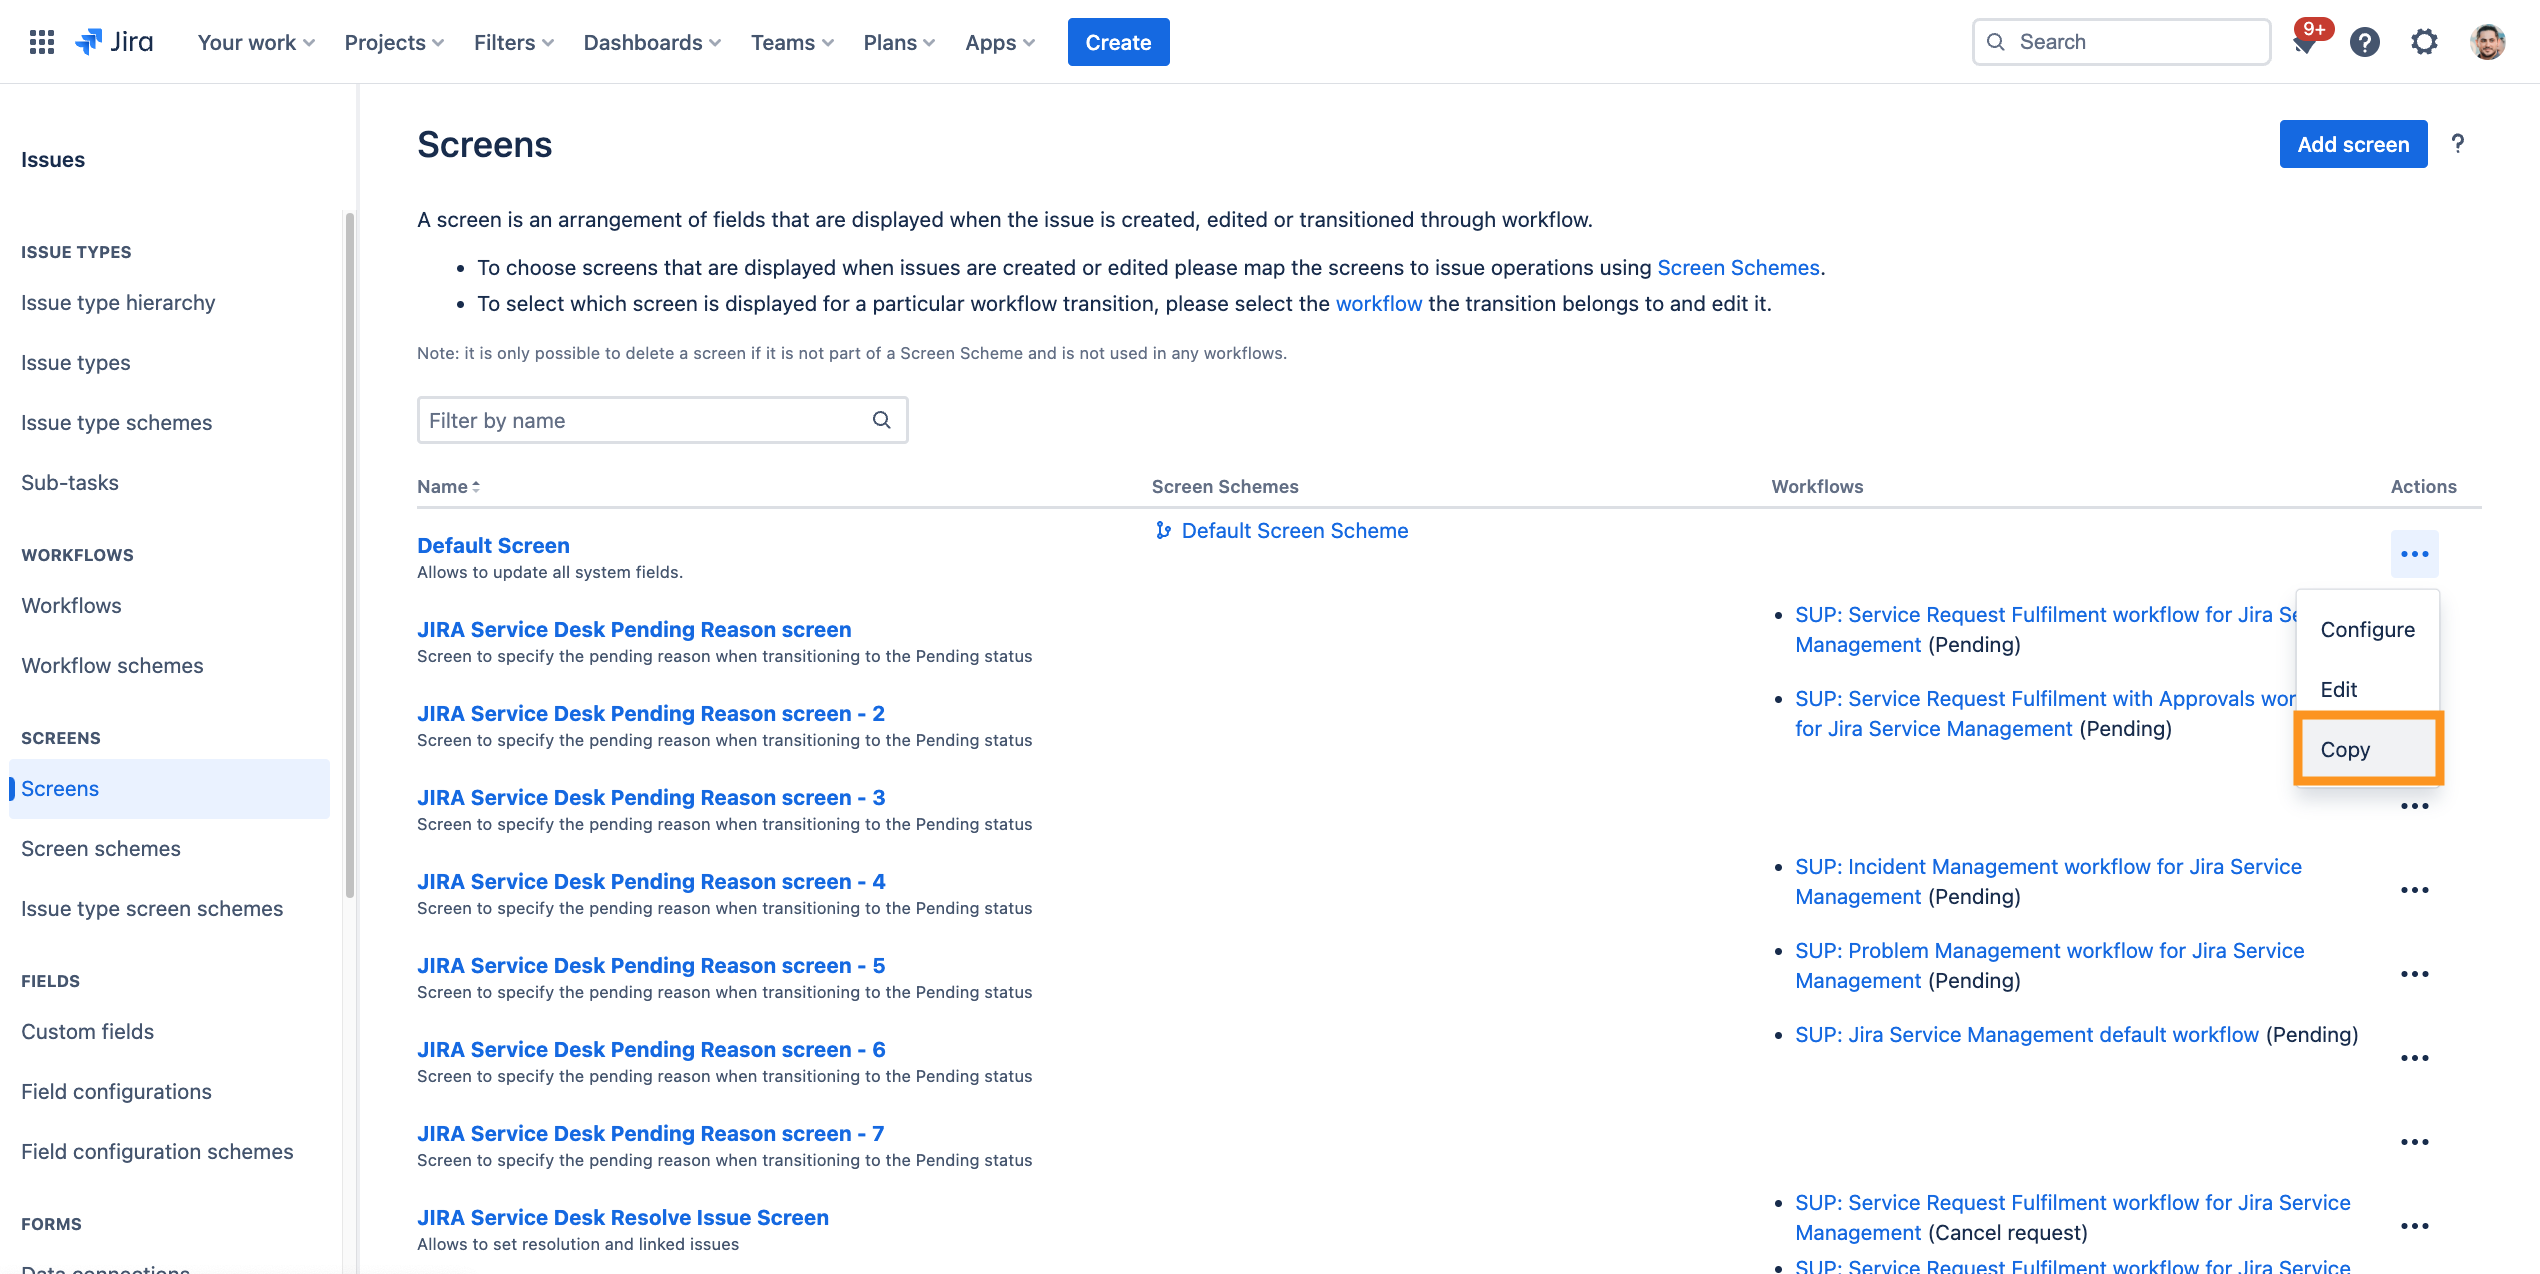
Create specific transition screen to create a transport
One specific transition screen is recommended for the creation of a transport, which needs to be added to the screens (How to add the "Create transport" post function to a Jira worflow)
| Step | Procedure | Example |
|---|---|---|
| 1 | In Jira, navigate to Admin Menu (cog wheel) → Issues → Screens(sidebar) | |
| 2 | Create a new screen
|
|
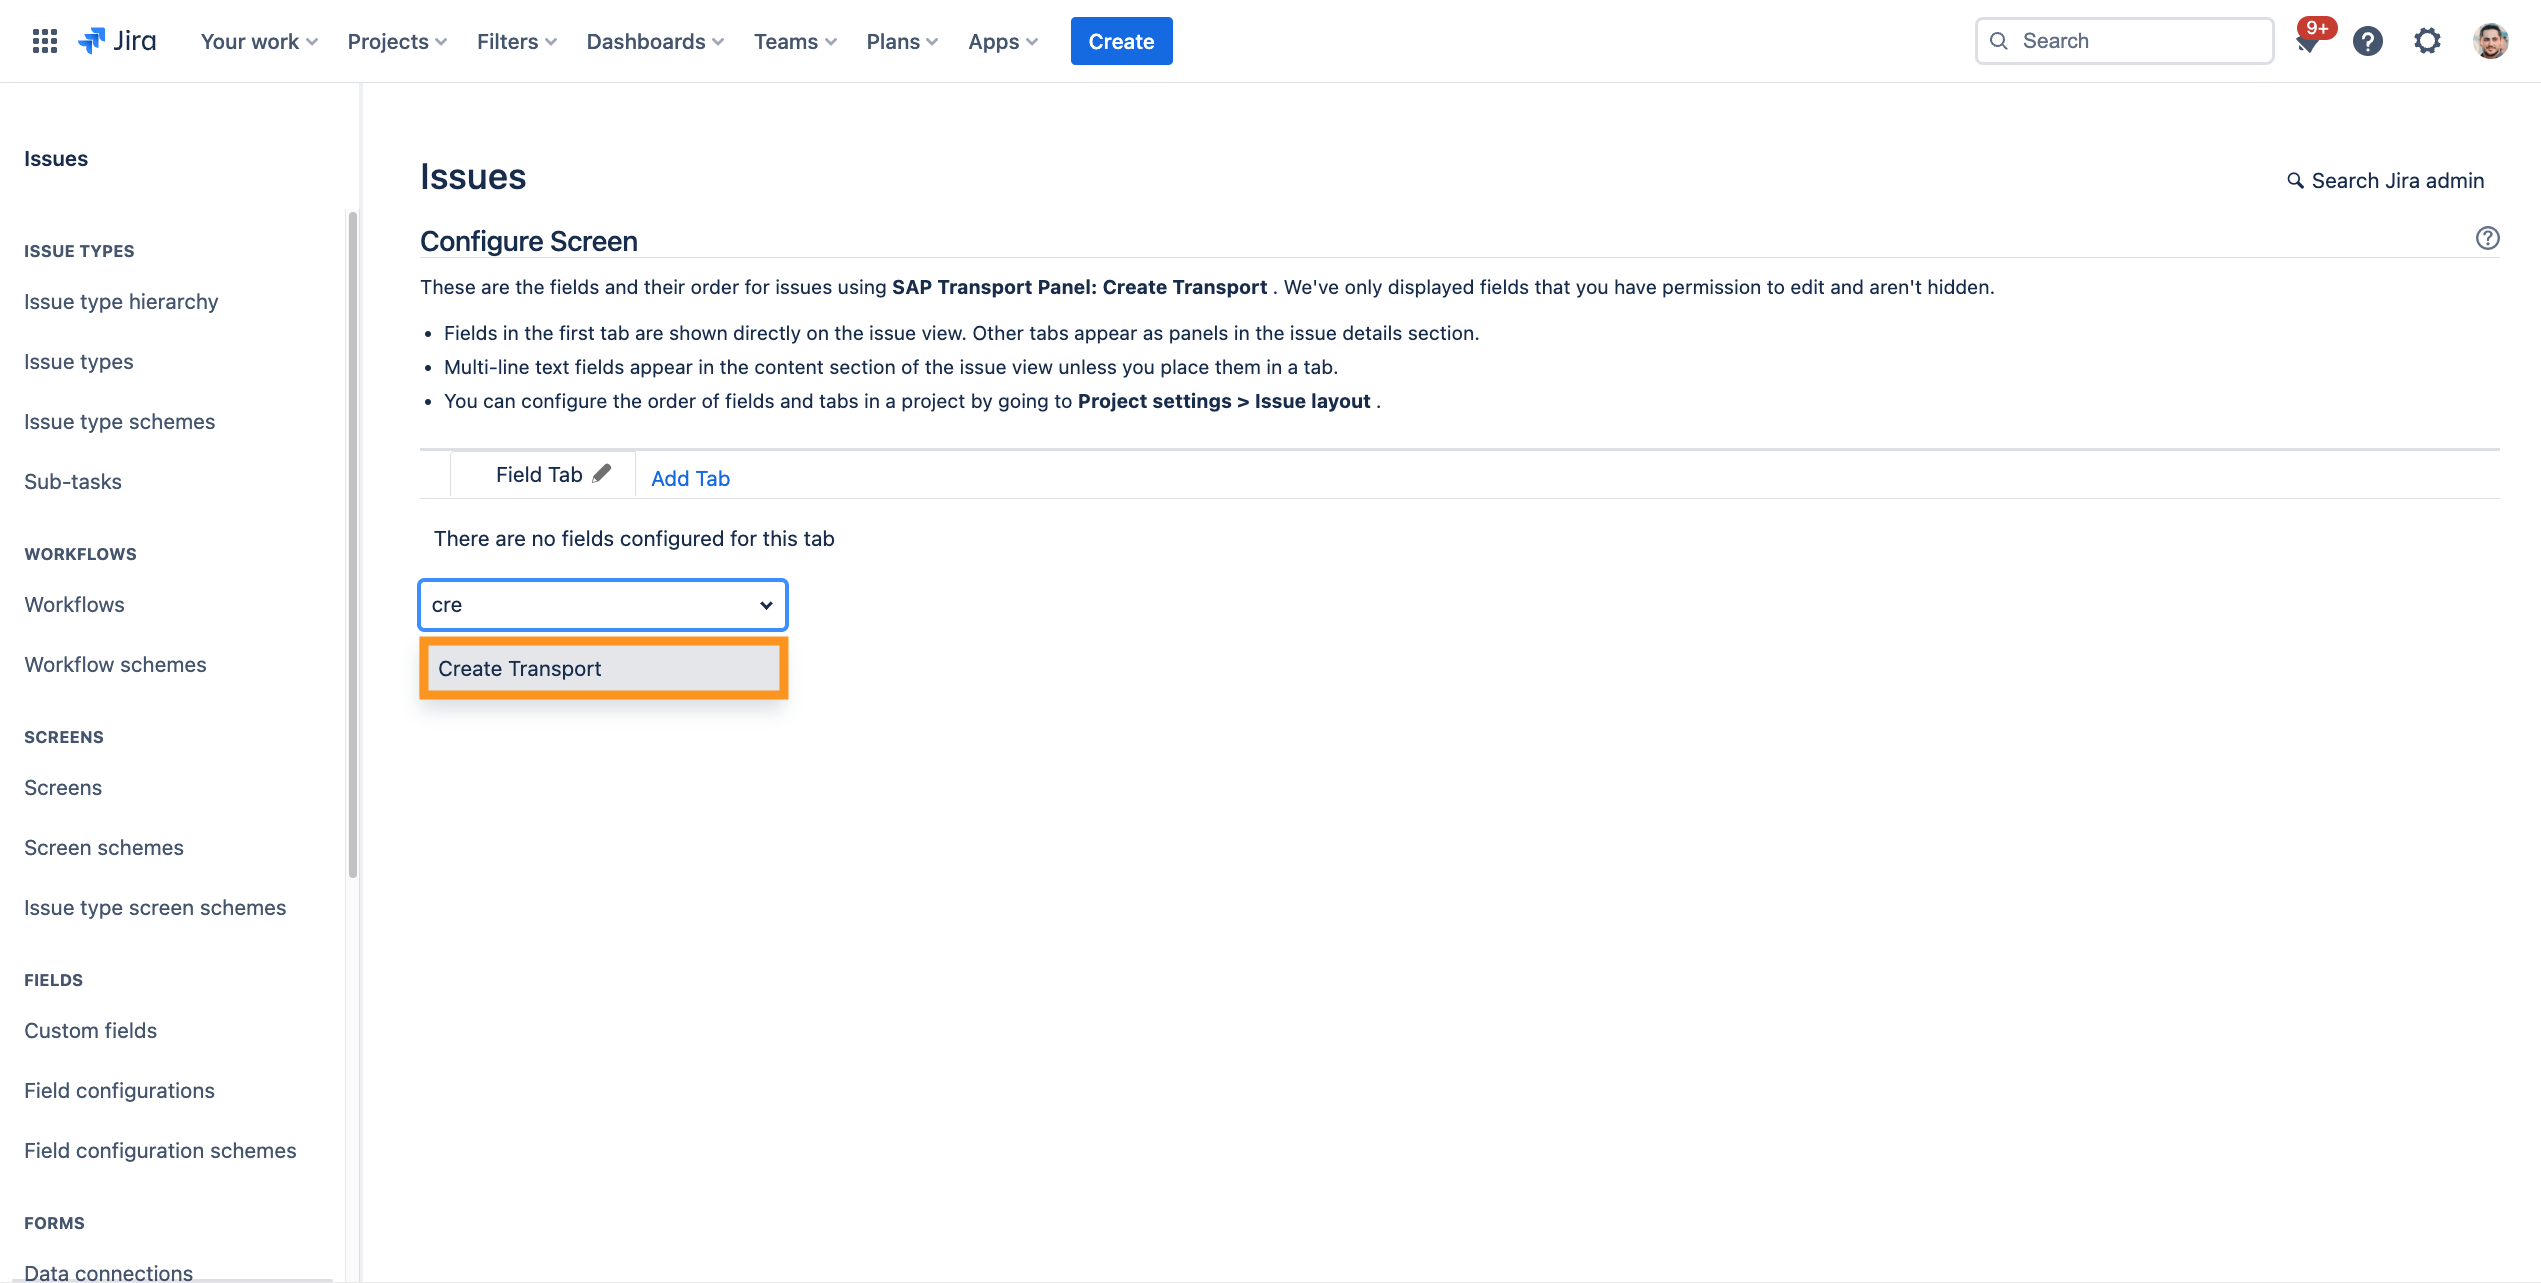
| 3 | Search the created screen → Click on Configure
This screen is later on assigned to the transition In Progress for the workflow of the issue types for the original transport requests. |
|
Create screen scheme for the created screens
To assemble all SAP Transport Panel relevant screens a screen scheme need to be created.
Further information → Atlassian documentation: Associating a screen with an issue operation
| Step | Procedure | Example |
|---|---|---|
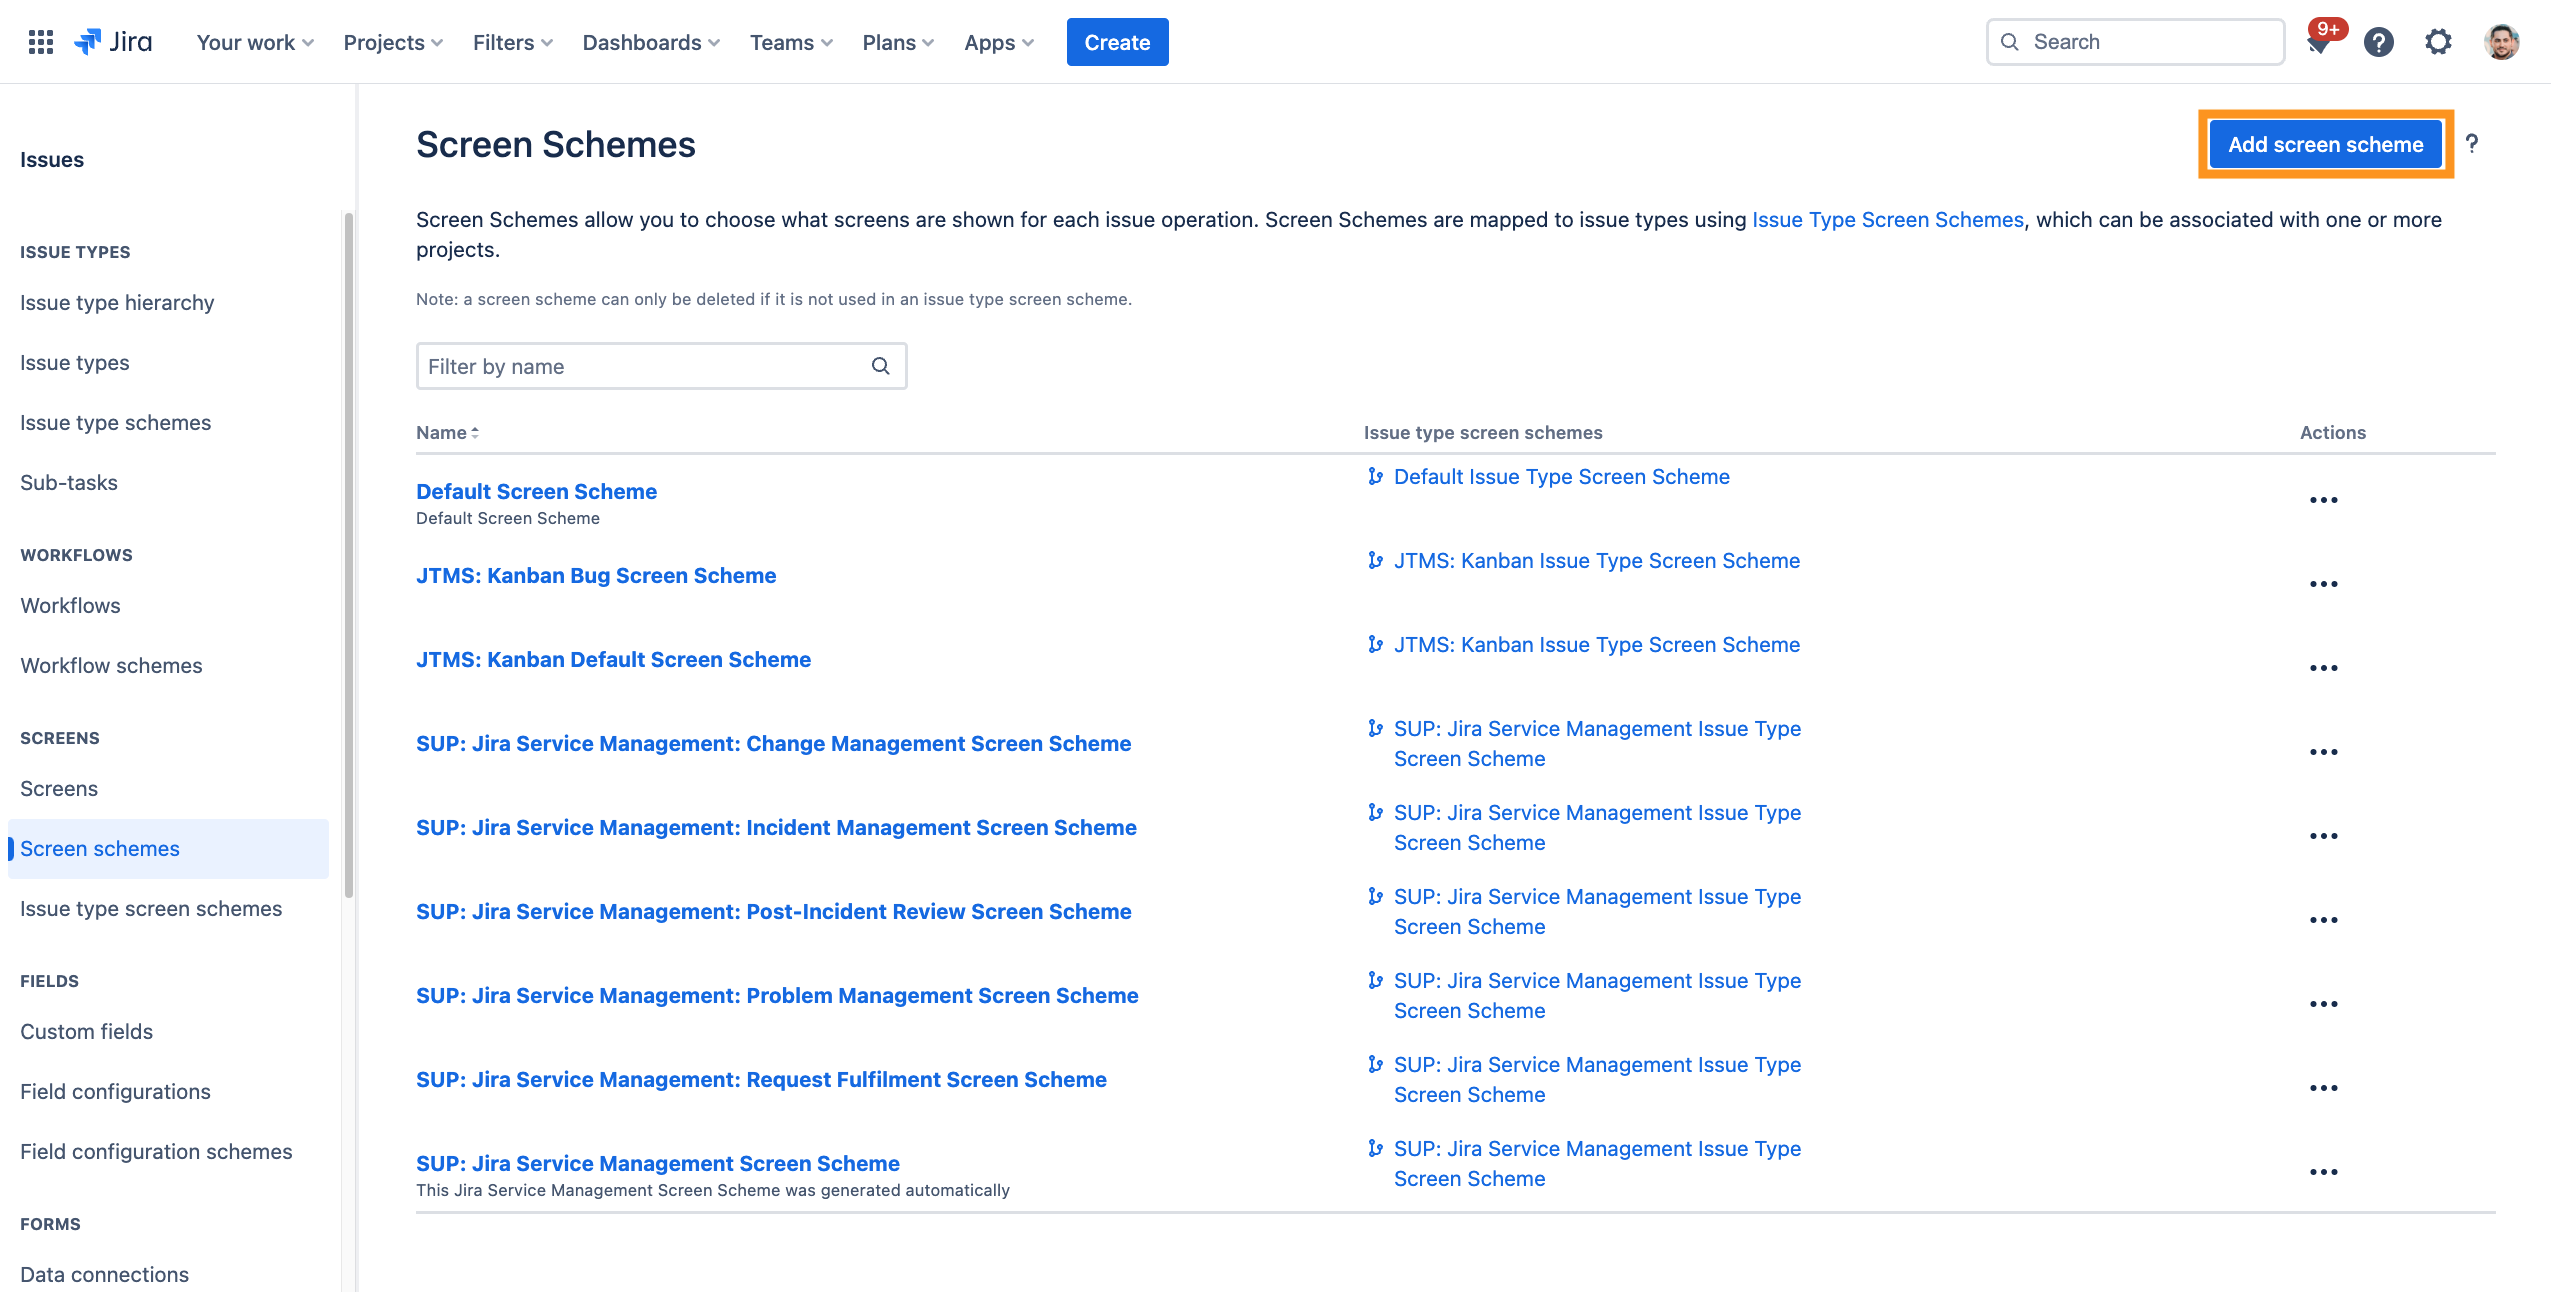
| 1 | In Jira, navigate to Admin Menu (cog wheel) → Issues → Screen schemes(sidebar) | |
| 2 | Click on Add screen schemes. A dialog appears: |
|
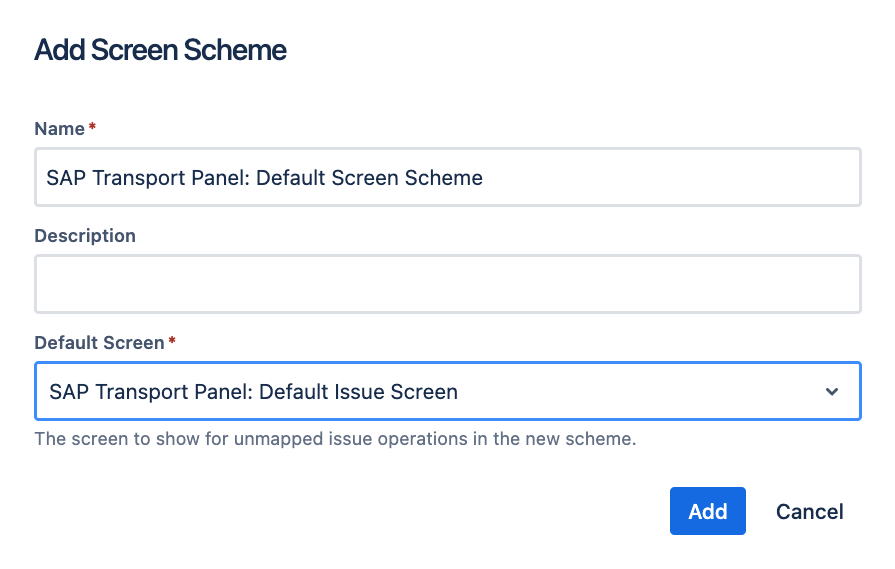
| 3 | Enter a name (e.g. SAP Transport Panel: Default Screen Scheme) and a description (optional). In the selection box below we select the mask we just created (SAP Transport Panel: Default Issue Screen) → Click on Add |
|
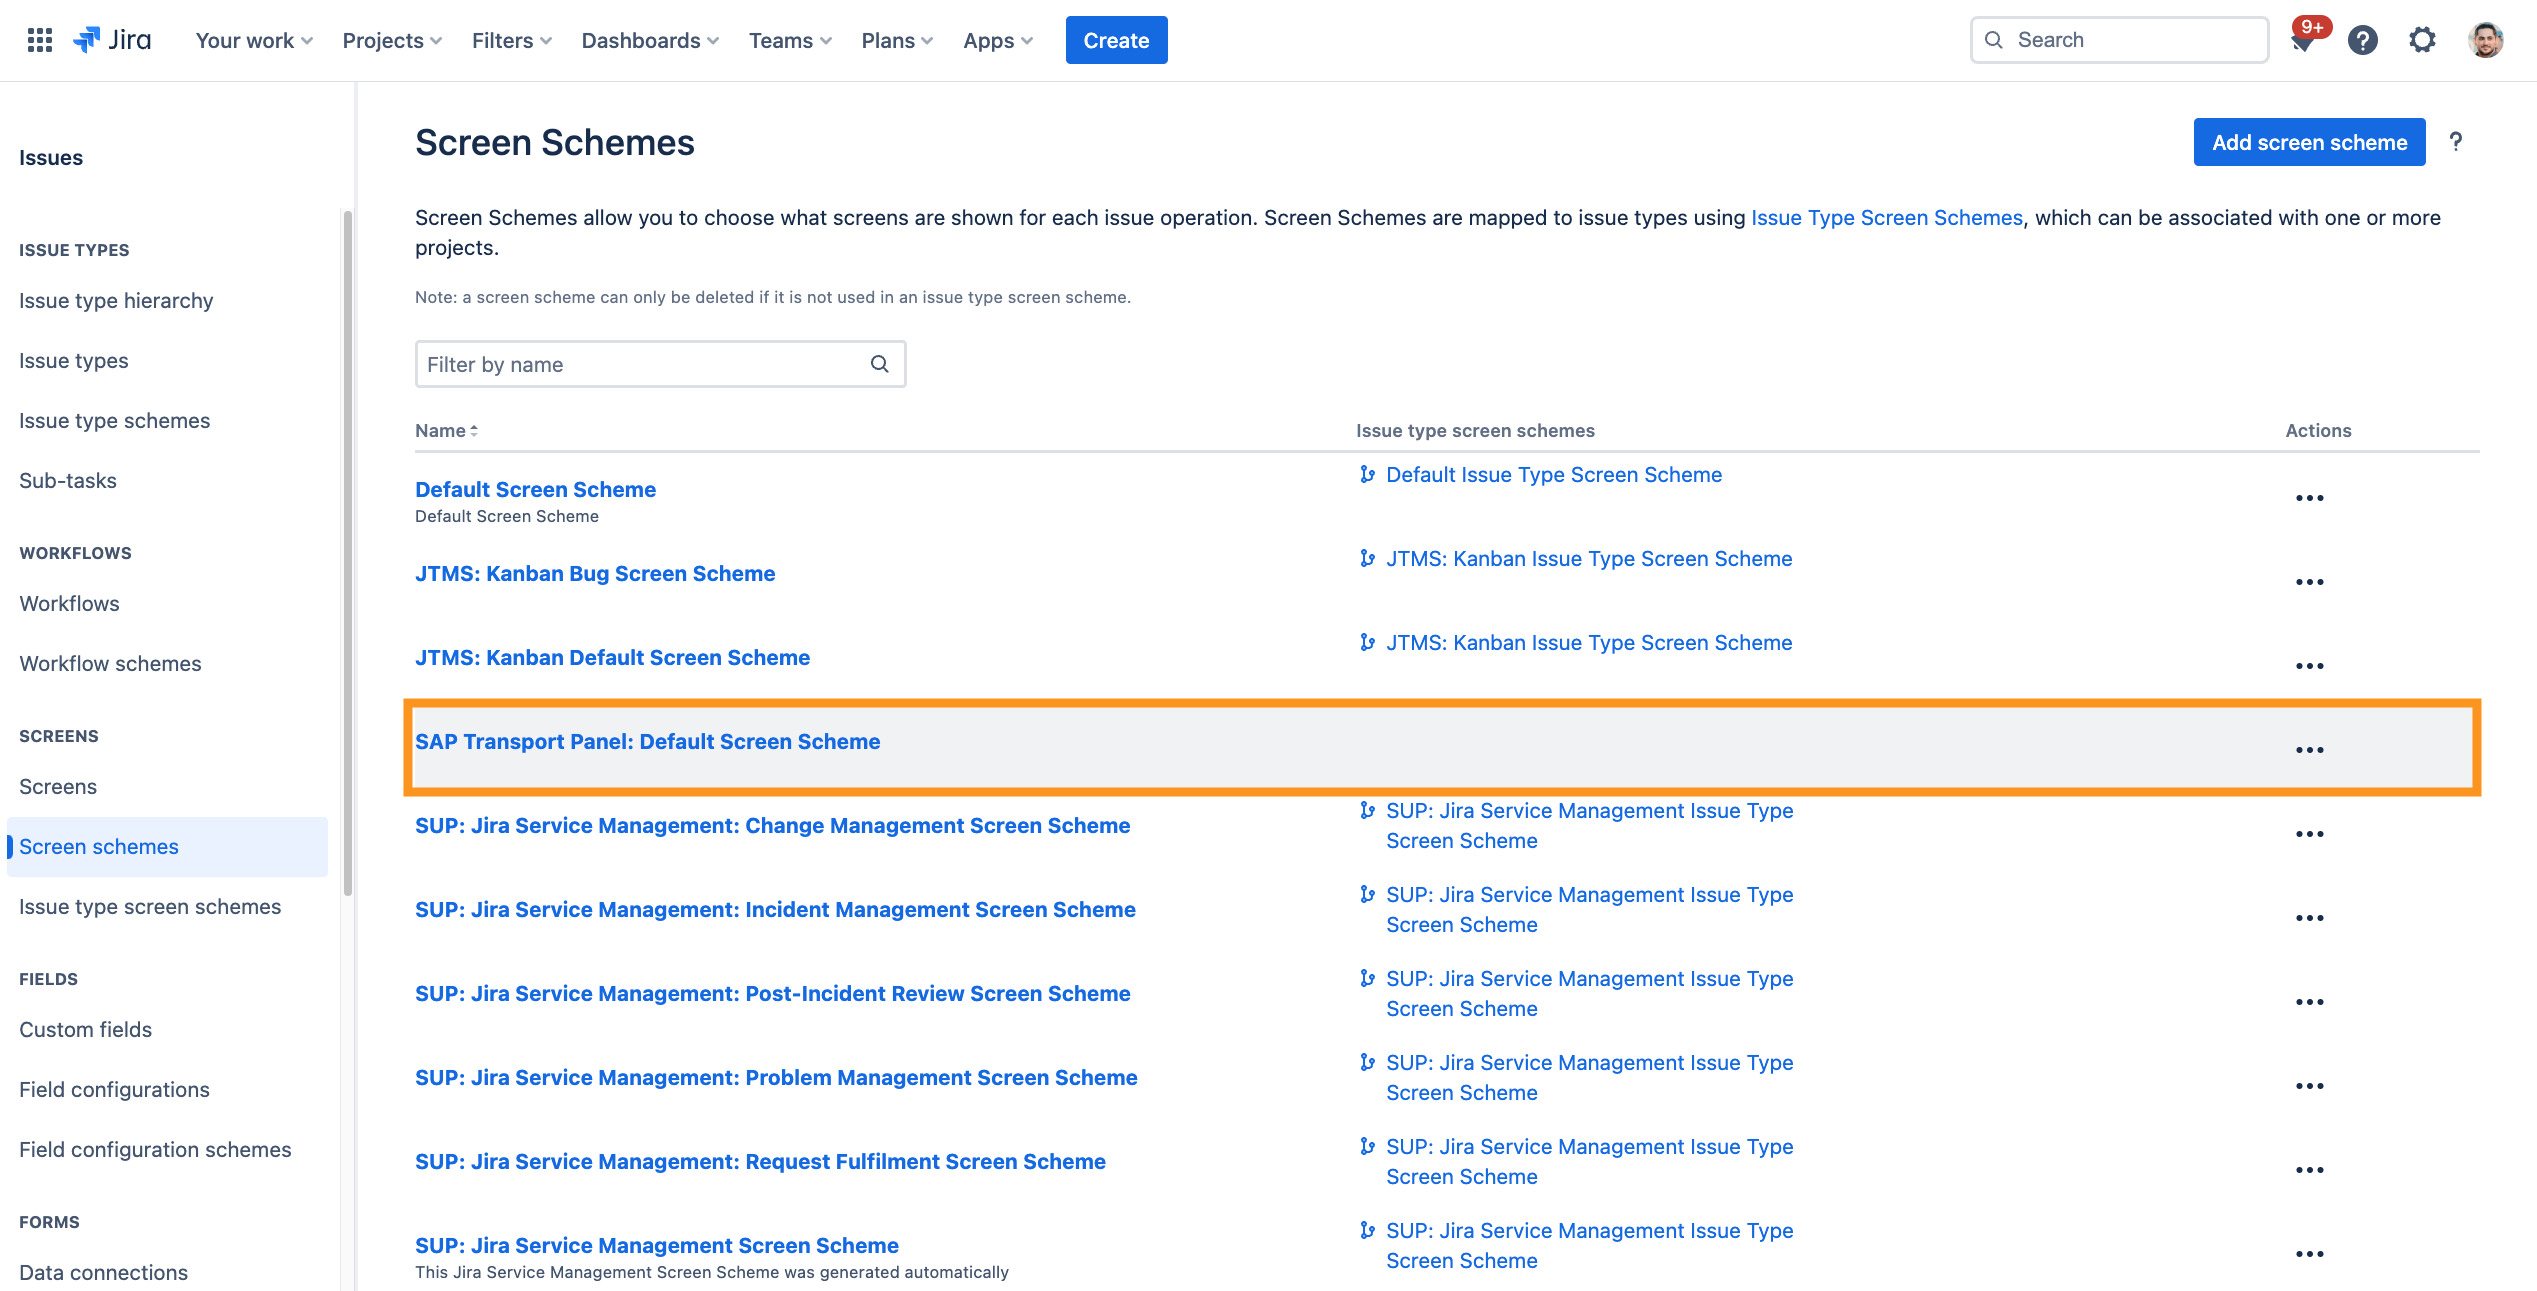
| 4 | A new Screen Scheme is created and appears in the overview. |
|
Associate screen scheme to issue types
There may be additional issue types in your project, which do not need a SAP transport. Therefore the just created screen scheme should be added only to relevant issue types.
Further information → Atlassian documentation: Associating screen and issue operation mappings with an issue type
| Step | Procedure | Example |
|---|---|---|
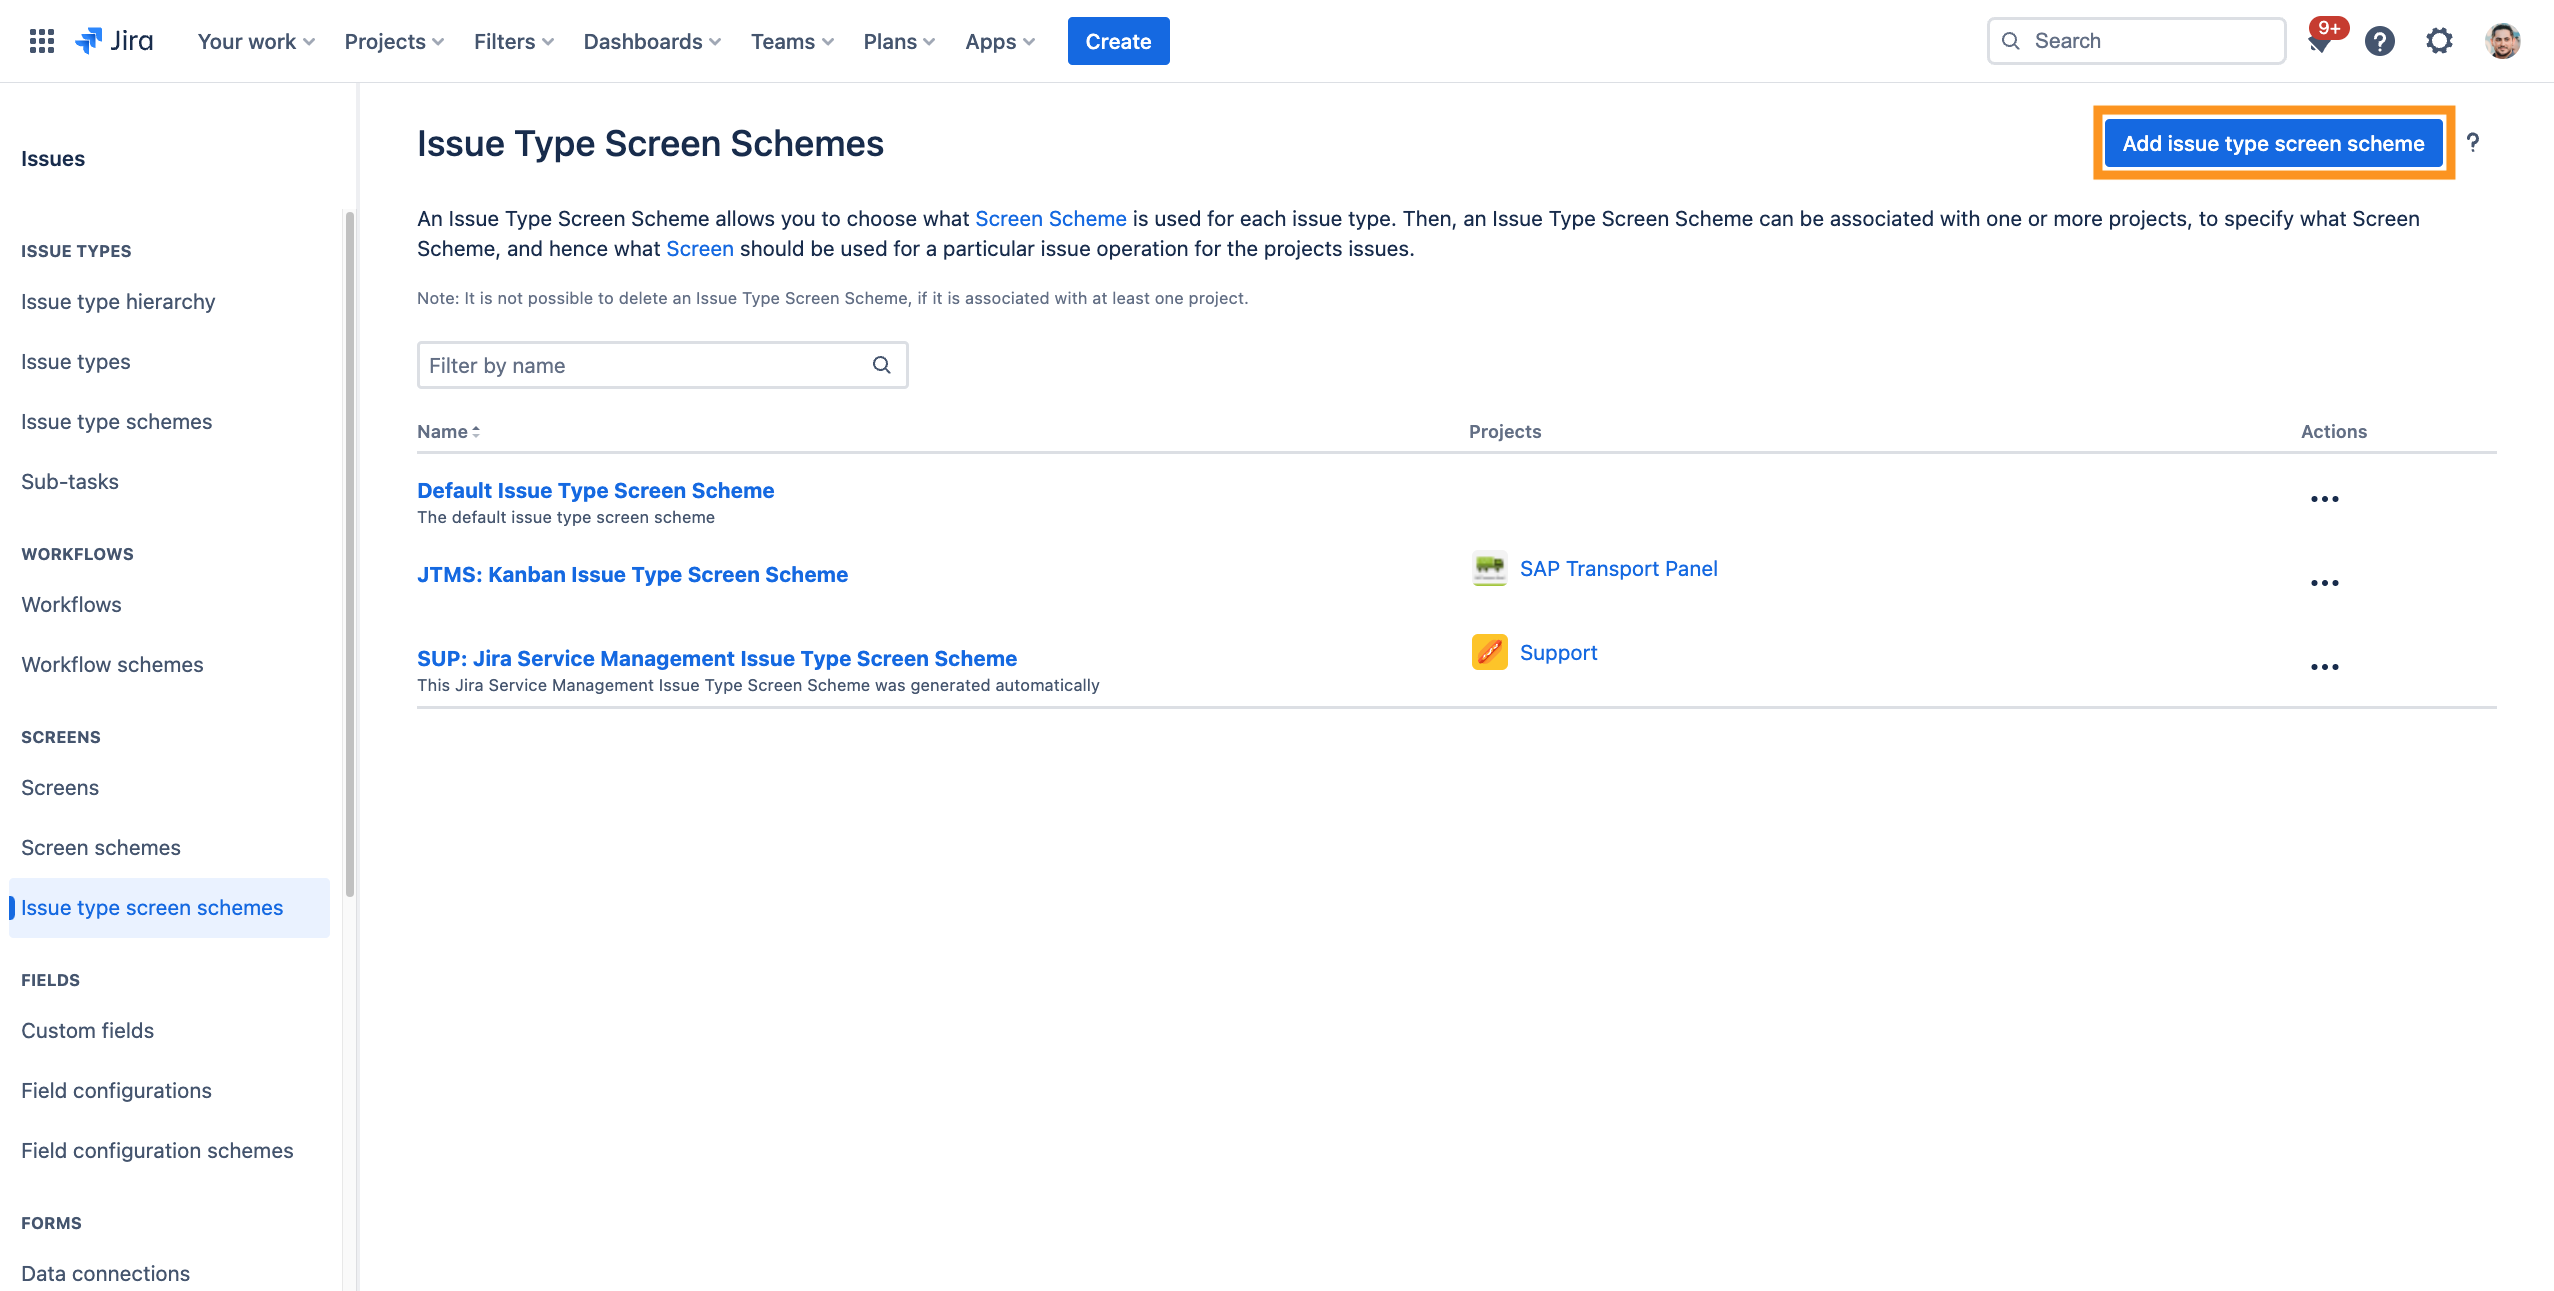
| 1 | In Jira, navigate to Admin Menu (cog wheel) → Issues → Issue type screen schemes(sidebar) | |
| 2 | Click on Add issue type screen scheme to open a dialog. |
|
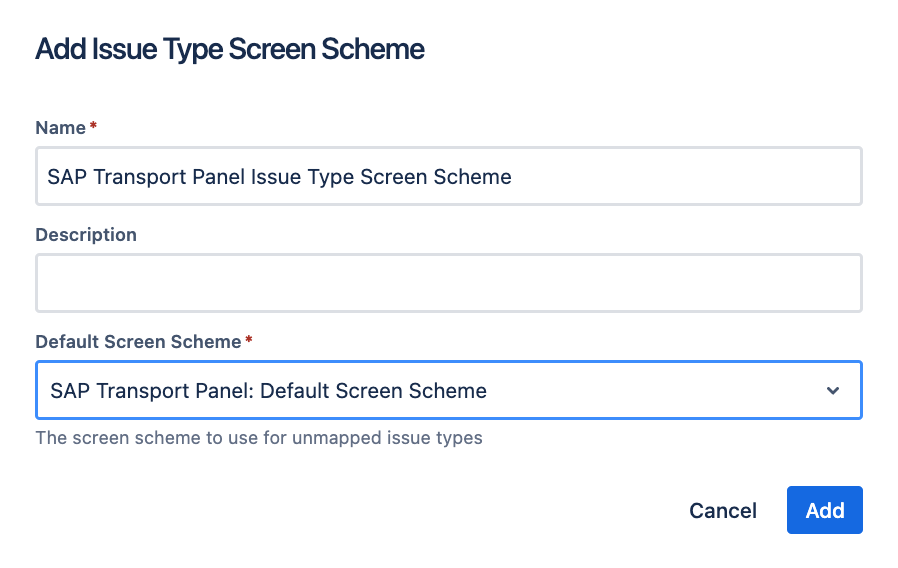
| 3 | Enter a name (e.g. SAP Transport Panel Issue Type Screen Scheme) and a description (optional) Select any default screen scheme to use for unmapped issue types. → Click on Add |
|
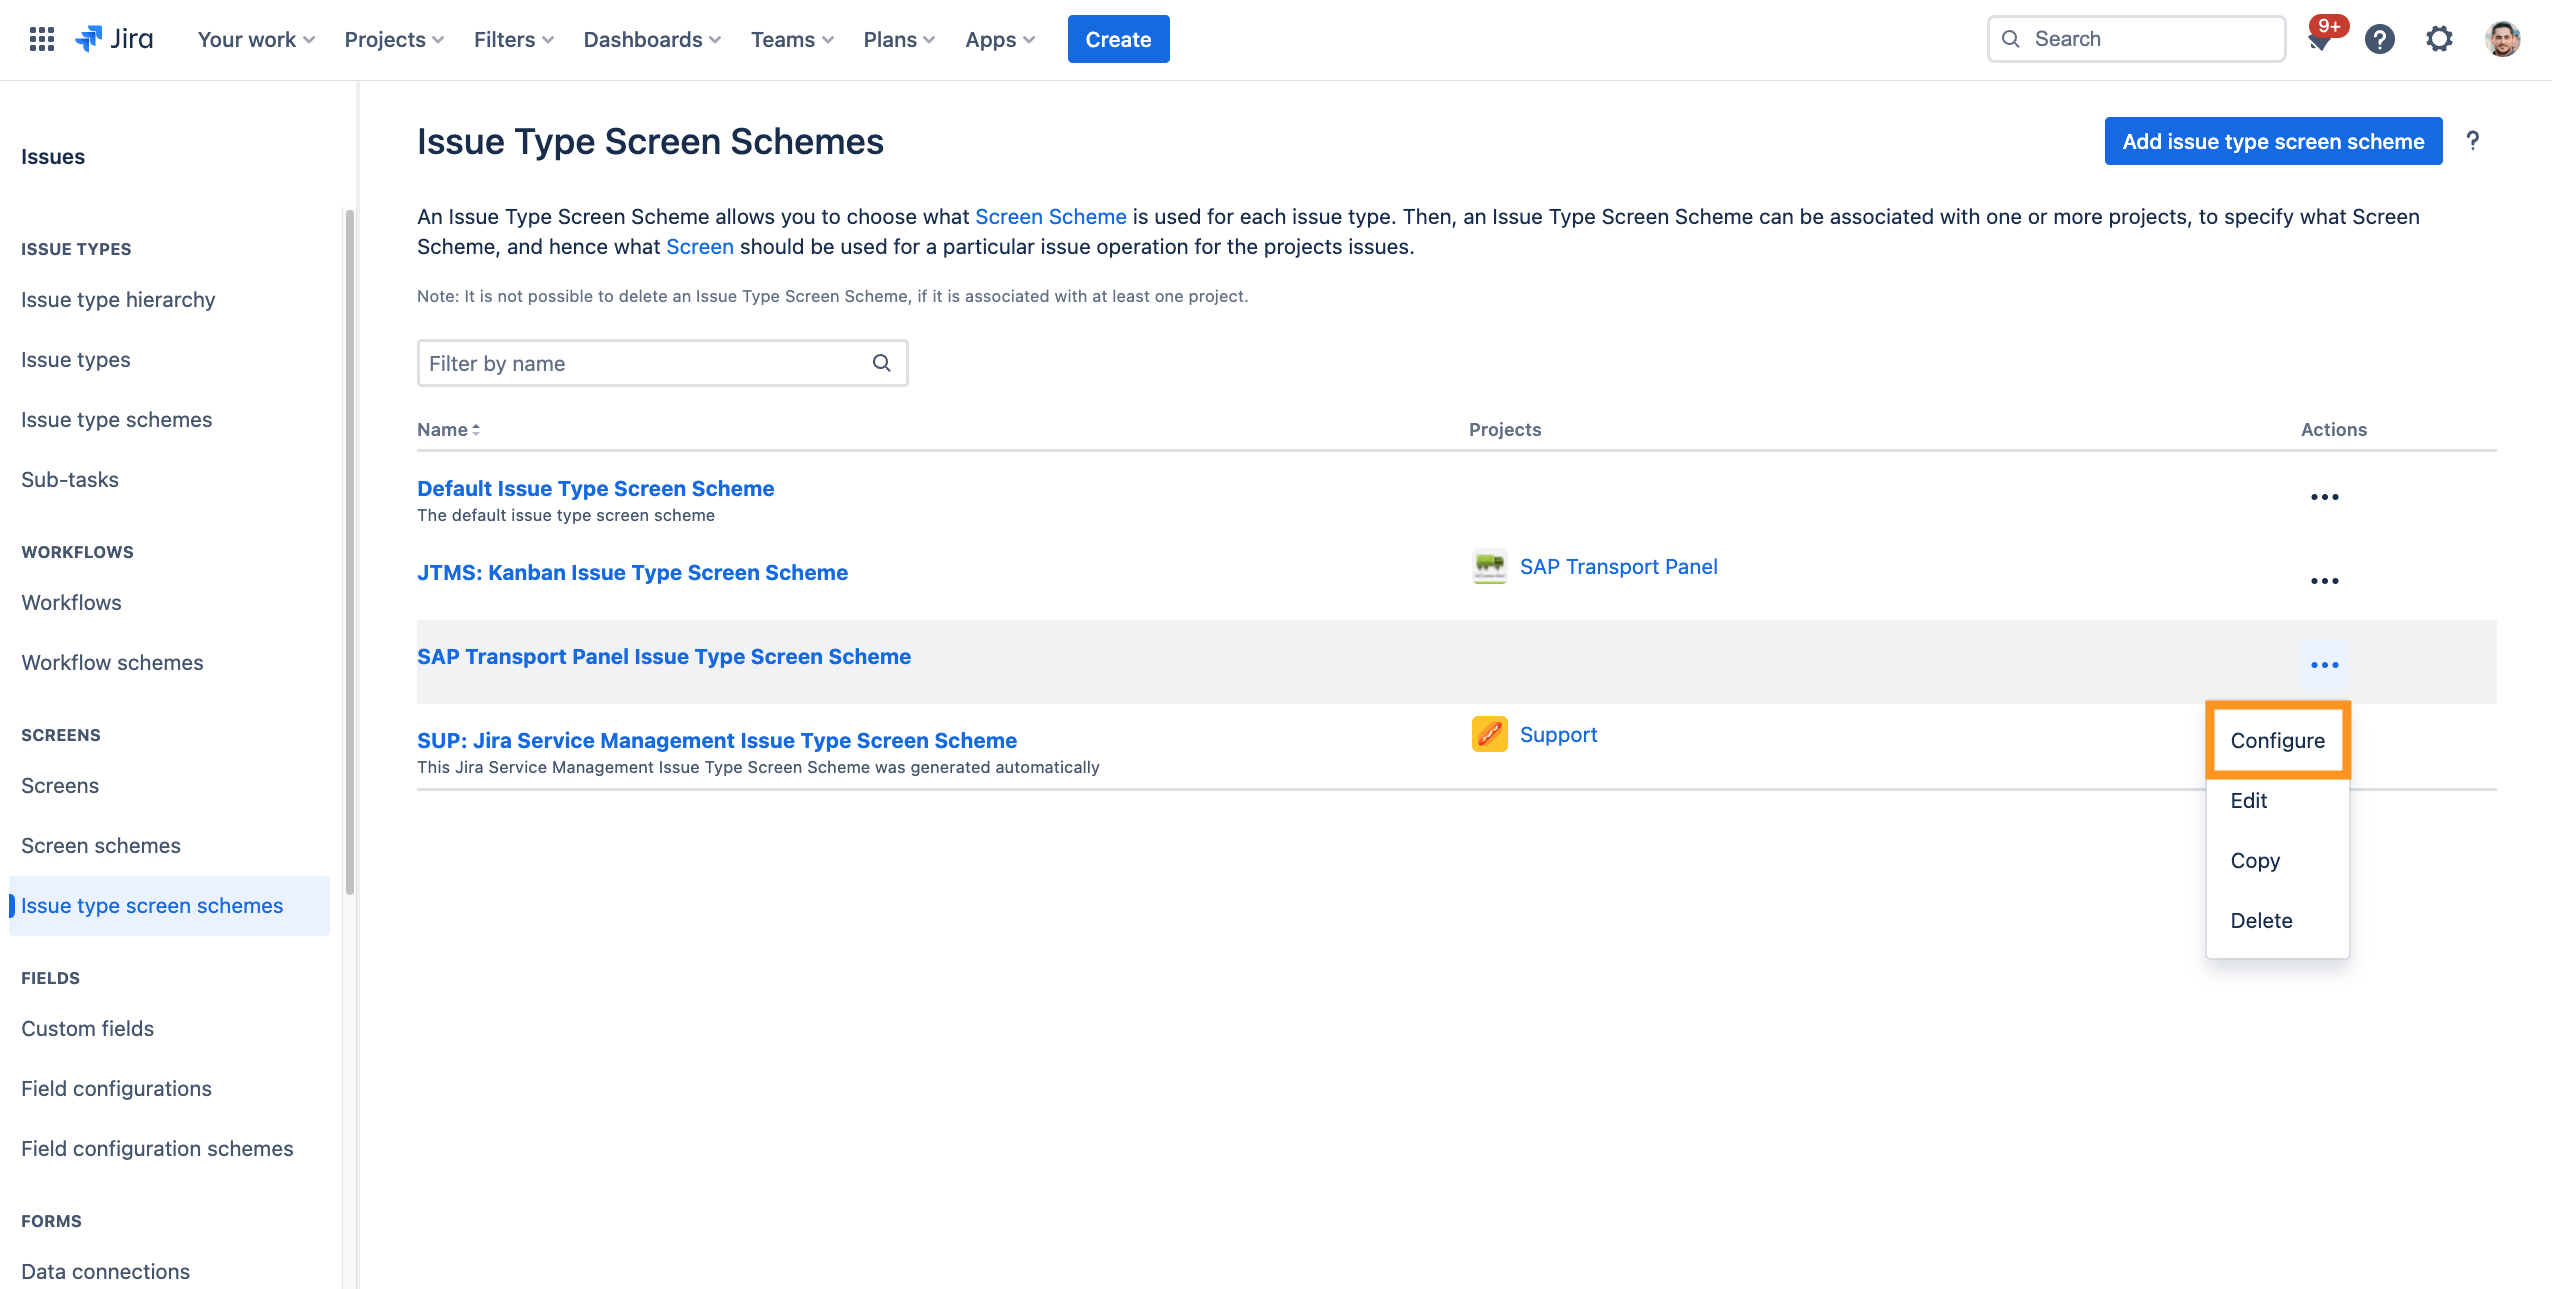
| 4 | Your are automatically navigated to the configure dialog of the created issue type screen scheme. Otherwise you have to search for the created Issue type screen scheme to assign the scheme to issue types→ Click on Configure |
|
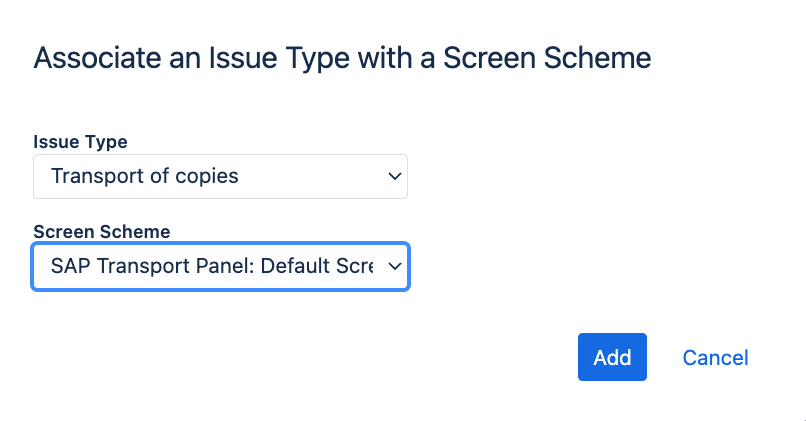
| 5 | In the dialog that follows, the issue type and screen scheme are assigned to one another via Click on Associate an issue type with a screen scheme. This assignment must be made individually for each issue type. |
|
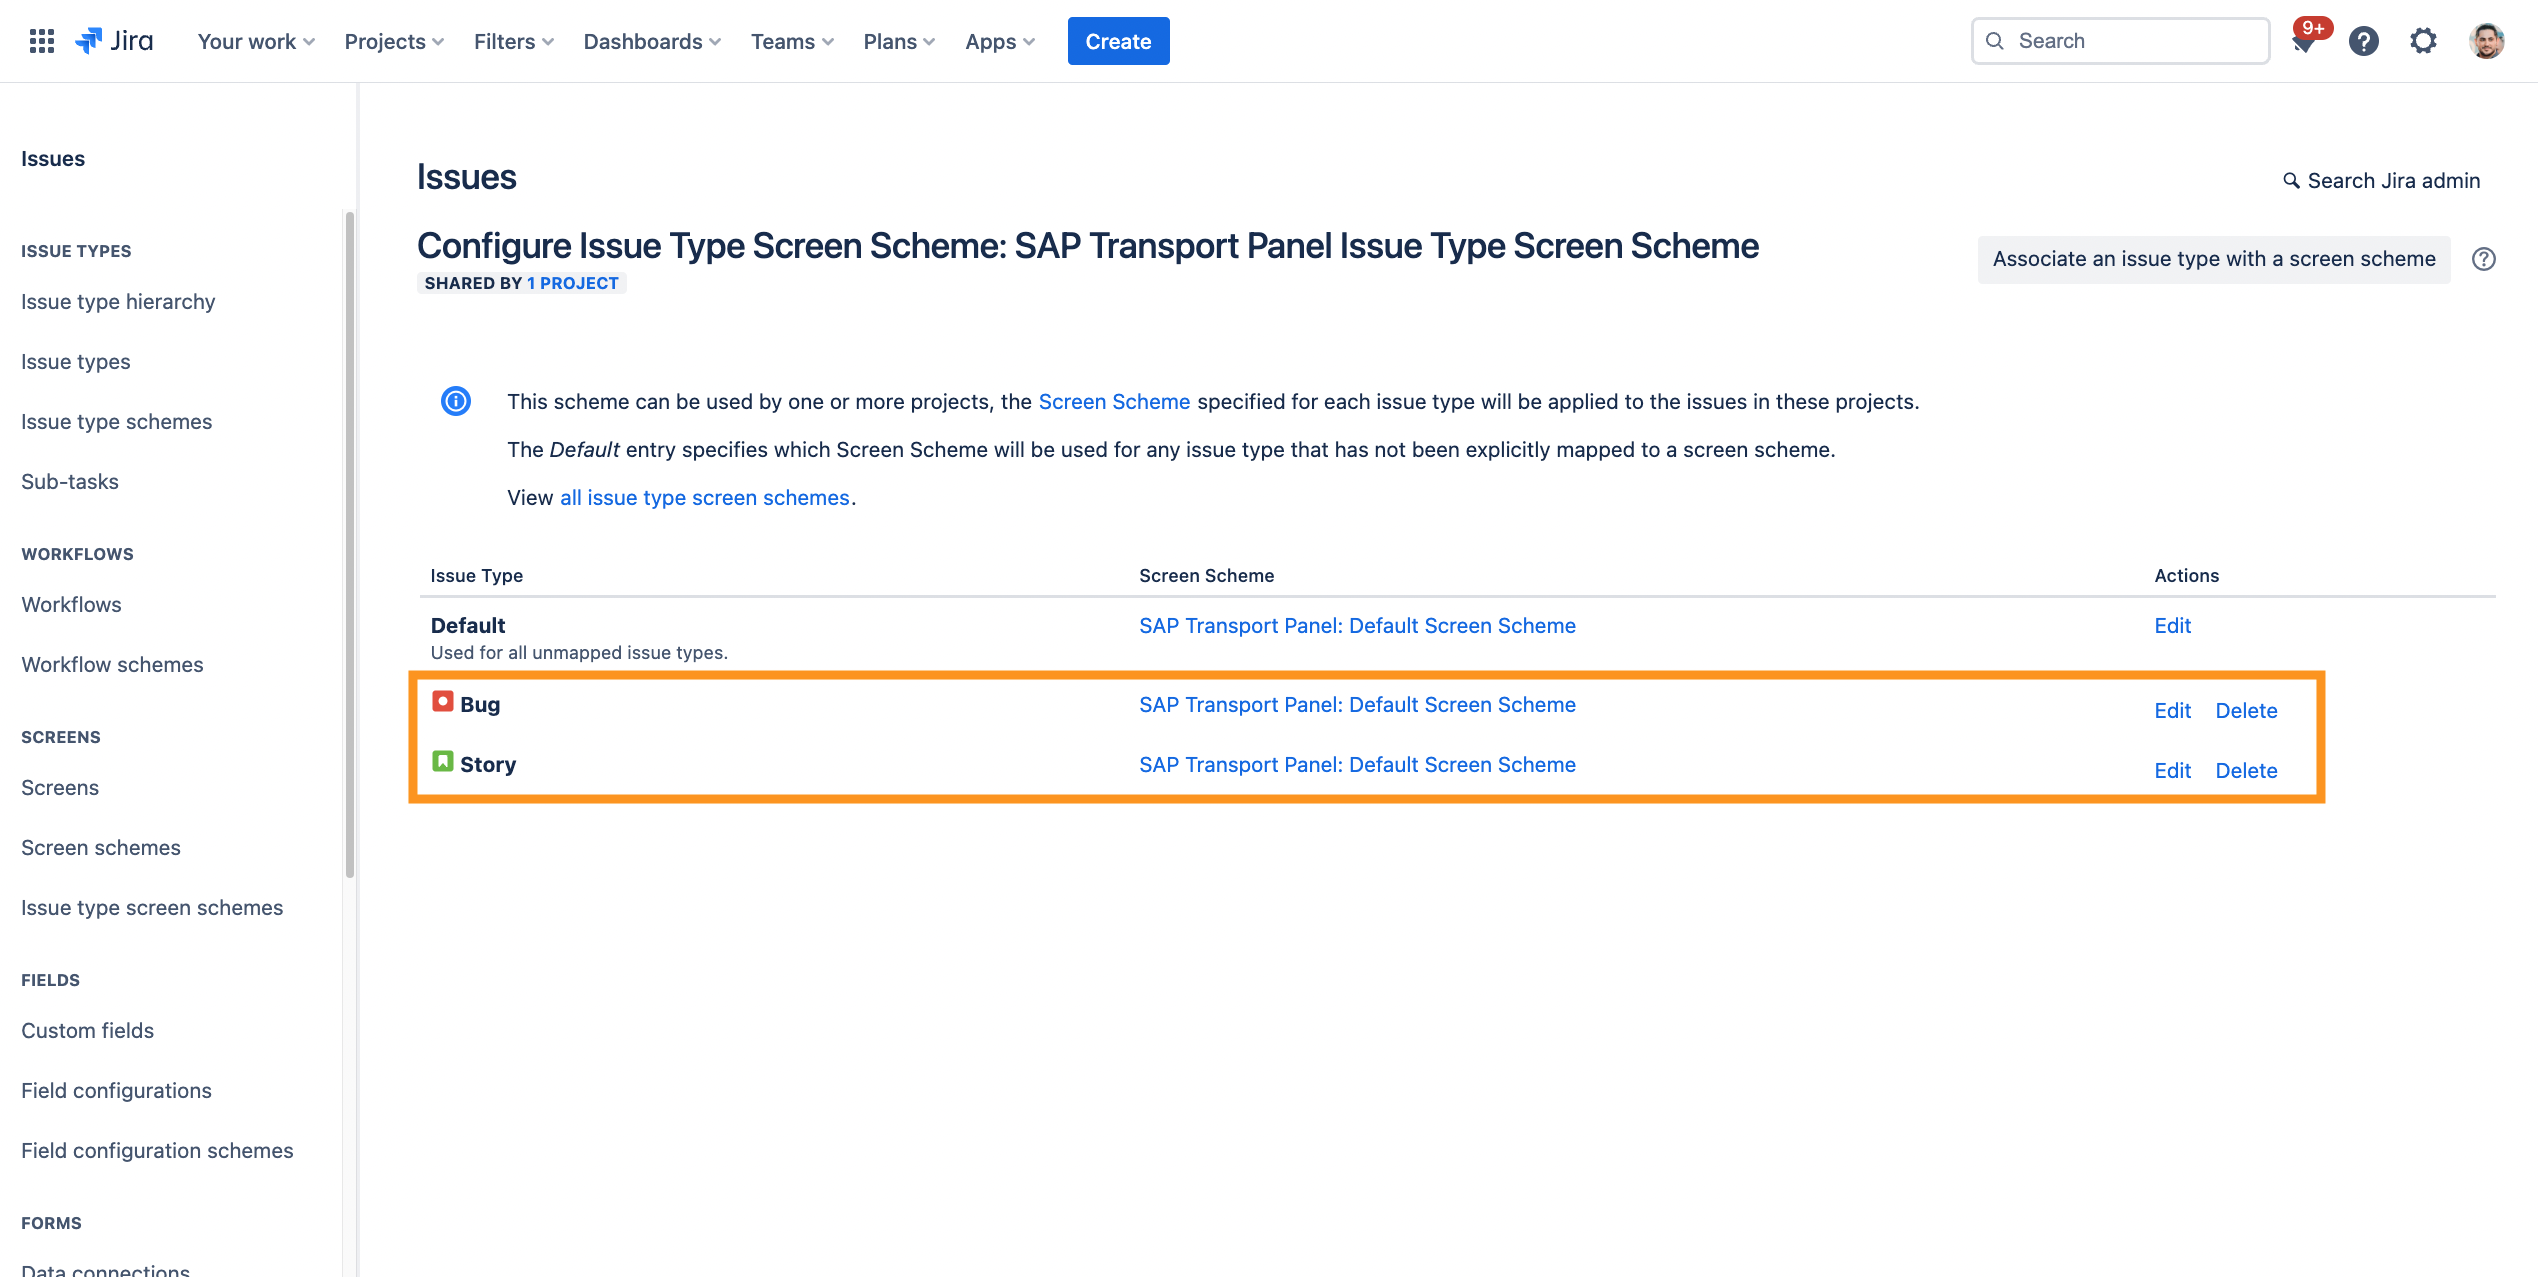
| 6 | The end result should look like in the example to the right. |
|
Associate the screen scheme to the Jira project
To use the screens for SAP Transport Panel the screen scheme needs to be associated to the Jira project.
Further information → Atlassian documentation: Associating an issue type screen scheme with a project
| Step | Procedure | Example |
|---|---|---|
| 1 | Navigate to the relevant project defined in the first step of this section. Hint If you click on the search bar in the upper right of the Jira header the last accessed projects are listed. | |
| 2 | Click on Project setting at the bottom of the left navigation bar. | |
| 3 | Navigate to Issues → Screens | |
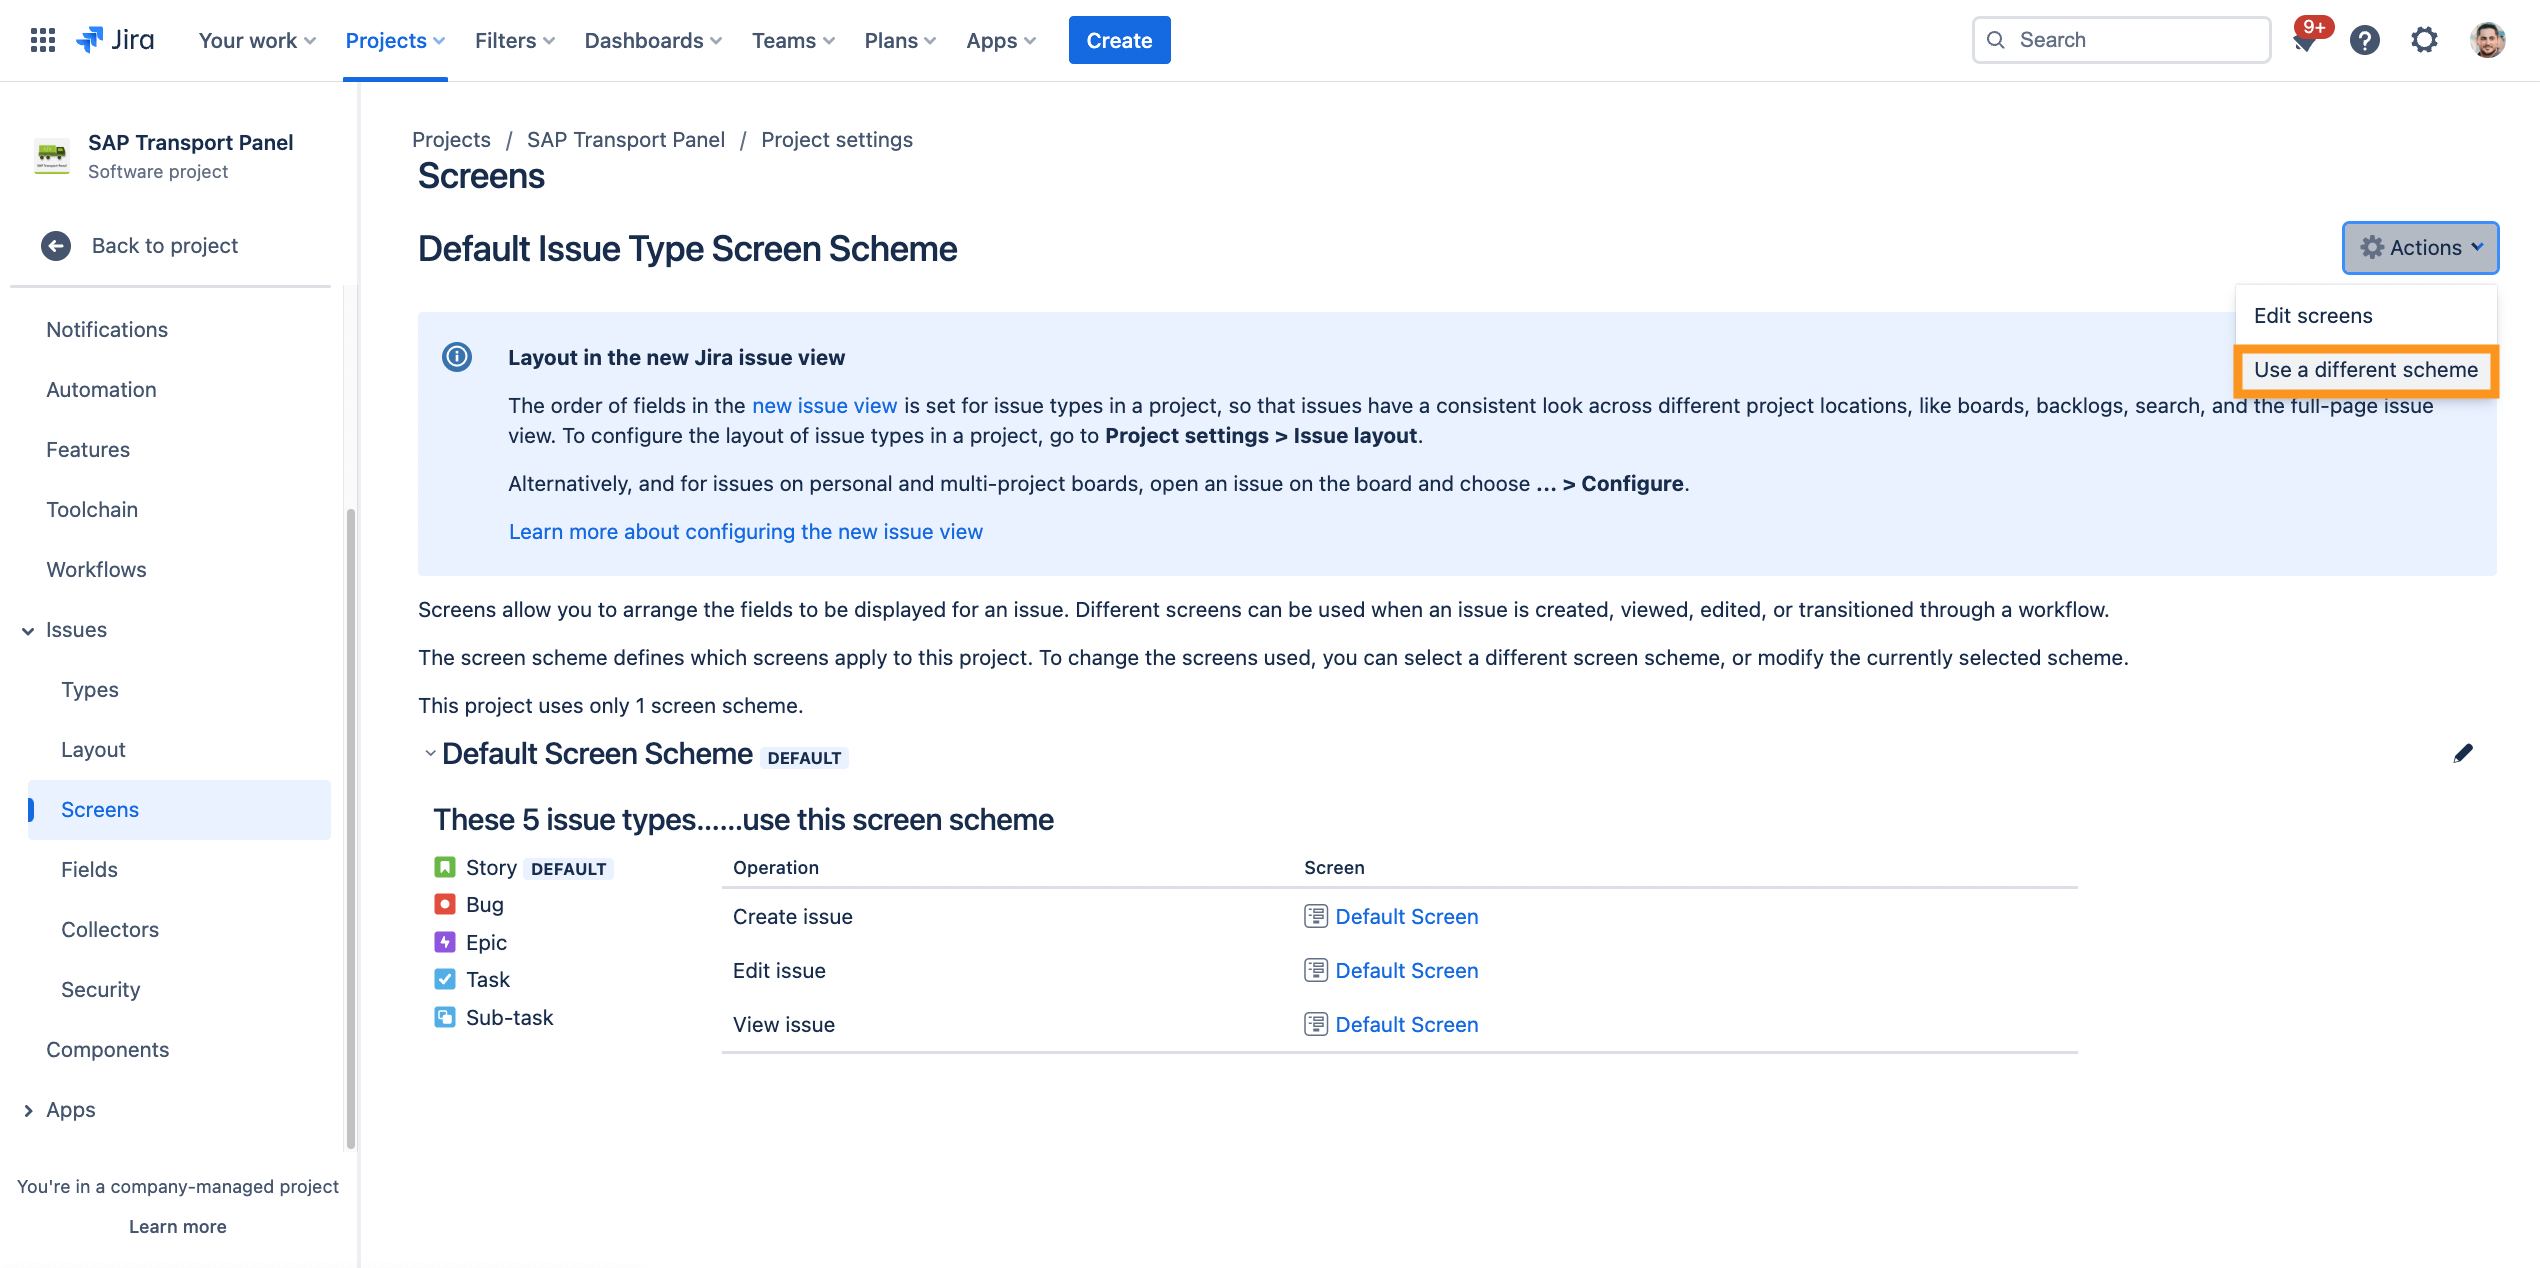
| 4 | Click on Actions and Use a different scheme |
|
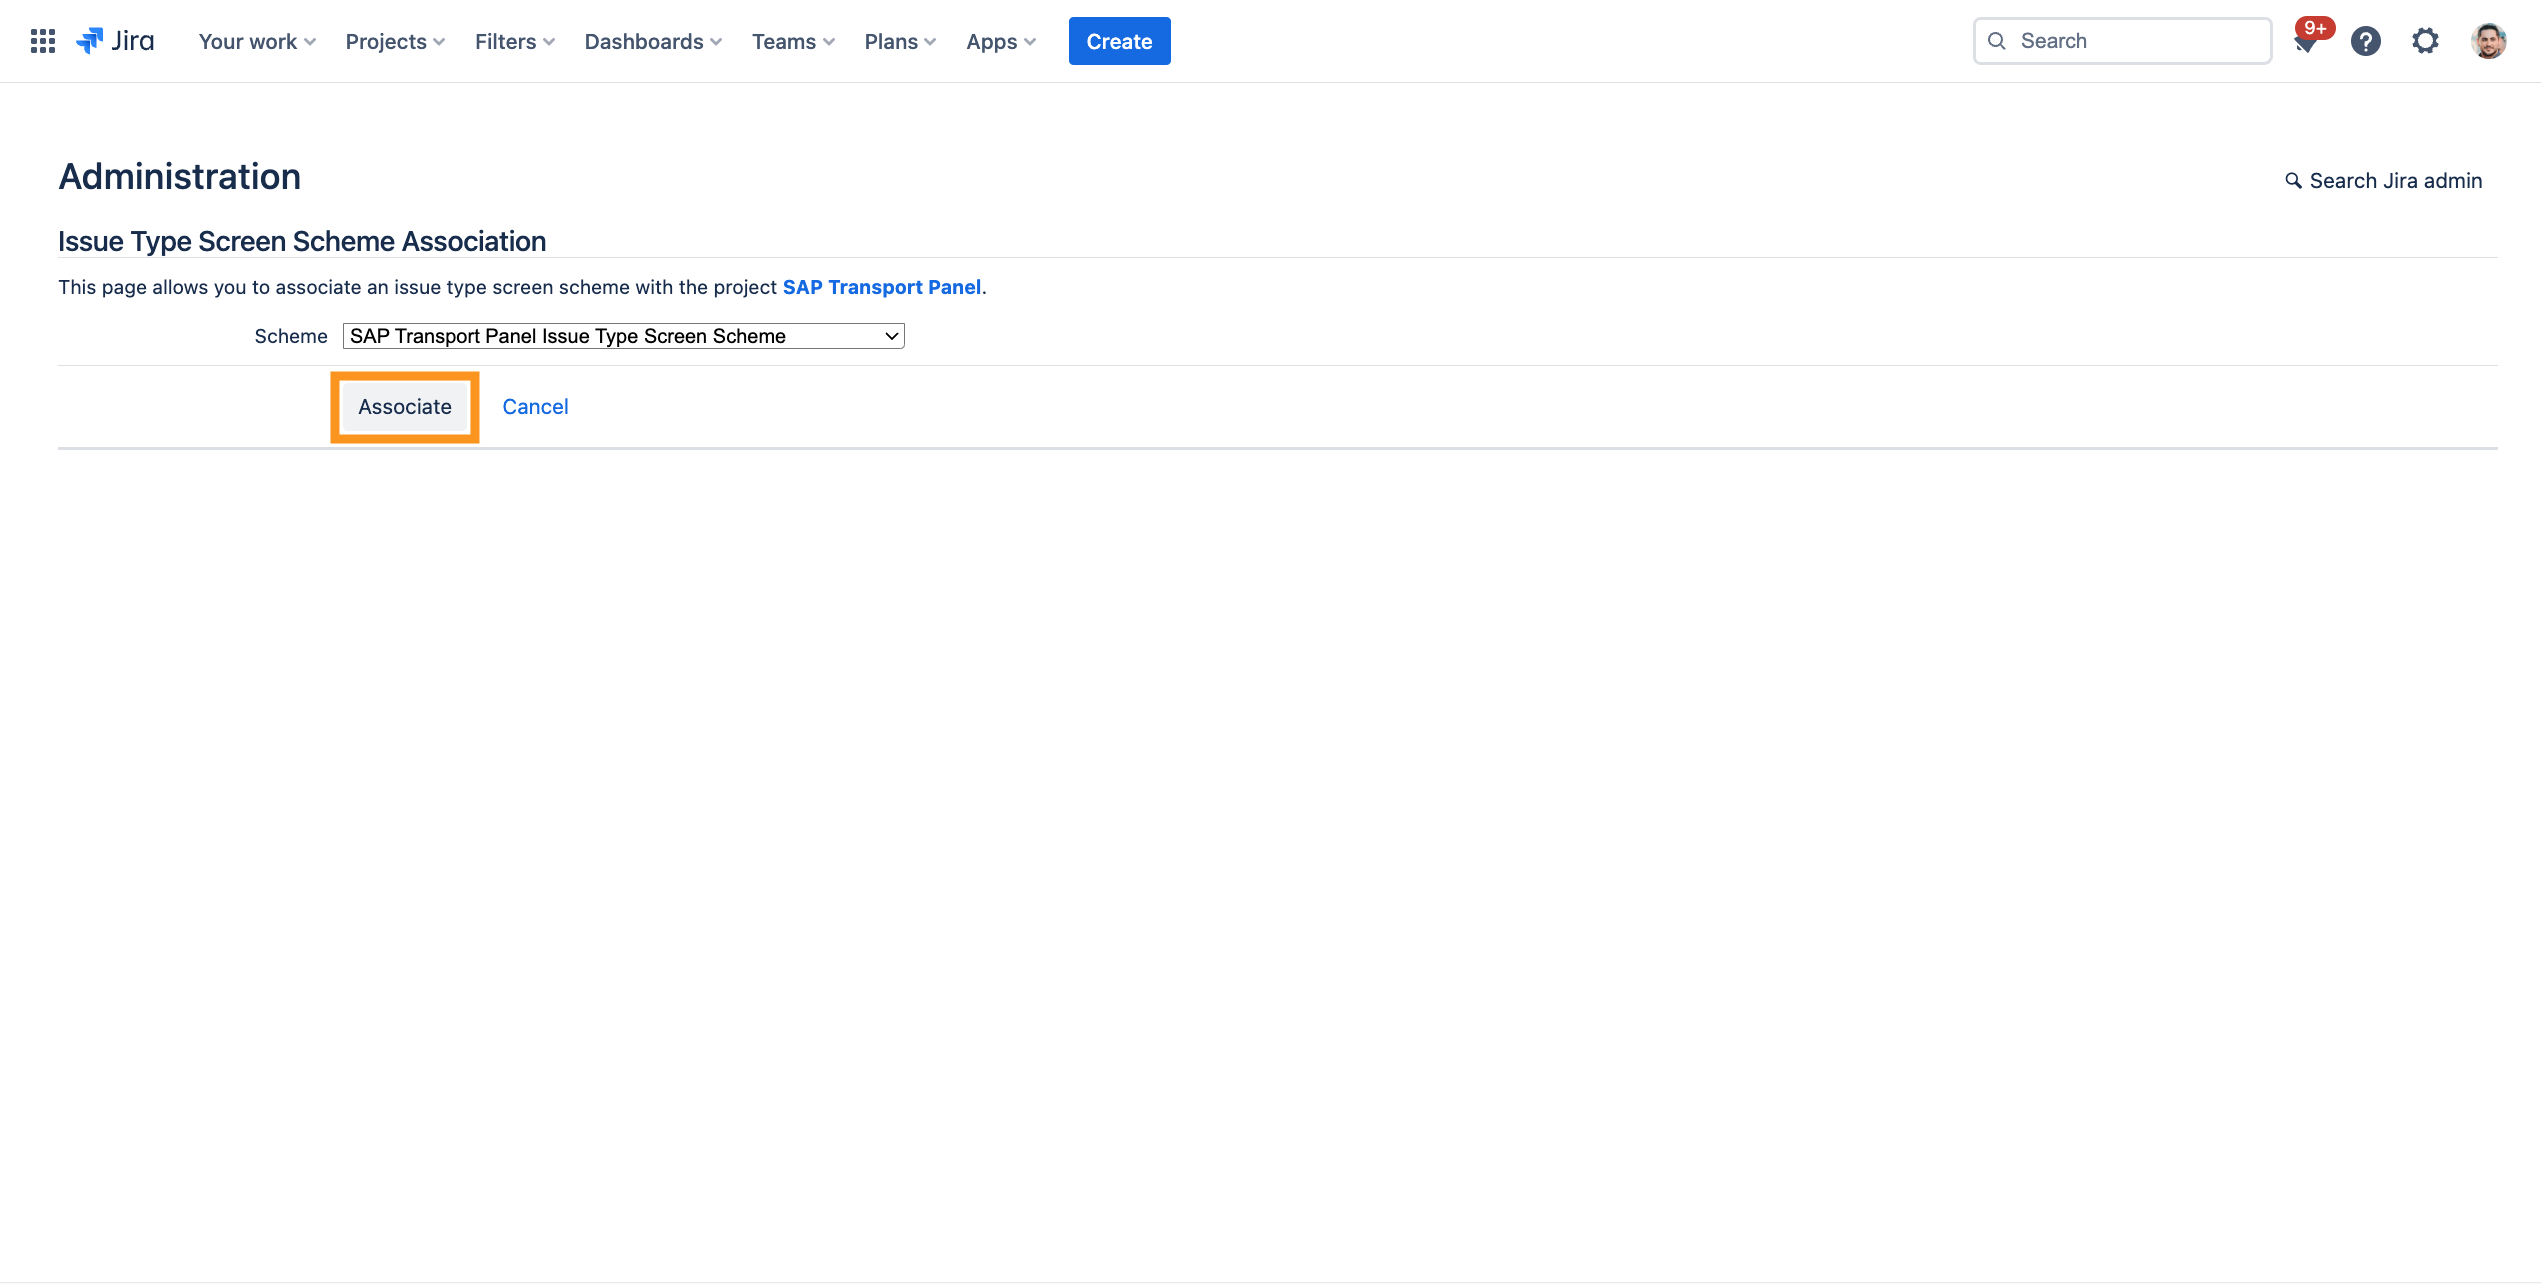
| 5 | Select the created scheme SAP Transport Panel: Default Screen Scheme. → Click on Associate |
|
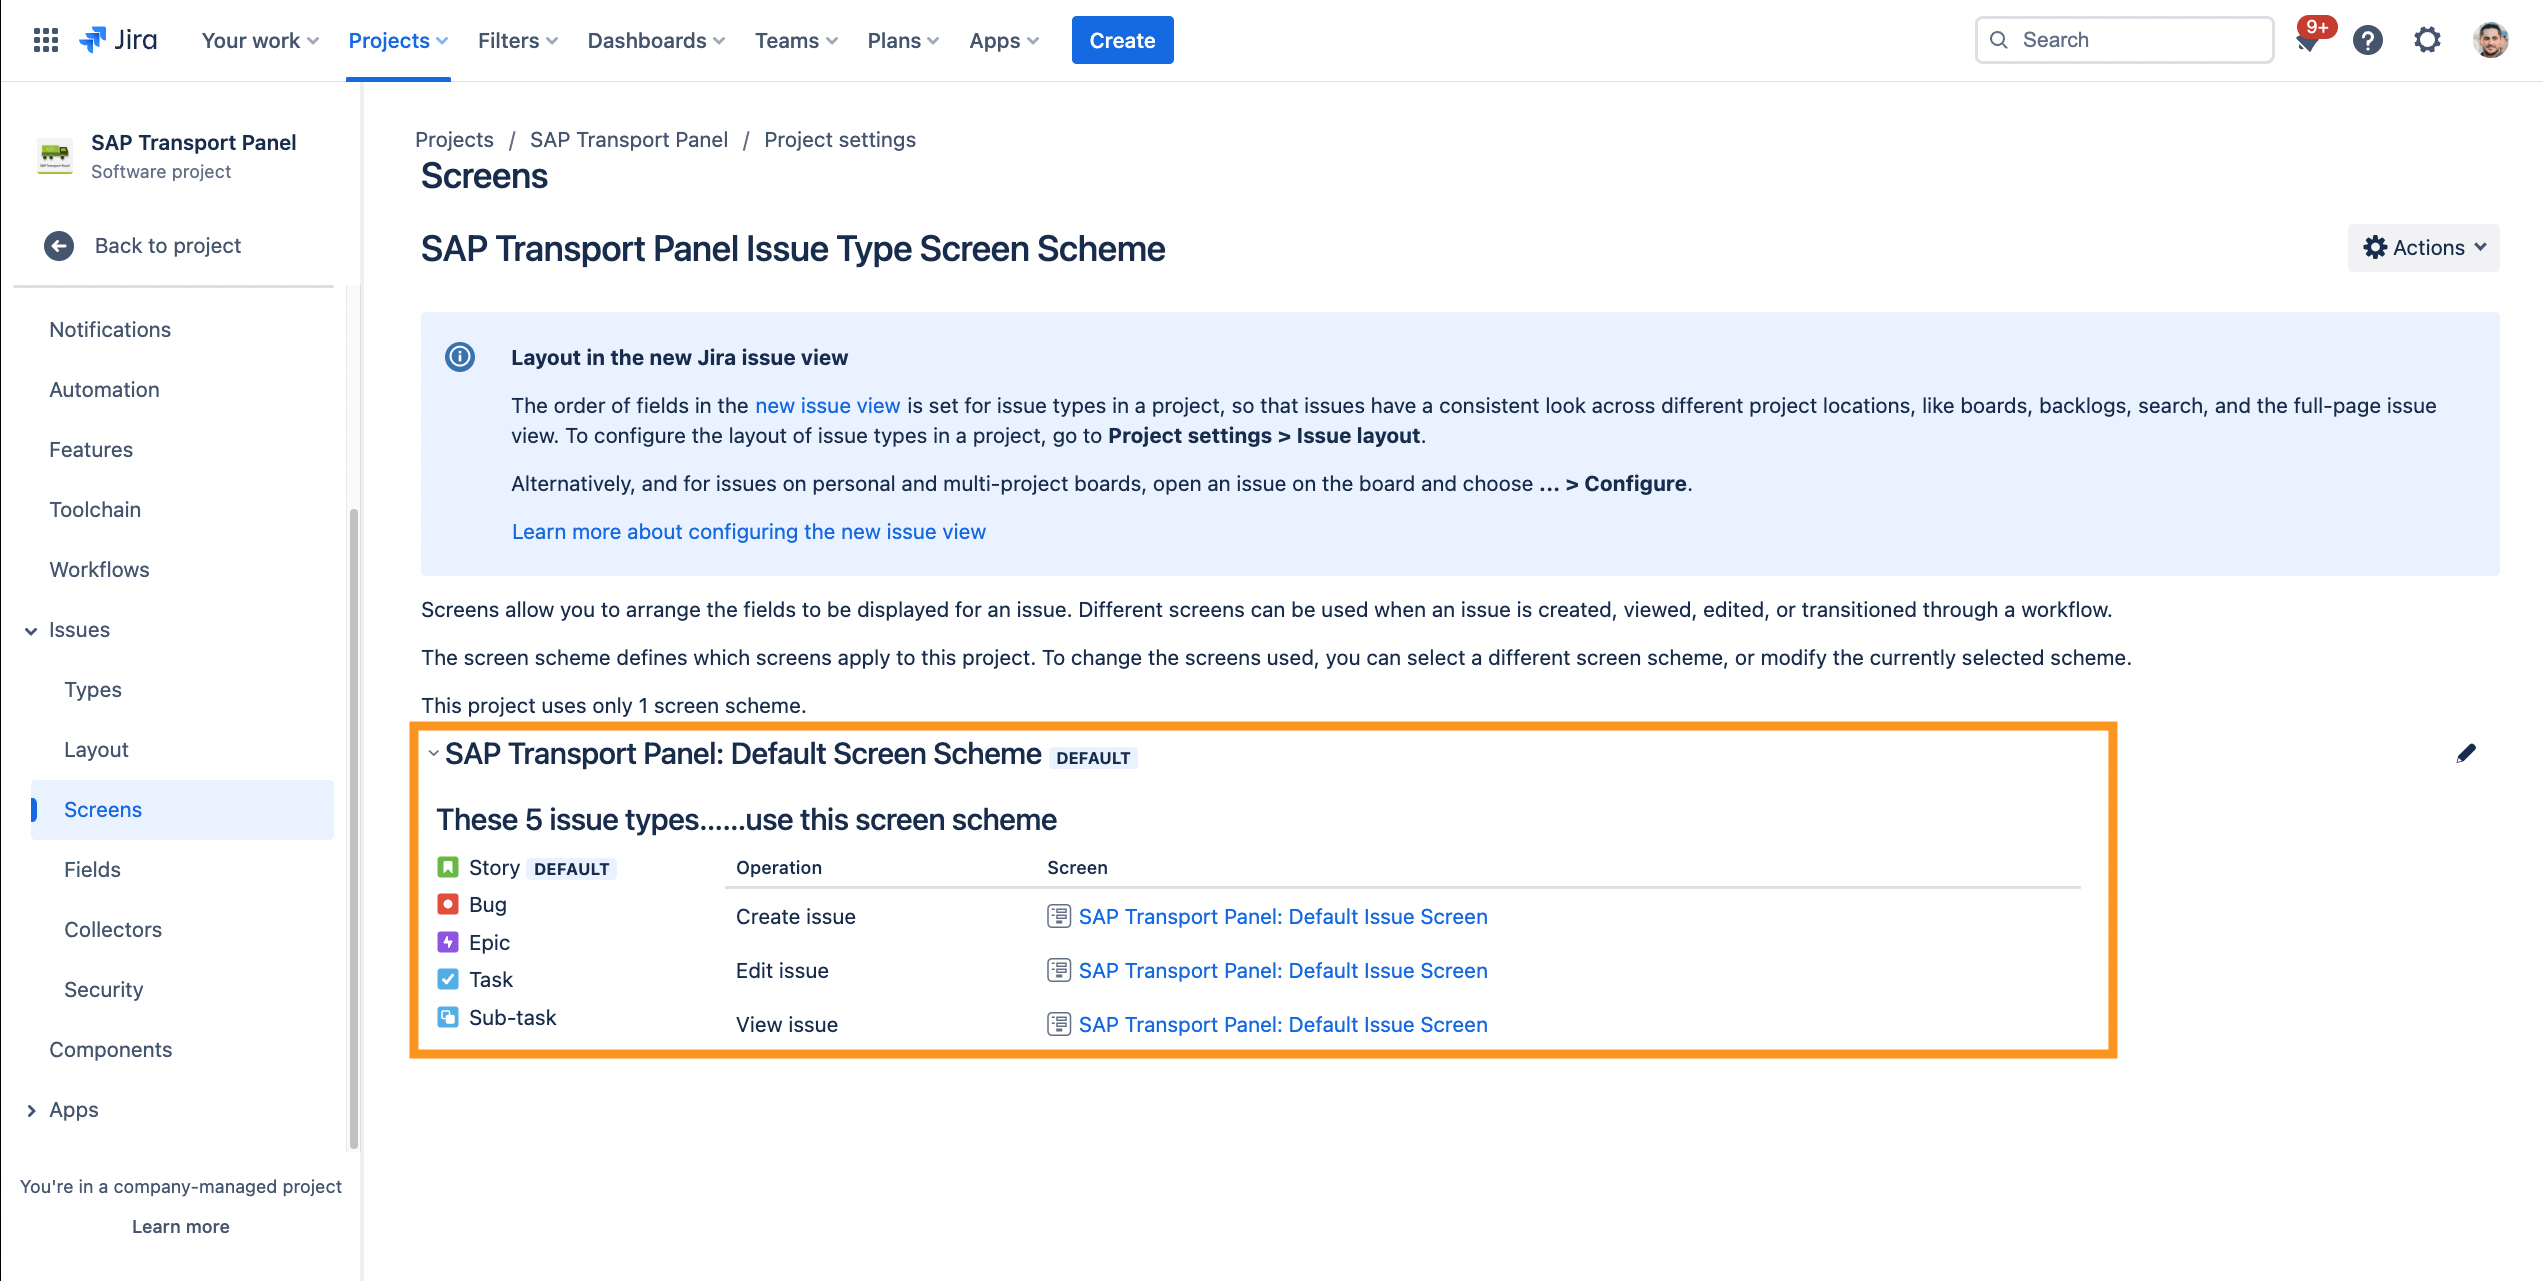
| 6 | The end result should look like in the example to the right. |
|