CLOUD How to configure an automatic transition based on the Return code of SAP Transport Panel
Step-by-Step Guide
Automatic transition to In production
Add an automatic transition to In production with Jira Automation based on the return code in the Original transport management workflow.
Further information → Jira Cloud Automation
| Step | Procedure | Example |
|---|---|---|
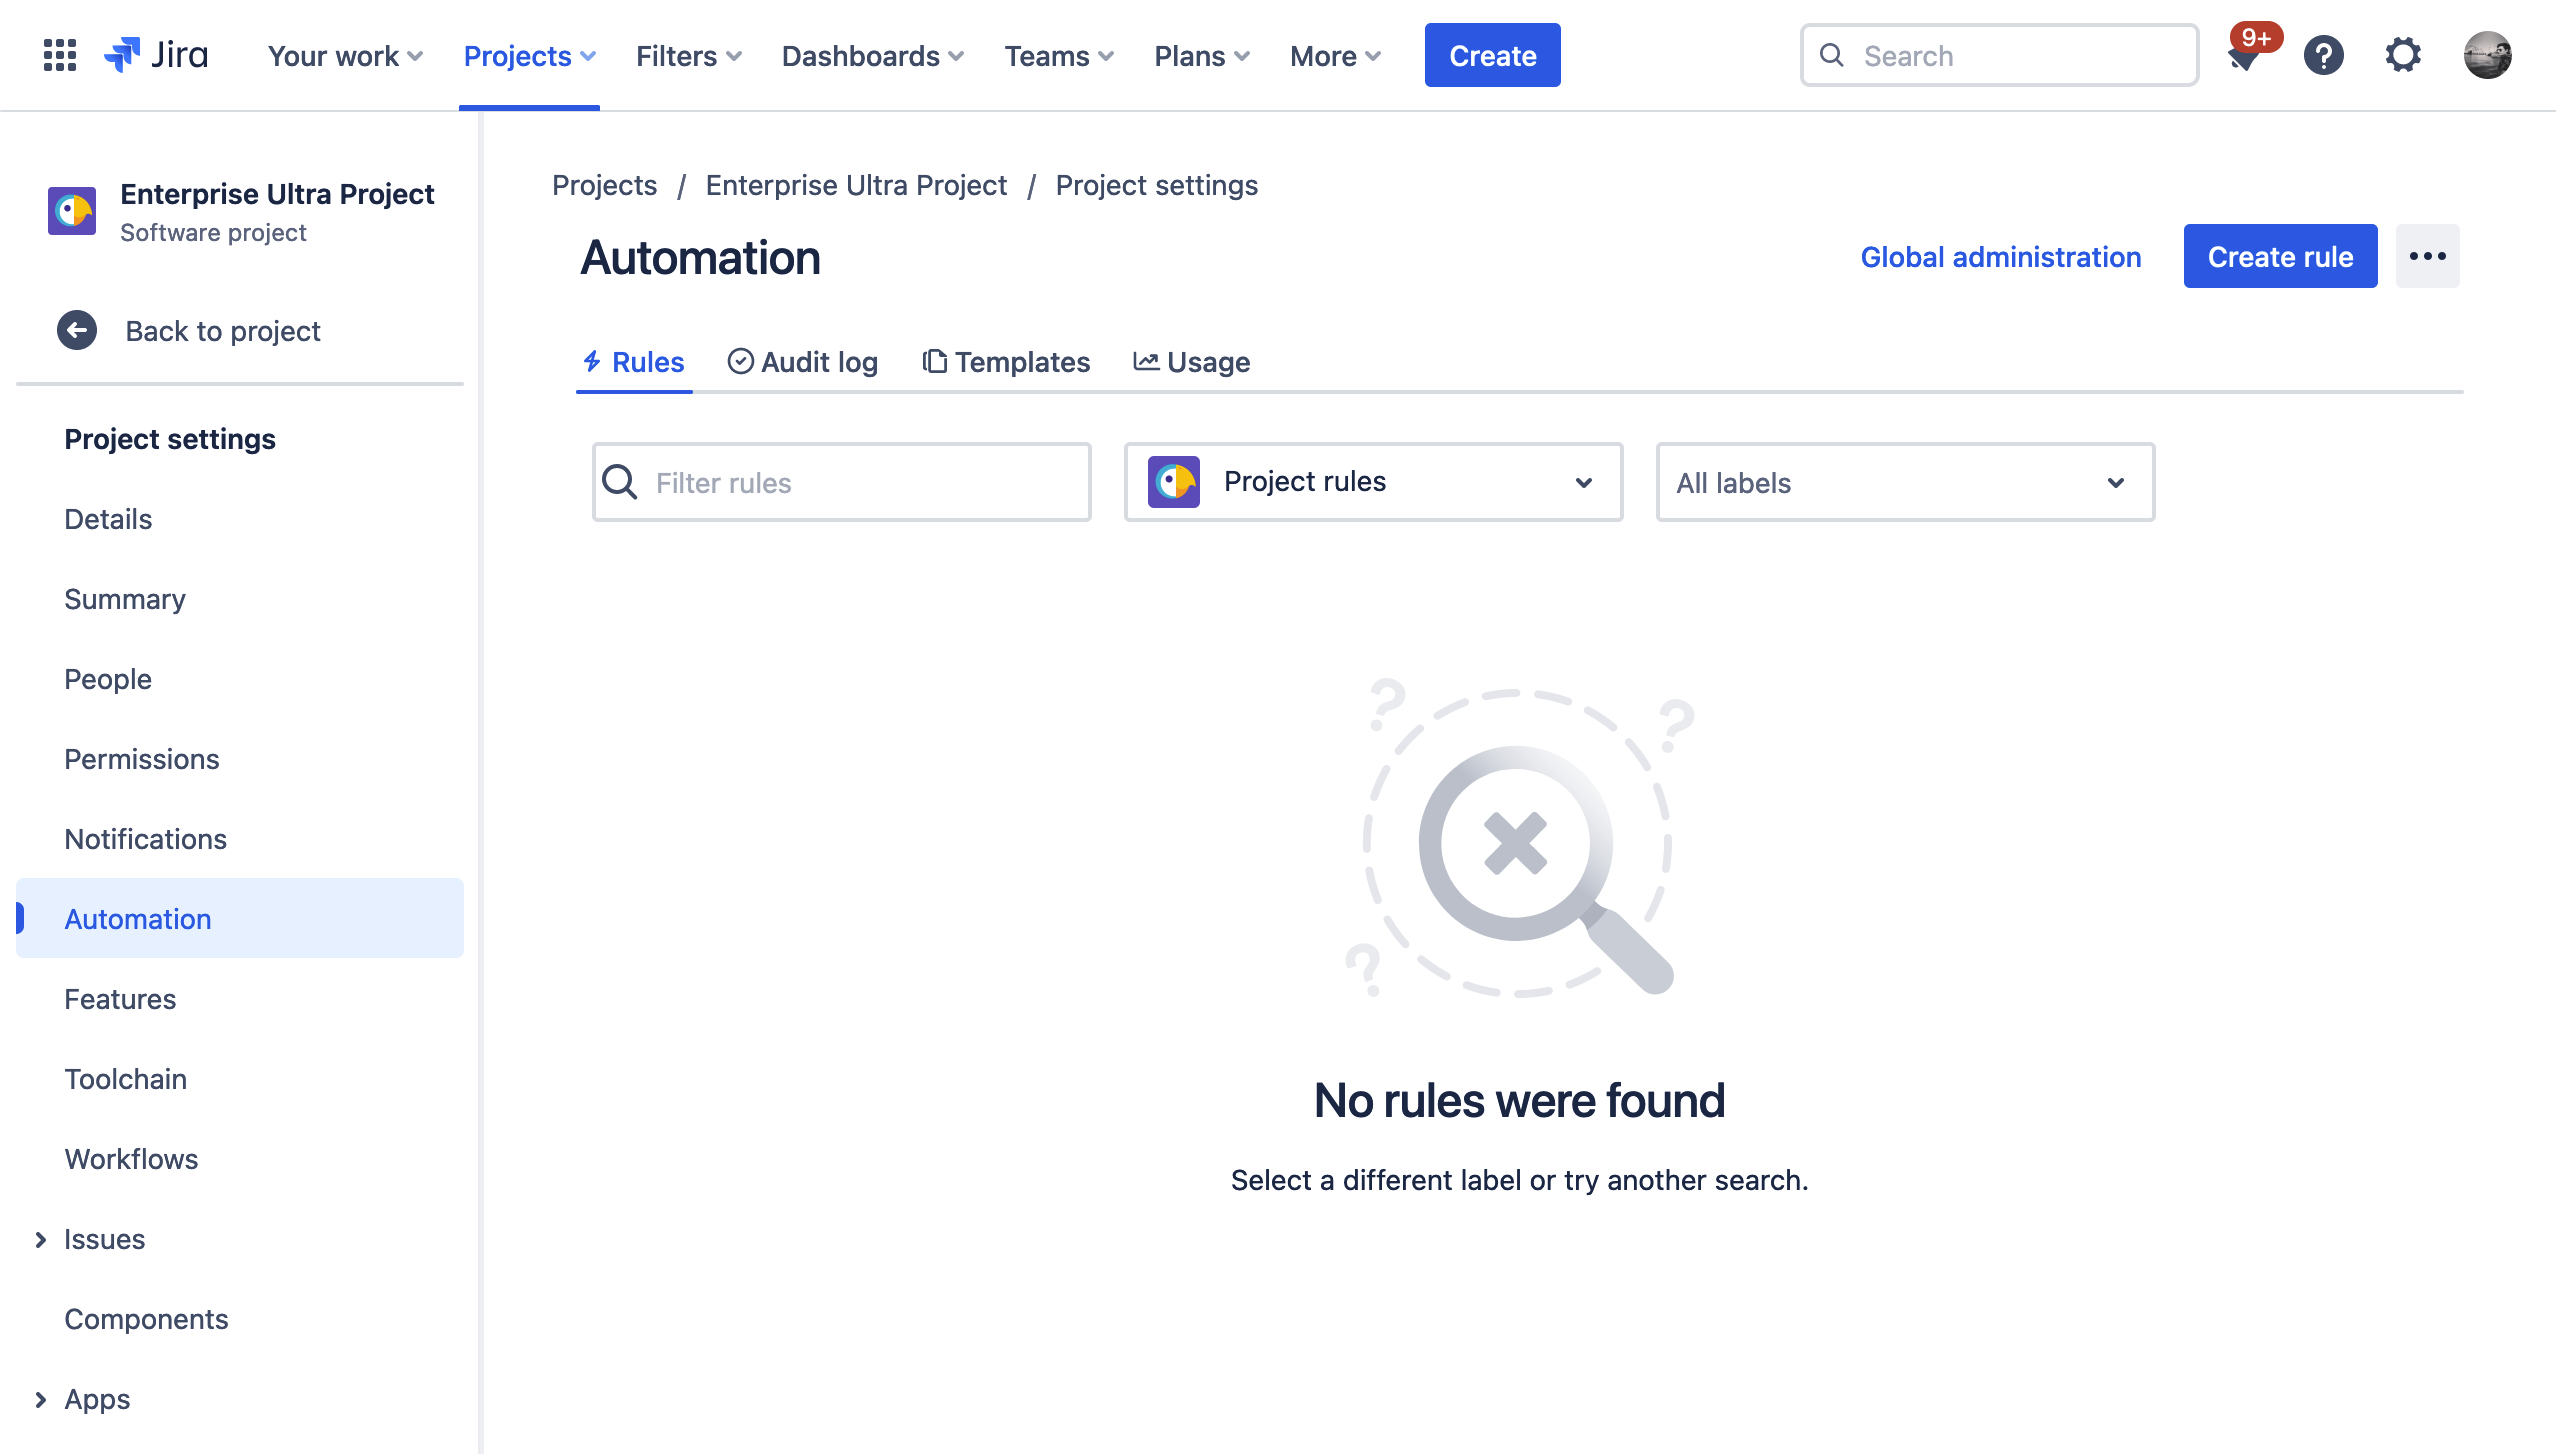
| 1 | In a Jira project, navigate to Project settings (cog wheel in the left side menu) → Automation → Create rule Automation is only available for company managed projects. |
|
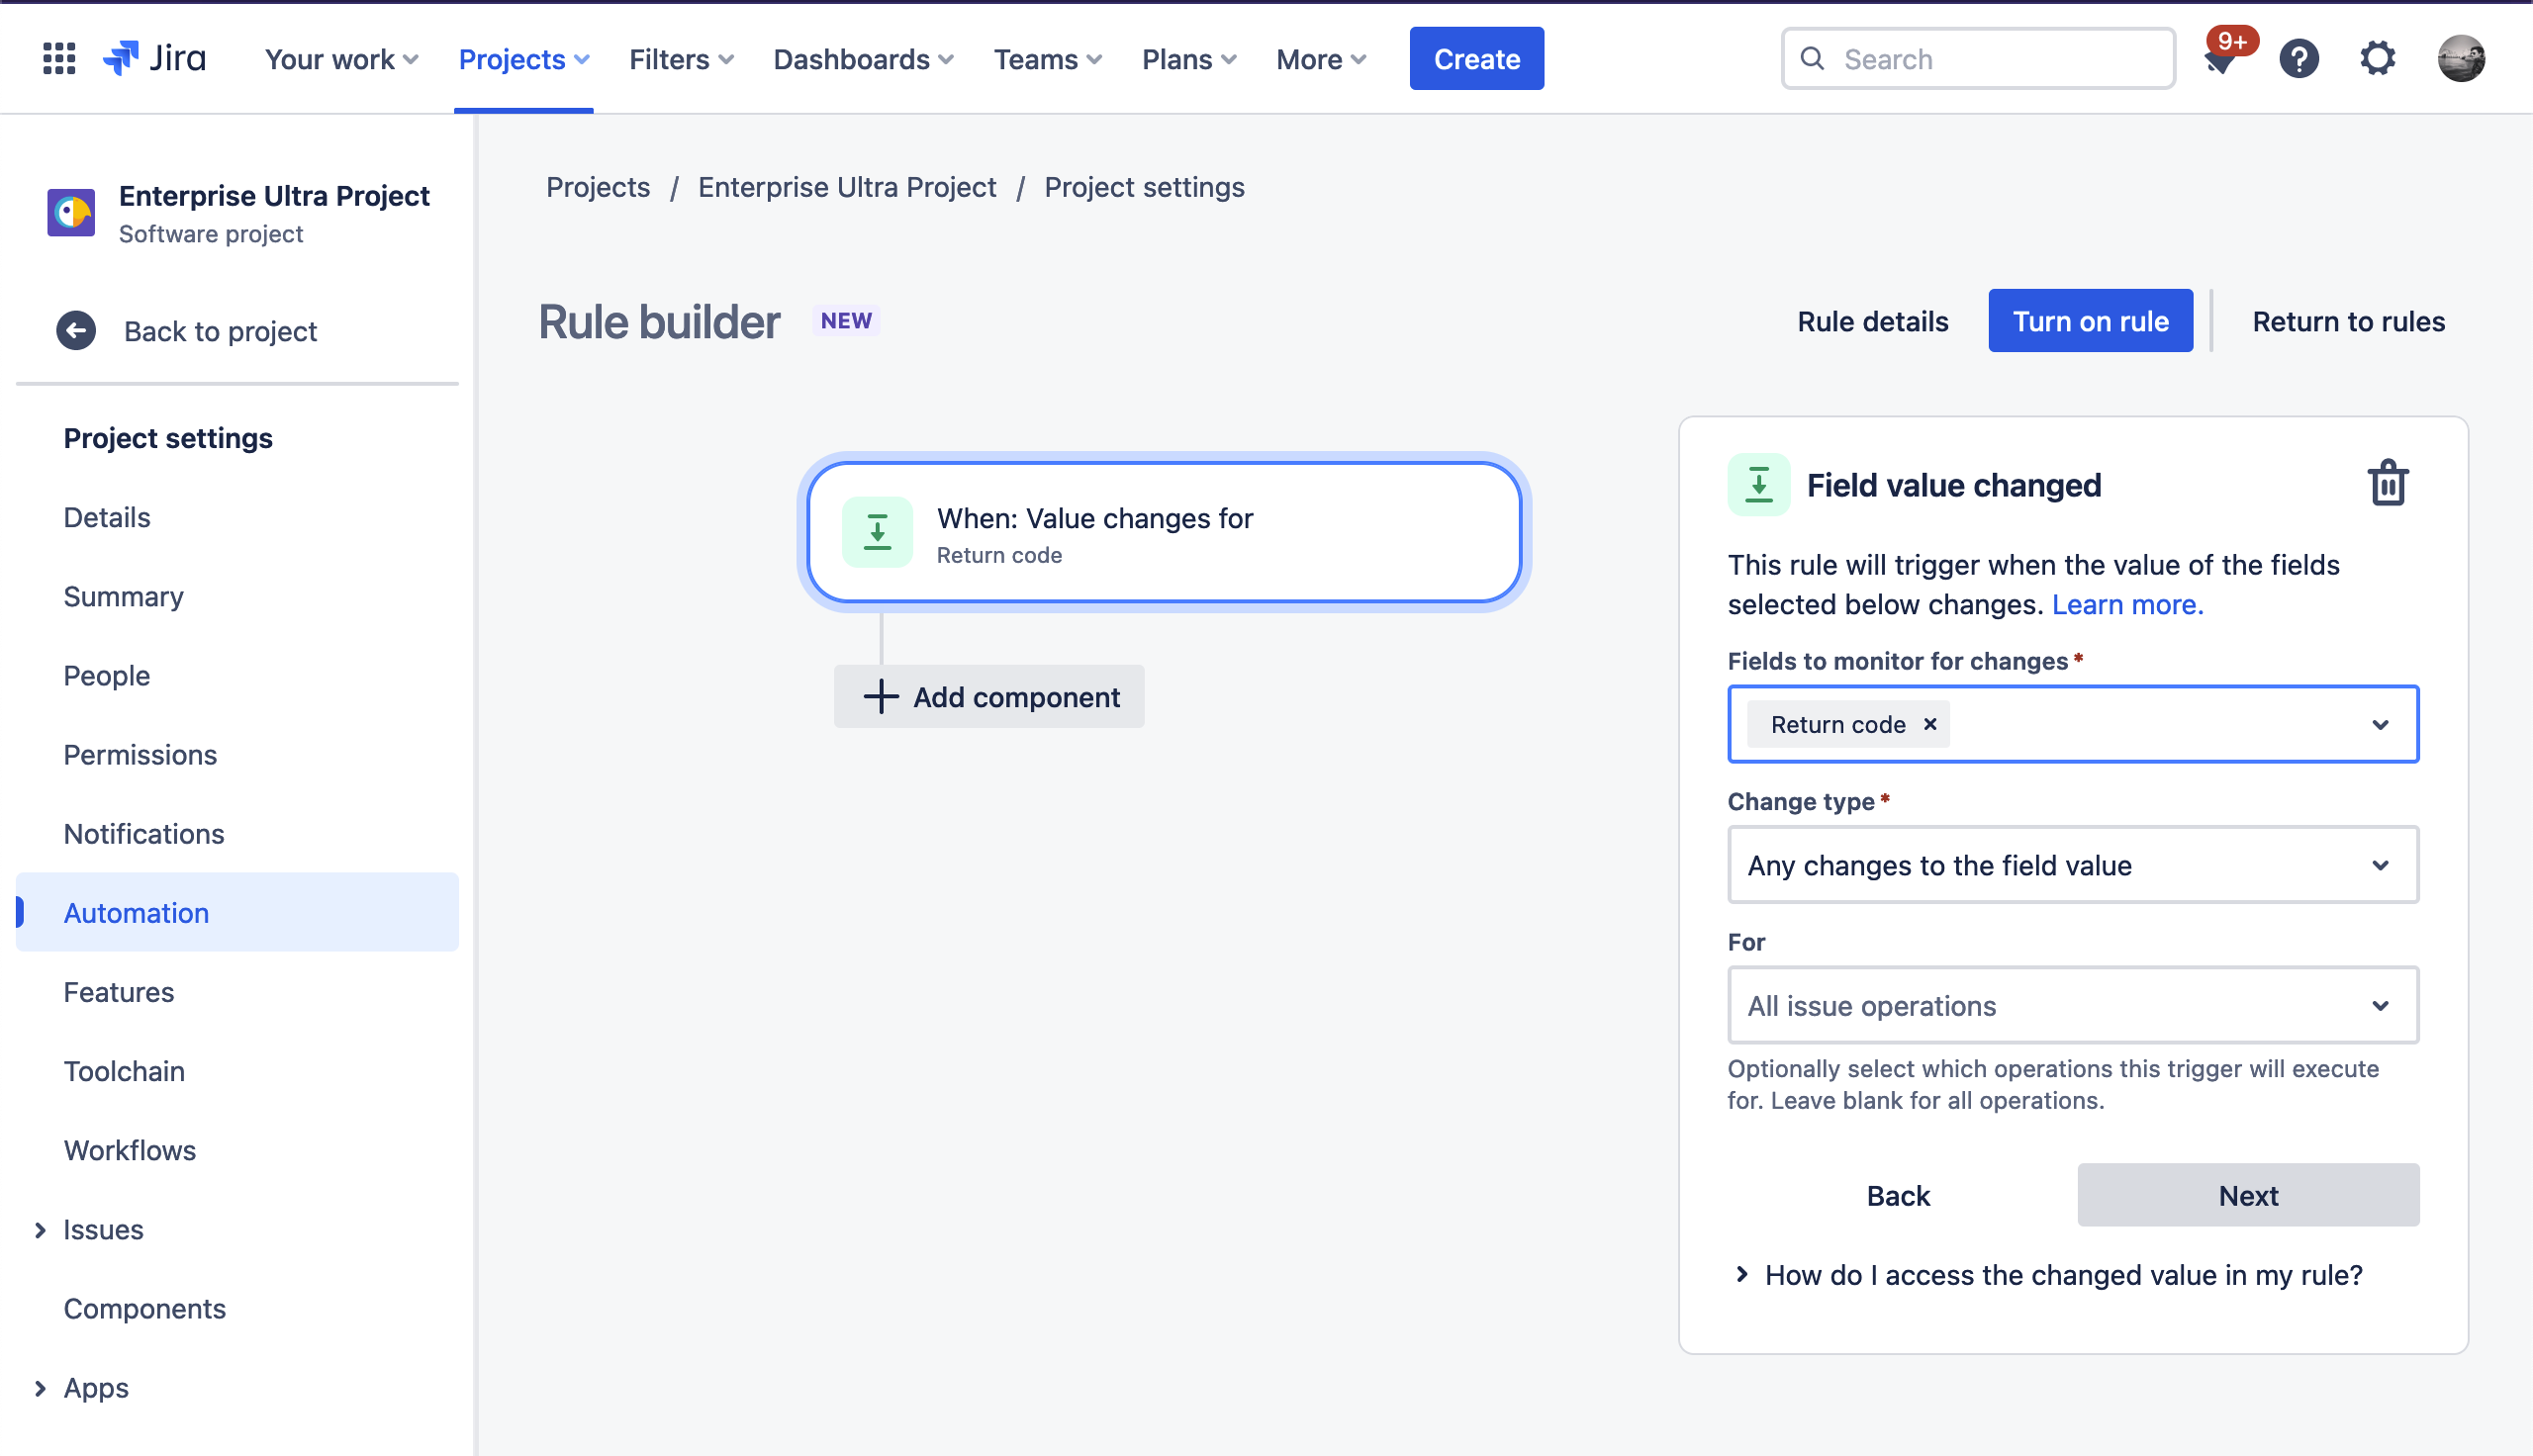
| 2 | Select the trigger Field value changed and select the Return code in the Fields to monitor for changes field. Then click Next. |
|
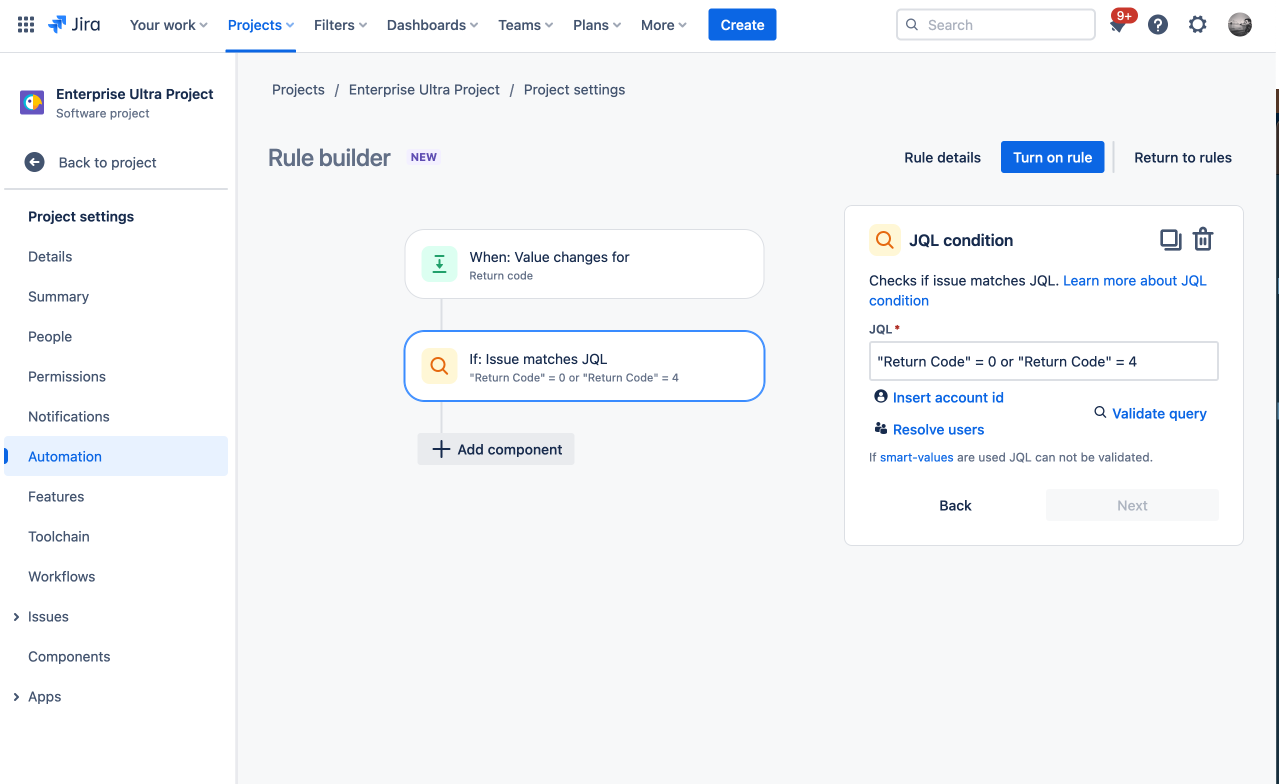
| 3 | Add an If: Add a condition and then select JQL condition. Put the following into the input field:
CODE
Then click Next. |
|
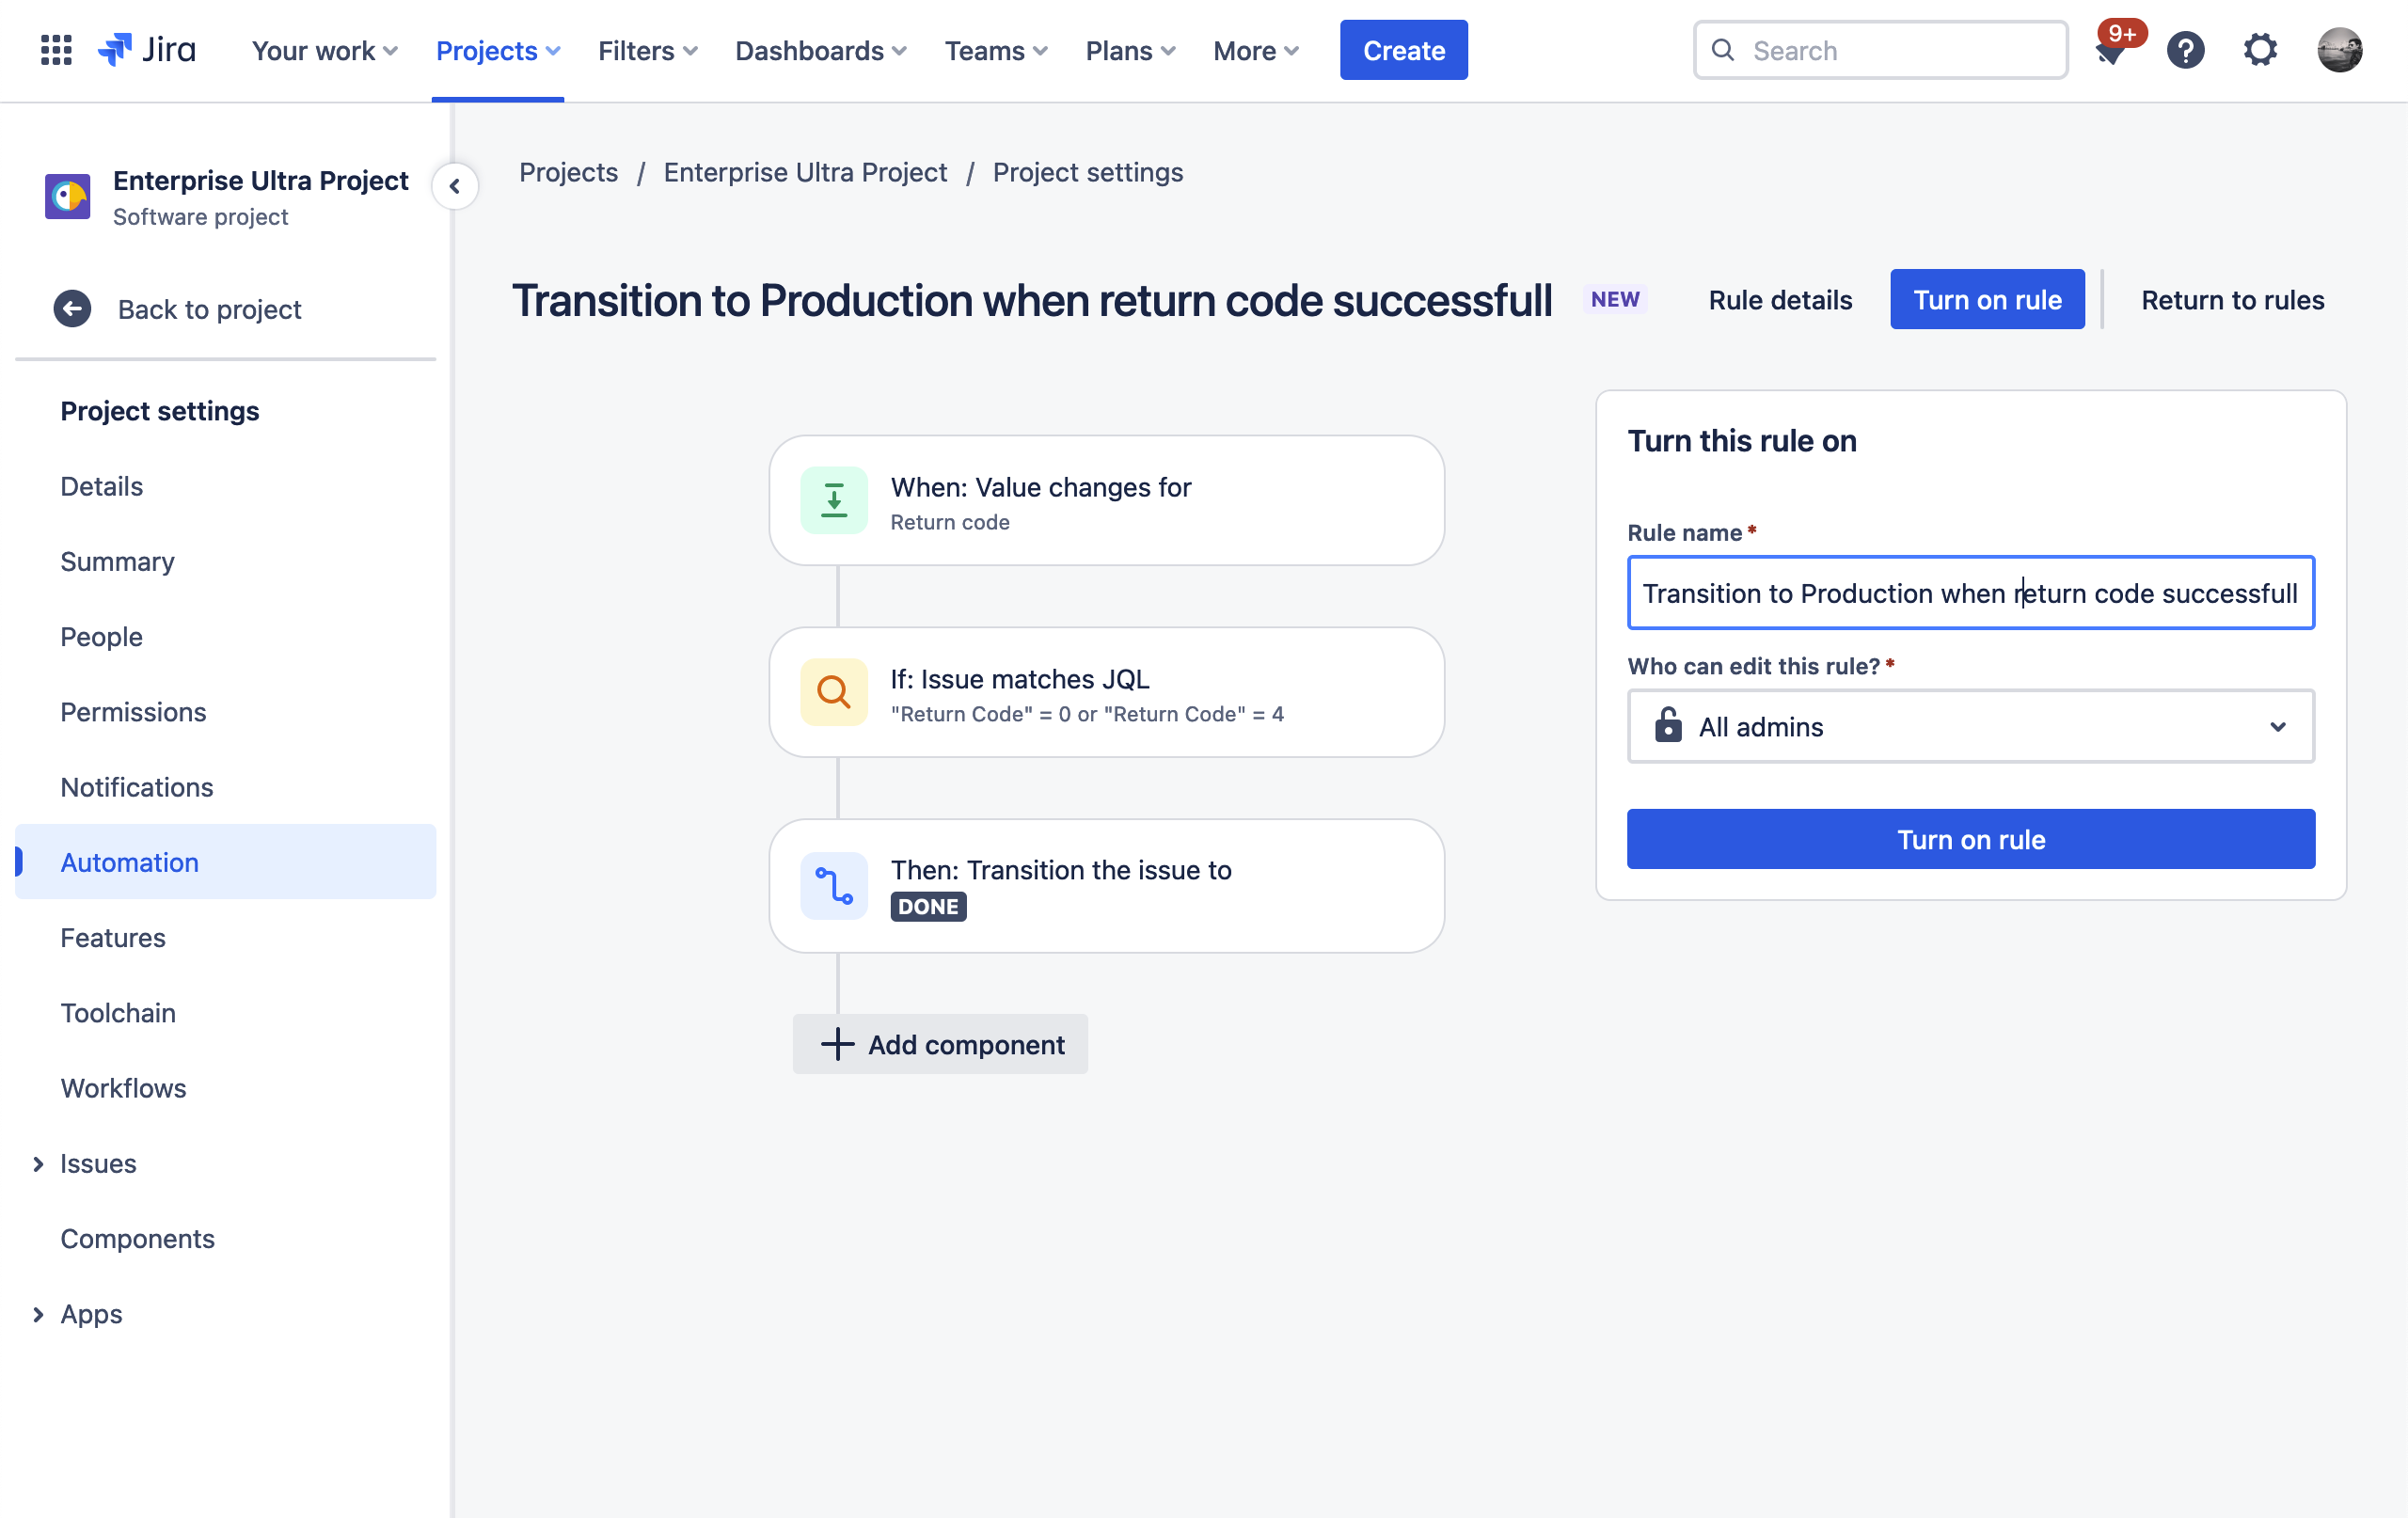
| 4 | Now add an THEN: add an action component and search for Transition issue. In the Destination status select IN PRODUCTION. Then click Next. | |
| 5 | Save and turn on your automation rule via click on Turn on rule . In the Rule name field you can set a descriptive name like "Transition to Production when return code successful". |
|
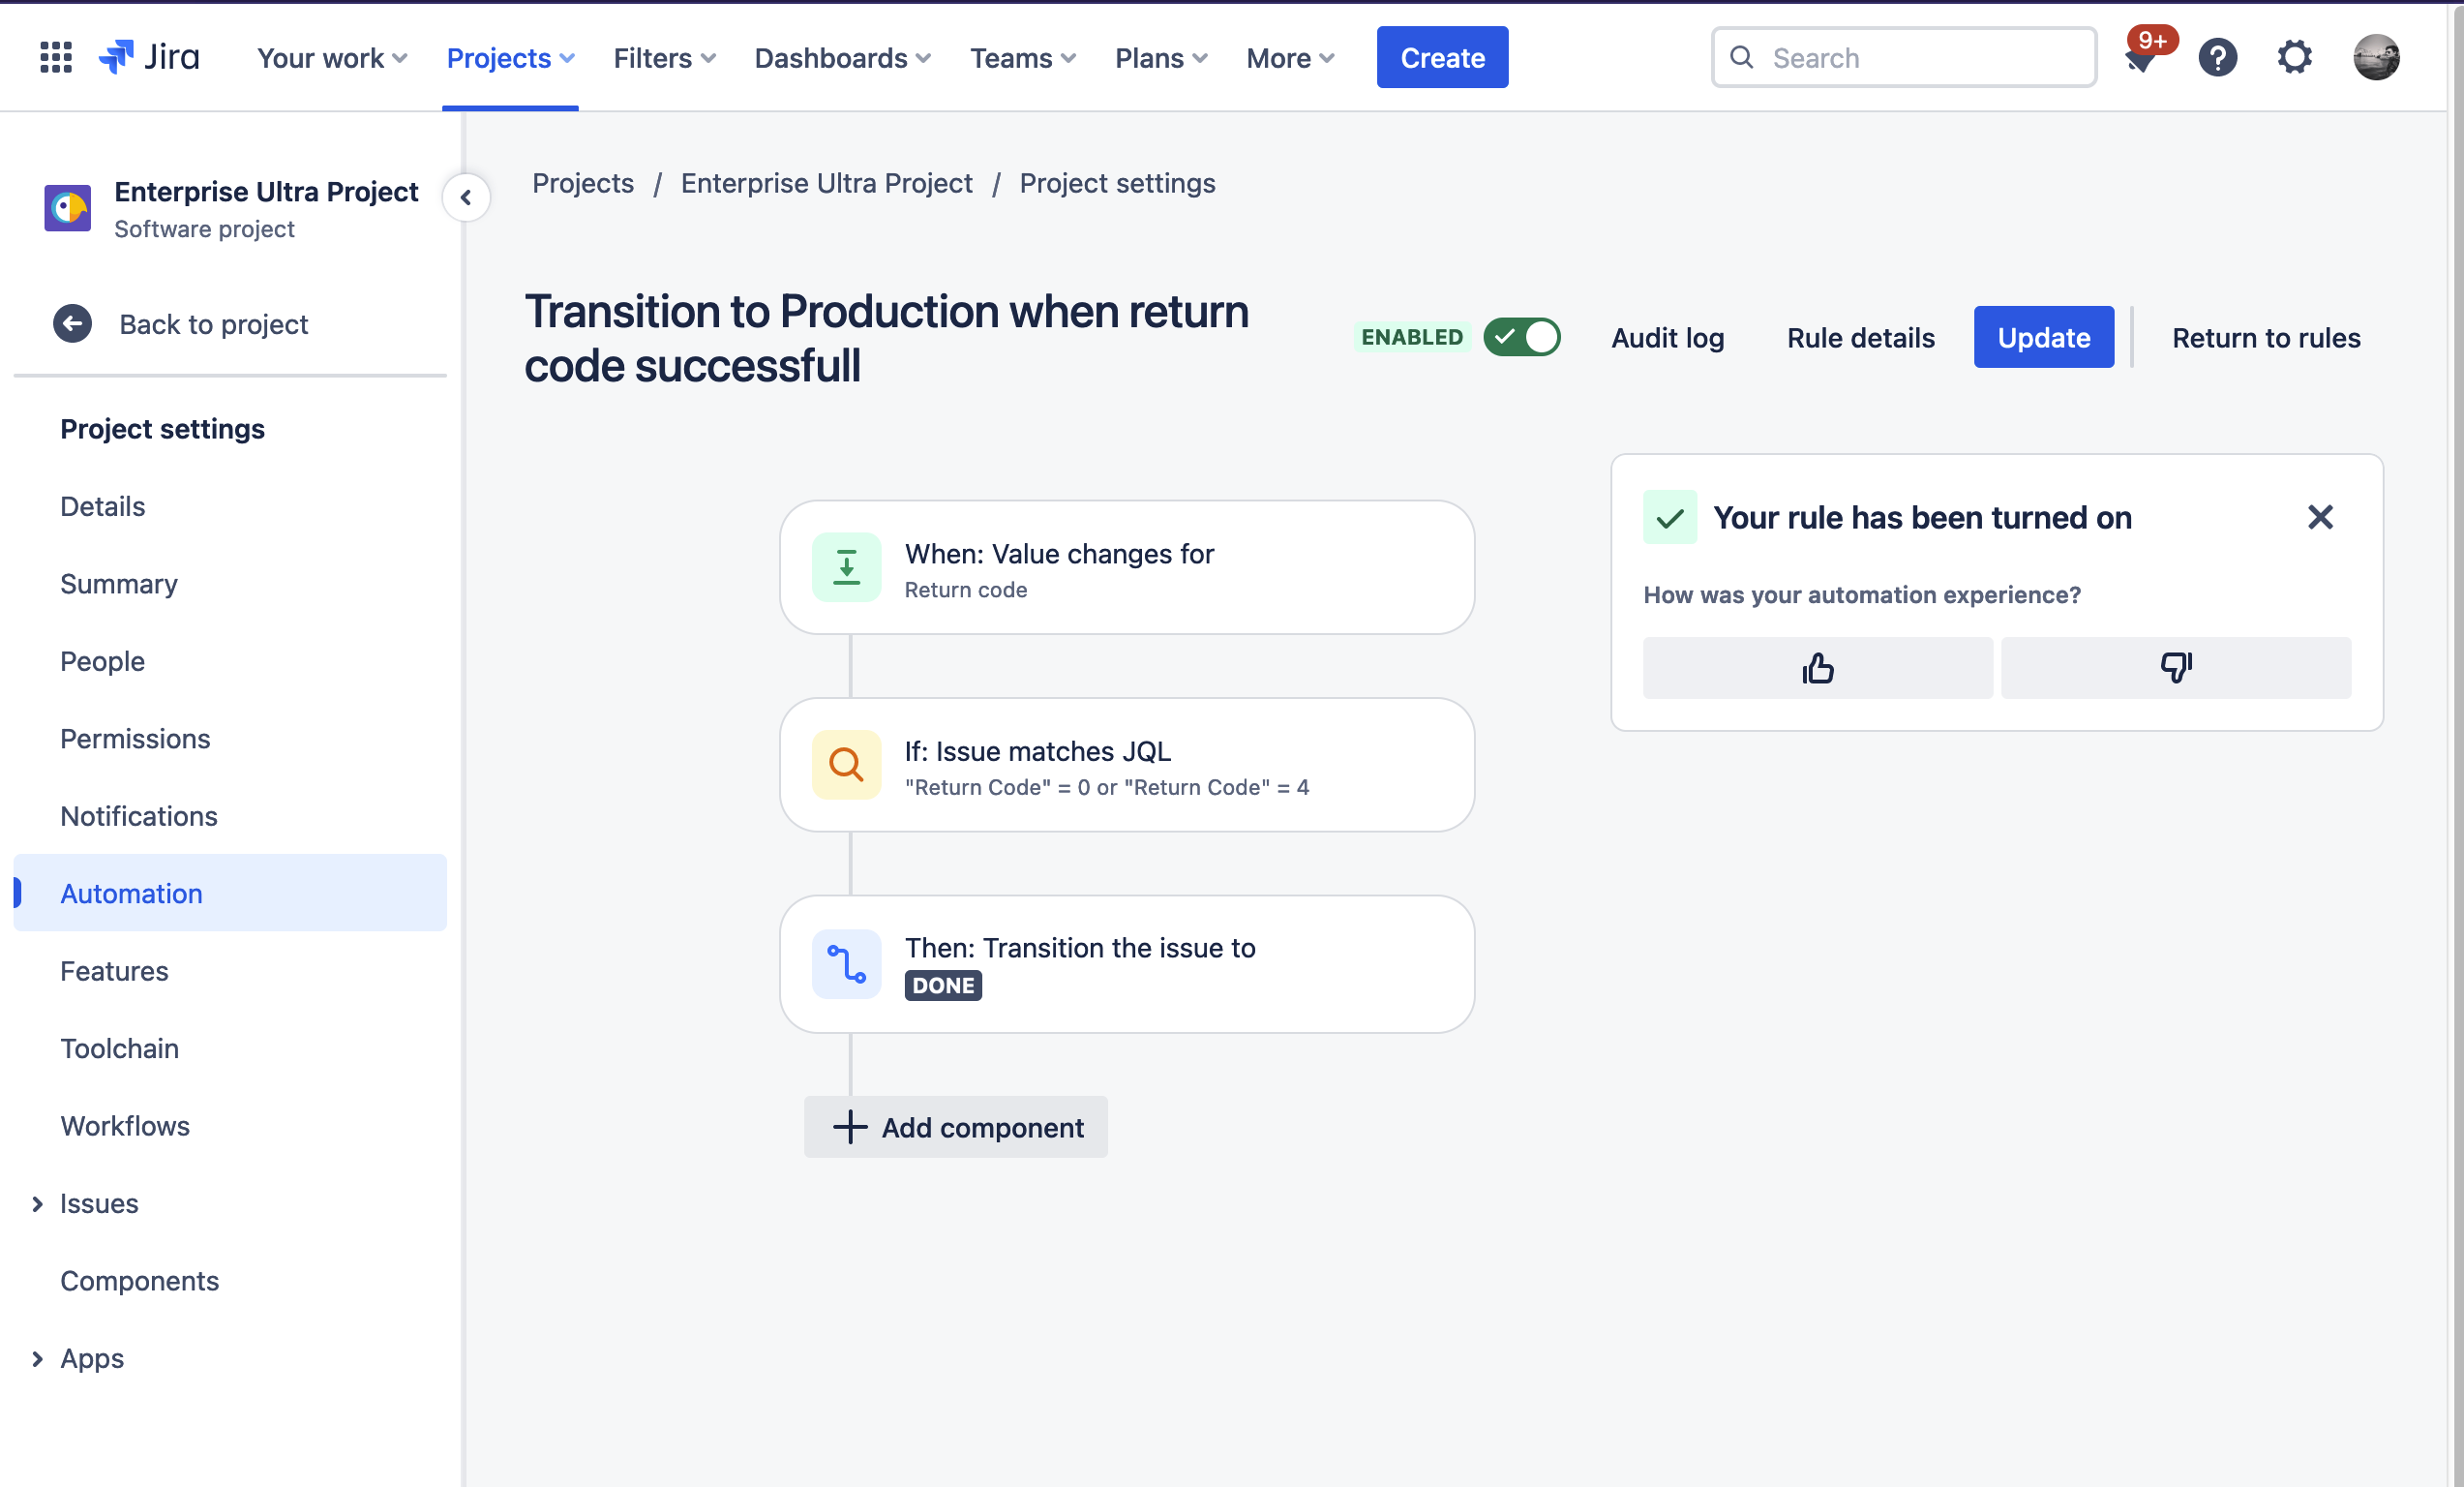
| 6 | Finally click on Turn on rule to finish the rule. |
|
Empty Return code field
Empty the Return code field in a transition to Ready for production with the Clear return code post function.
| Step | Procedure | Example |
|---|---|---|
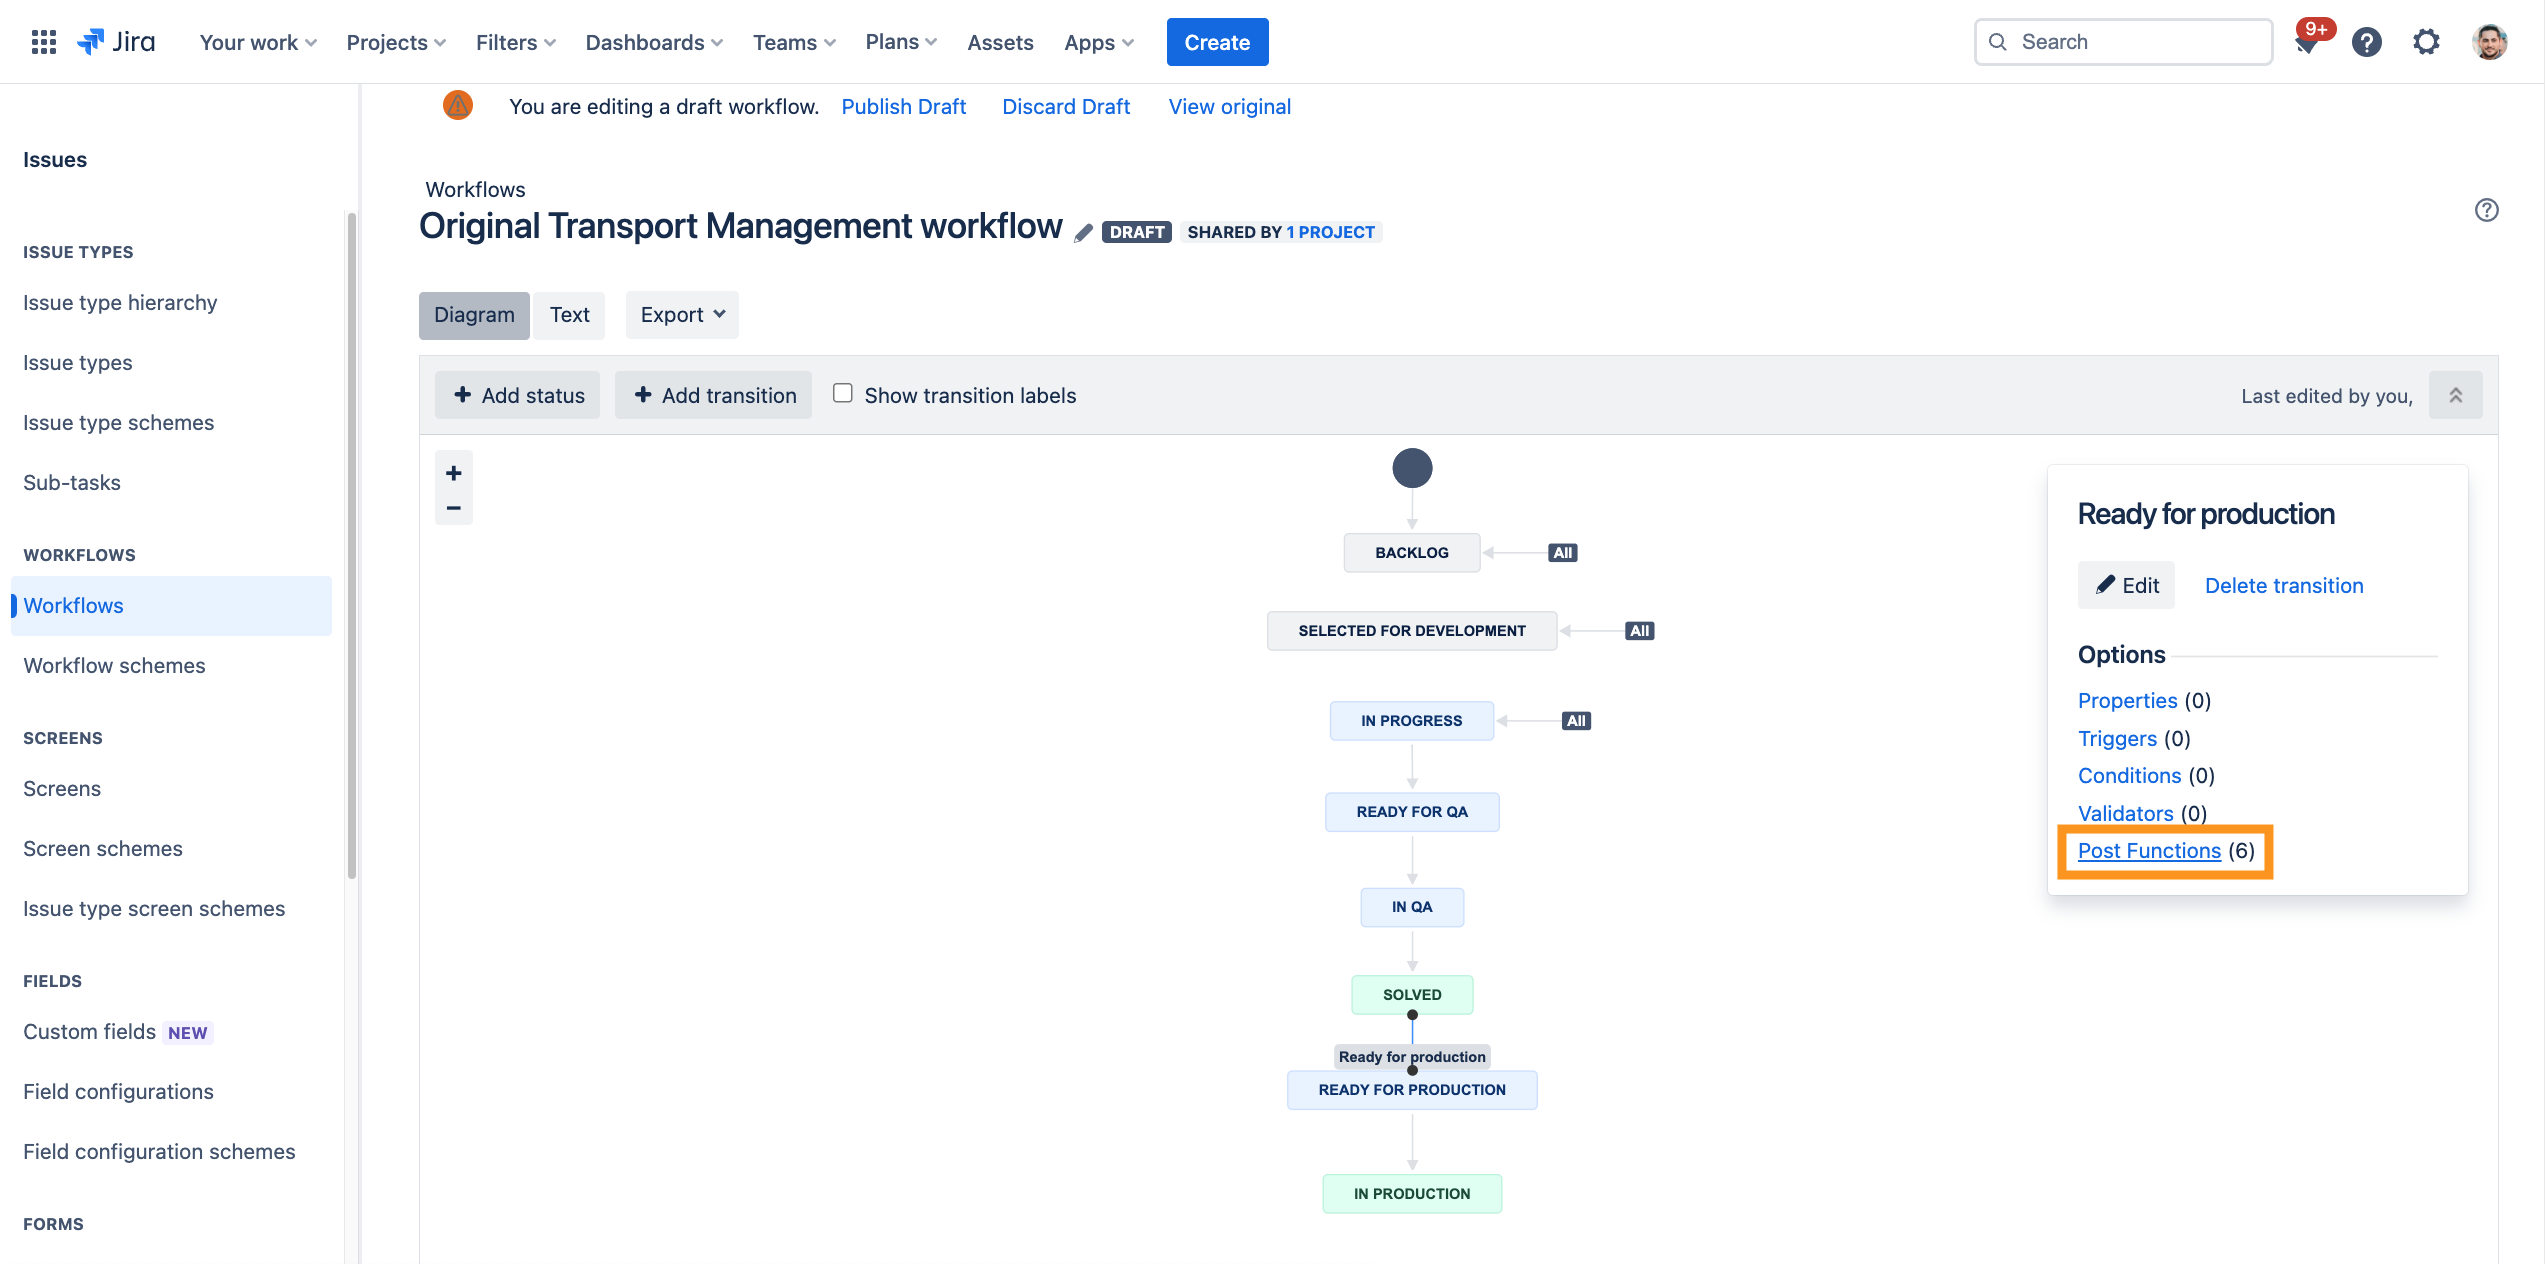
| 1 | In Jira, navigate to Admin Menu (cog wheel) → Issues → Workflows → SAP Transport Panel: Original transport management workflow → Edit → Diagram View |
|
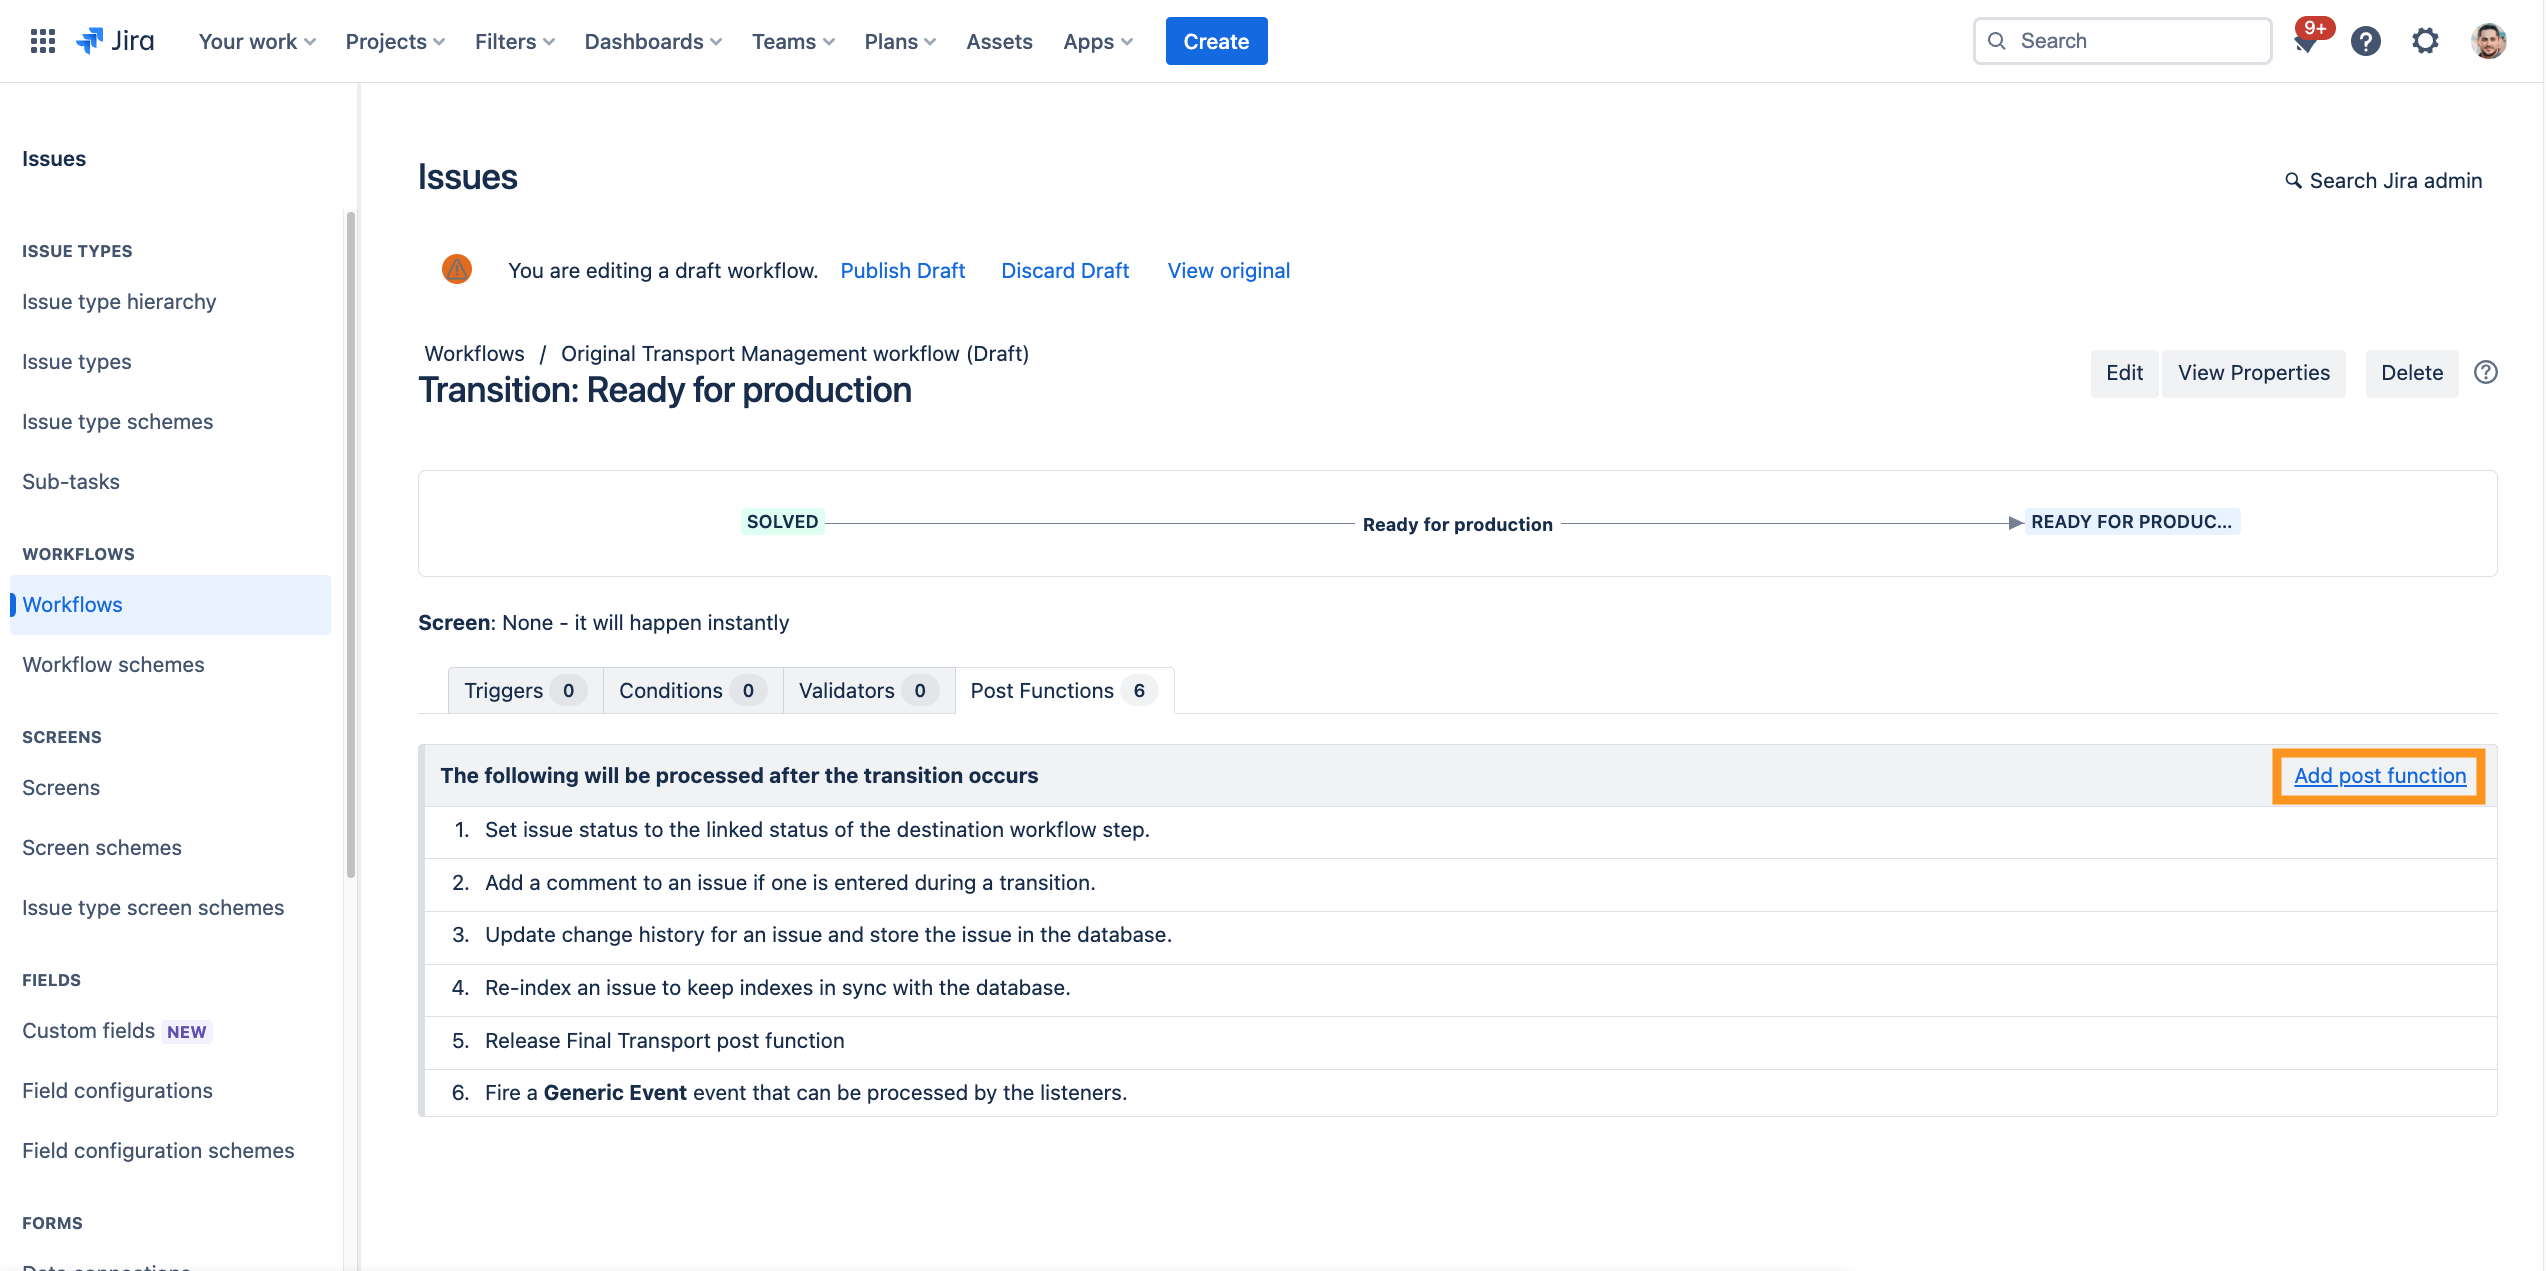
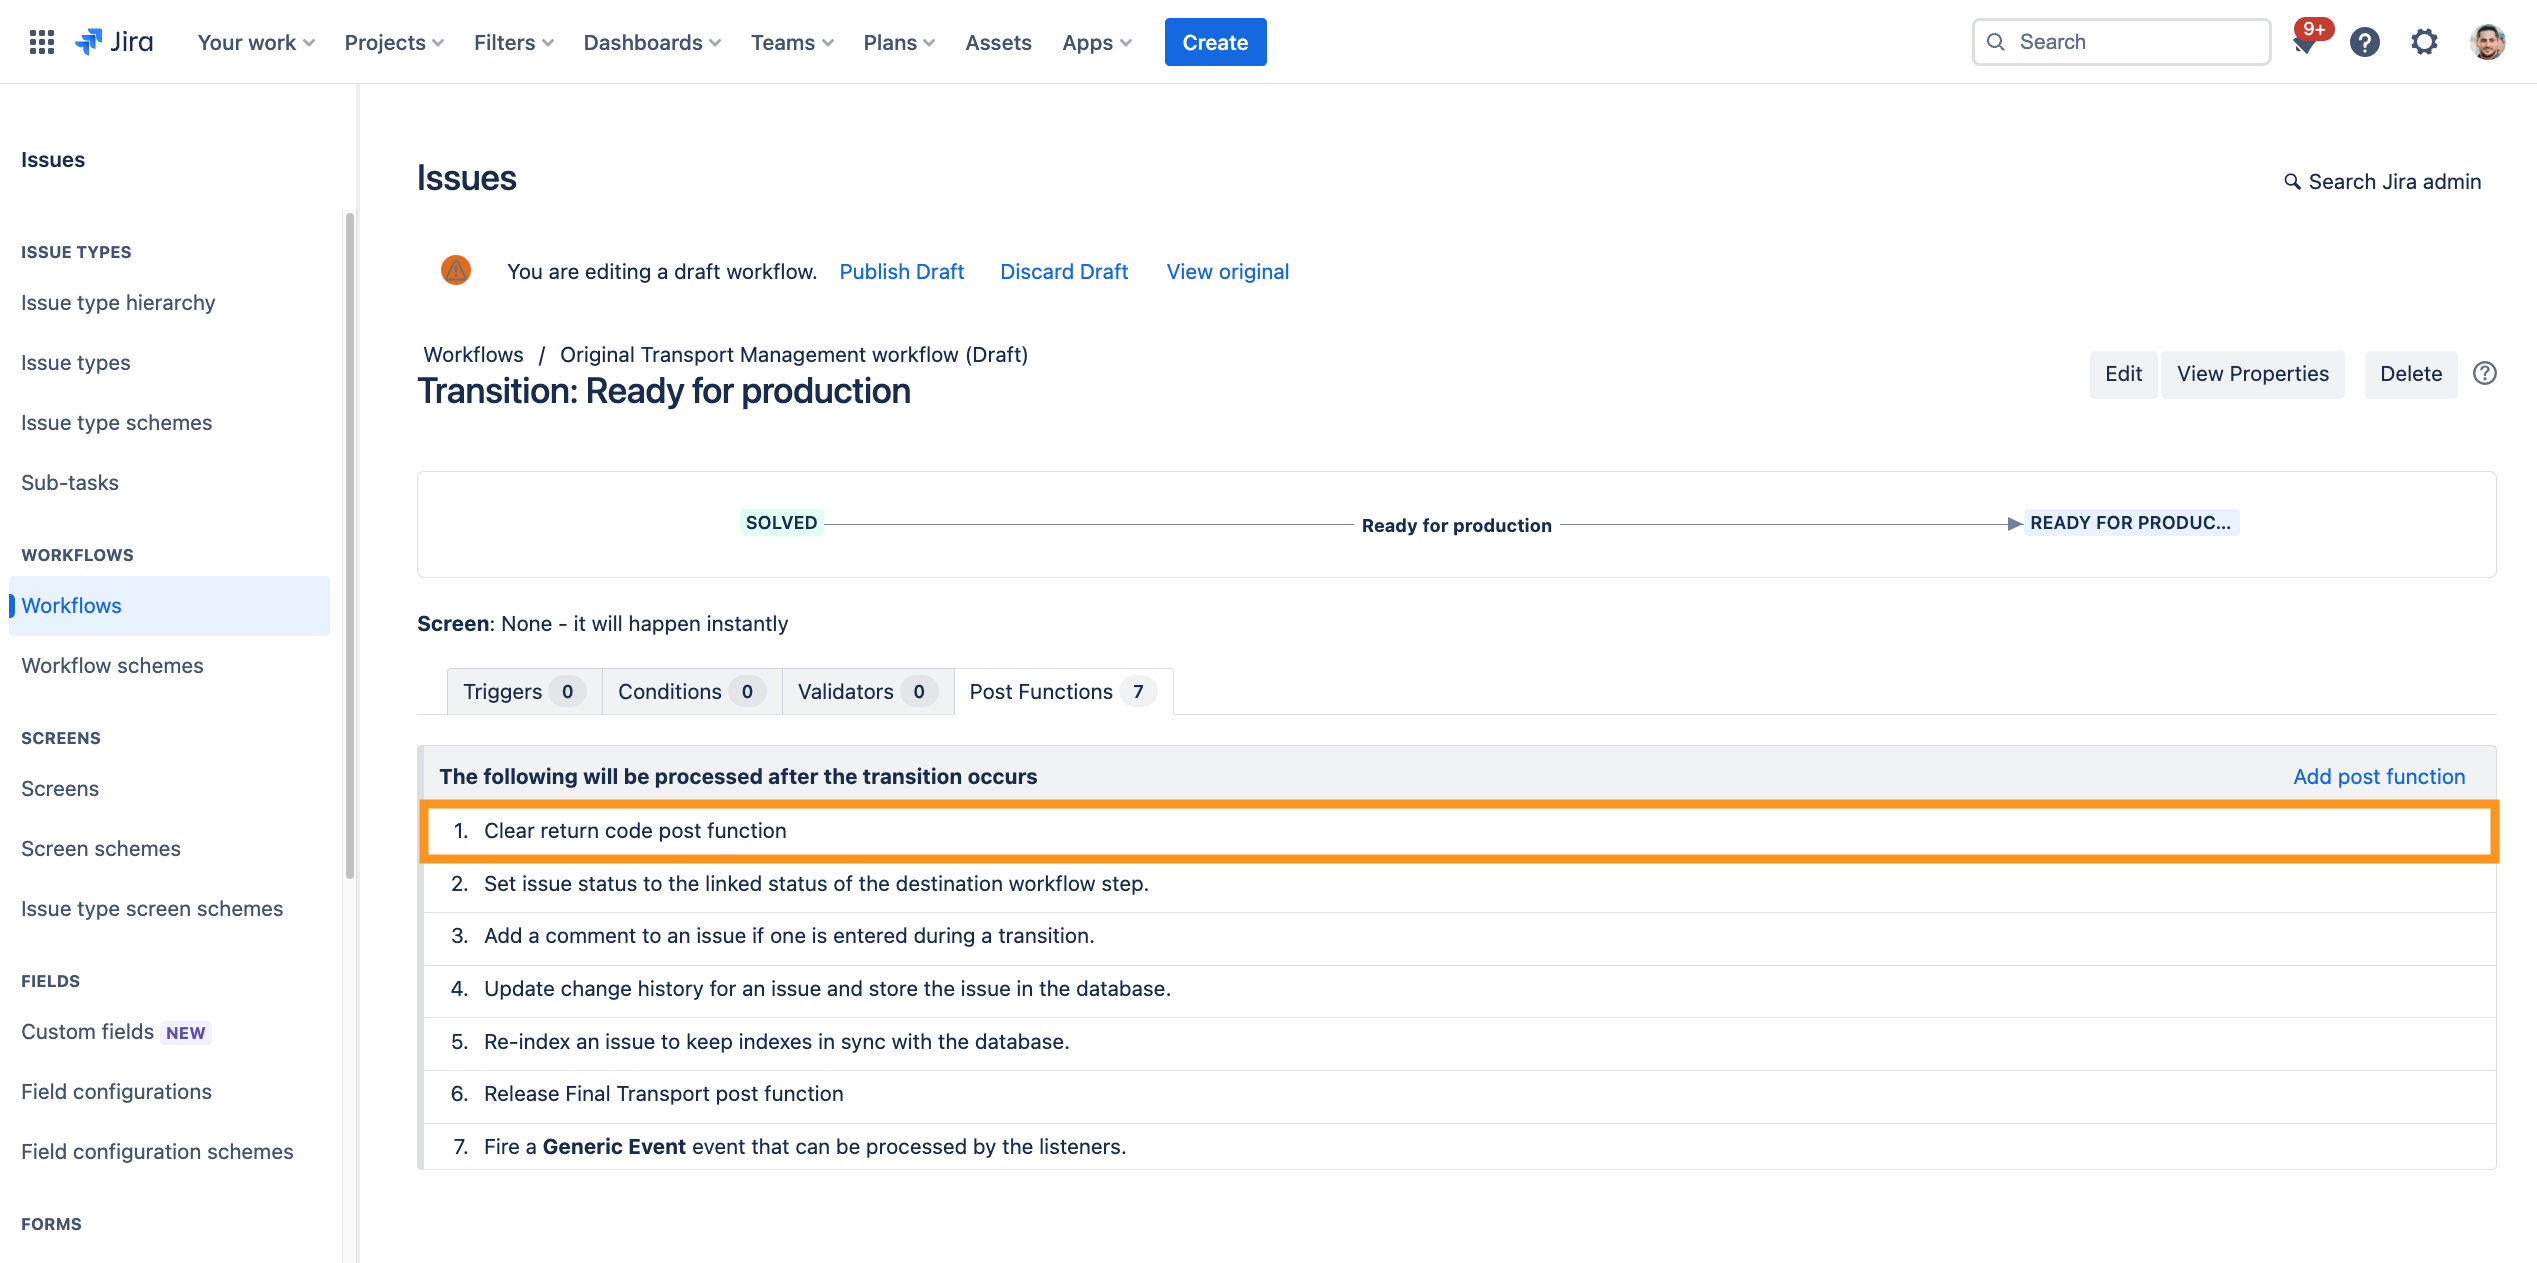
| 2 | Your are now in the tab Post Functions. Click on Add post function. Select the function Clear return code post function → click on Add. |
|
| 3 | The final sequence should look like the example on the right. Don't forget to publish the draft. |
|