How-to create Jira Log files
To reproduce an error on a test system, in order to ensure helpful support, it can be useful seeing the log files. This Step-by-Step guide explains, how to create log files in Jira.e
Step-by-Step guide
Step | Procedure | Example |
|---|---|---|
1 | Add the PLUGIN debug statements to your logs. Therefor navigate to Admin Menu (Cog wheel) → System → Logging and Profiling (Sidebar) → Configure | 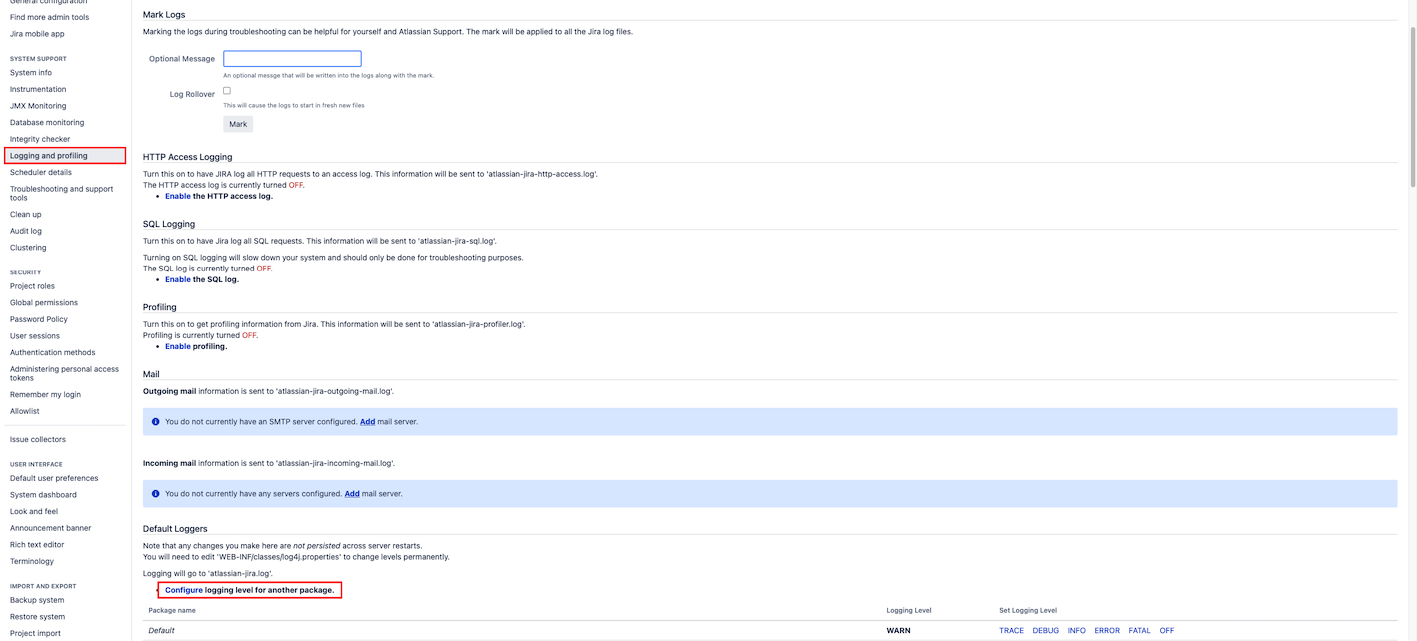 |
2 | Enter de.greenique under Class/Package Name and select DEBUG from the New Level select box. Click on Add. | 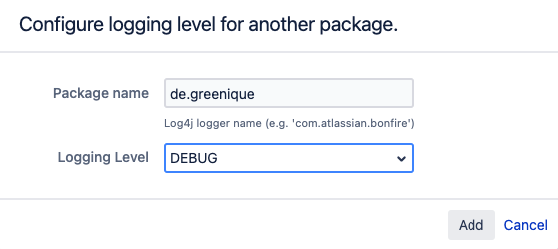 |
4 | Next, reproduce the error you have encountered. Any relevant debug statements and error logs should now show up in your Confluence log files. | |
5 | Customize a support zip file. Therefor navigate to Admin Menu (Cog wheel) → General Configurations → Troubleshooting and support tools (under System support) → Customize zip: Please uncheck all boxes except Jira application logs and Limit File Sizes, as these are the only ones needed. | 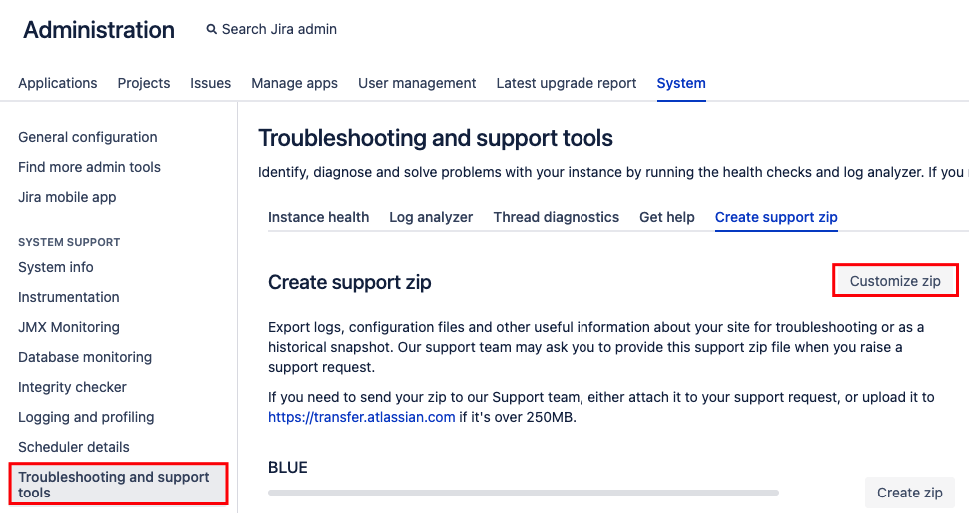 |
6 | Create a zip support file and download it. | |
8 | You can now unzip the archive to check for and remove any sensitive information from the logs before adding them to this ticket. |